August 28, 2024

A Journey into the Wilderness Through Art

 Deer World

Art has a unique way of transporting us to different worlds, allowing us to experience the beauty of nature and the calm it brings. Recently, I created a piece that does just that a drawing of a majestic deer wandering through a mountainous landscape.

The process of drawing this scene was both peaceful and invigorating. The deer, standing tall and proud, symbolizes the grace and strength of nature. Its antlers, reaching towards the sky, seem to reflect its connection to the world around it, as if it's one with the towering mountains in the background.

The mountains, with their jagged peaks, represent the vast and untamed wilderness. They stretch into the sky, covered with patches of green that suggest life thriving even in the harshest environments. The rocky terrain, dotted with boulders and greenery, adds to the sense of adventure and mystery that the wilderness often brings.

This drawing is more than just a depiction of a scene—it's a reflection of the serenity that nature offers. Each stroke of the pencil and splash of color brings the wilderness to life, reminding us of the beauty that exists beyond the hustle and bustle of daily life.

Through this art, I hope to inspire others to pause and appreciate the natural world, even if it's just for a moment. Whether you're an artist or an observer, take a moment to immerse yourself in the calm and beauty that nature provides. After all, it's in these moments of reflection that we find a deeper connection to the world around us.

Feel free to share your thoughts on this drawing and how nature inspires you in your own creative journey -ClickHere


August 21, 2024

Friend ship Day Cards

 Friend ship Day Cards

  • Origin: The concept of Friendship Day was first proposed by Joyce Hall, the founder of Hallmark cards, in 1930. However, it gained more widespread popularity when the United Nations declared July 30 as International Friendship Day in 2011.
  • Date of Celebration:
    • International Friendship Day: July 30 (recognized by the United Nations)
    • National Friendship Day (USA): First Sunday of August
    • Other Countries: The celebration date varies across different countries. For example, in India, it is often celebrated on the first Sunday of August.
  • Purpose: The day aims to promote friendship, peace, and harmony among people, communities, and countries.

The celebration typically involves friends appreciating each other through various means, such as spending time together, giving thoughtful gifts, or simply acknowledging the importance of friendship.

Plastic Pollution

Earth Pollution 

Earth pollution occurs when harmful substances or pollutants are introduced into the environment, negatively impacting natural ecosystems, wildlife, and human health. Pollution can take many forms, including air, water, soil, and noise pollution. Here’s how pollution typically happens in each of these areas:

1. Air Pollution

  • Sources: Factories, vehicles, burning fossil fuels (coal, oil, natural gas), deforestation, and agricultural activities.
  • How it Happens: Harmful gases like carbon dioxide (CO2), sulfur dioxide (SO2), nitrogen oxides (NOx), and particulate matter are released into the atmosphere. These pollutants can cause respiratory problems in humans and contribute to climate change by trapping heat in the Earth’s atmosphere (greenhouse effect).

2. Water Pollution

  • Sources: Industrial waste, agricultural runoff (pesticides and fertilizers), sewage and wastewater, oil spills, plastic waste, and chemical dumping.
  • How it Happens: Pollutants enter rivers, lakes, oceans, and groundwater systems, contaminating the water supply. This can harm aquatic life, disrupt ecosystems, and make water unsafe for drinking and recreational activities.

3. Soil Pollution

  • Sources: Agricultural chemicals (pesticides, herbicides, and fertilizers), industrial waste, mining activities, improper disposal of hazardous waste, and deforestation.
  • How it Happens: Pollutants are absorbed by the soil, leading to reduced fertility, contamination of crops, and the disruption of natural soil ecosystems. Harmful chemicals can also leach into groundwater, further spreading contamination.

4. Noise Pollution

  • Sources: Urbanization, transportation (cars, trains, planes), industrial activities, construction work, and loud entertainment.
  • How it Happens: Excessive noise can disrupt human and animal life, leading to stress, hearing loss, and disruption of communication in wildlife species.

5. Plastic Pollution

  • Sources: Improper disposal of plastic products, single-use plastics, and microplastics.
  • How it Happens: Plastic waste accumulates in the environment, especially in oceans, where it can harm marine life. Plastics break down into smaller particles (microplastics) that can enter the food chain, posing risks to wildlife and humans.

6. Chemical Pollution

  • Sources: Industrial processes, agricultural chemicals, household products (cleaners, paints), and pharmaceuticals.
  • How it Happens: Toxic chemicals are released into the air, water, and soil, leading to contamination. These chemicals can be persistent and accumulate in the environment, causing long-term damage to ecosystems and health issues in humans.

7. Light Pollution

  • Sources: Excessive or misdirected artificial lighting from cities, streetlights, and billboards.
  • How it Happens: Bright lights disrupt natural night cycles, affecting wildlife and human sleep patterns. It also obscures the visibility of stars and other celestial bodies.

Effects of Pollution:

  • Health Issues: Respiratory problems, cardiovascular diseases, cancer, and developmental issues.
  • Environmental Impact: Loss of biodiversity, habitat destruction, and disruption of ecosystems.
  • Climate Change: Increased greenhouse gas emissions contribute to global warming, extreme weather events, and rising sea levels.

Preventing Pollution:

  • Reduce Emissions: Use cleaner energy sources, reduce vehicle emissions, and promote energy efficiency.
  • Waste Management: Proper disposal and recycling of waste, reducing single-use plastics, and managing industrial waste responsibly.
  • Sustainable Practices: Adopt sustainable farming, reduce deforestation, and protect natural habitats.
  • Regulation and Policies: Governments can enforce environmental regulations and promote policies that reduce pollution.

Reducing pollution requires collective action from individuals, industries, and governments to protect the planet and ensure a healthier environment for future generation.

Elephant Drawings


 Elephant :-ClickHere

Step-by-Step Guide

Break down the drawing process into simple steps. 

Step 1: Draw the Basic Shapes

  • Start by drawing a large circle for the elephant's body and a smaller circle for the head. Connect them with a curved line to form the neck.
  • Add a smaller oval for the trunk's base.

Step 2: Sketch the Legs

  • Draw four thick legs using rectangular shapes. Ensure the front legs are slightly larger and thicker than the hind legs.

Step 3: Add the Trunk

  • Extend the oval from the head downward into a long, curved trunk. Keep the trunk slightly thicker near the base and taper it toward the end.

Step 4: Draw the Ears

  • Elephants have large, floppy ears. Draw two large, curved shapes on either side of the head. Make sure they extend beyond the head and towards the body.

Step 5: Outline the Head

  • Add details to the head, such as the eyes, tusks (if you’re drawing an African elephant), and the curved shape of the mouth.

Step 6: Add Details

  • Draw the tail, add details to the feet, and refine the lines for the elephant's skin folds.

Step 7: Final Touches

  • Erase any unnecessary lines and clean up your drawing. If you’re adding color, this is the time to do it.


August 19, 2024

Duck Drawings

Duck Drawings

Transportation

 Transportation Drawings For Kids

Transportation refers to the movement of people, goods, and animals from one place to another. There are several different modes of transportation, each with its unique characteristics, advantages, and disadvantages. Here’s an overview of the main types:

1. Road Transportation

  • Vehicles: Cars, trucks, buses, motorcycles, bicycles.
  • Infrastructure: Roads, highways, bridges, tunnels.
  • Advantages:
    • Flexibility and door-to-door service.
    • Suitable for short to medium distances.
    • Easily accessible and relatively low cost.
  • Disadvantages:
    • Traffic congestion.
    • Environmental pollution.
    • Road maintenance costs.

2. Rail Transportation

  • Vehicles: Trains (passenger, freight, high-speed, metro/subway).
  • Infrastructure: Railways, stations, tunnels, bridges.
  • Advantages:
    • Efficient for long distances.
    • High capacity for passengers and goods.
    • Lower environmental impact compared to road transport.
  • Disadvantages:
    • Fixed routes and schedules.
    • High infrastructure costs.
    • Less flexible than road transport.

3. Air Transportation

  • Vehicles: Airplanes, helicopters, drones.
  • Infrastructure: Airports, helipads, air traffic control systems.
  • Advantages:
    • Fastest mode of transportation for long distances.
    • Suitable for international travel.
    • High safety standards.
  • Disadvantages:
    • Expensive compared to other modes.
    • Limited cargo capacity.
    • Environmental impact (high carbon emissions).

4. Water Transportation

  • Vehicles: Ships, boats, ferries, submarines.
  • Infrastructure: Ports, harbors, canals, docks.
  • Advantages:
    • Ideal for heavy and bulky goods.
    • Energy-efficient and cost-effective for long distances.
    • Used for international trade and travel.
  • Disadvantages:
    • Slow compared to air and road transport.
    • Weather-dependent.
    • Limited to areas near water bodies.

5. Public Transportation

  • Types: Buses, trains, subways, trams, trolleys.
  • Advantages:
    • Reduces traffic congestion and pollution.
    • Cost-effective for individuals.
    • Promotes social inclusion by providing mobility for everyone.
  • Disadvantages:
    • Limited routes and schedules.
    • Overcrowding during peak hours.
    • Maintenance and operational challenges.

6. Pipeline Transportation

  • Types: Pipelines for oil, natural gas, water, sewage.
  • Infrastructure: Underground or above-ground pipelines, pumping stations.
  • Advantages:
    • Efficient and safe for transporting liquids and gases.
    • Operates continuously and requires minimal labor.
    • Less environmental impact once established.
  • Disadvantages:
    • High initial investment.
    • Potential for leaks and environmental hazards.
    • Limited to specific types of goods (e.g., liquids, gases).

7. Space Transportation

  • Vehicles: Rockets, space shuttles, space stations.
  • Infrastructure: Launch pads, spaceports, ground control.
  • Advantages:
    • Enables space exploration and satellite deployment.
    • Future potential for space tourism.
  • Disadvantages:
    • Extremely expensive and complex.
    • High risk and technical challenges.
    • Limited to very specific applications.

8. Non-Motorized Transportation

  • Types: Walking, cycling, skateboarding, horse riding.
  • Advantages:
    • Environmentally friendly.
    • Promotes health and fitness.
    • No fuel costs.
  • Disadvantages:
    • Limited speed and distance.
    • Physical effort required.
    • Safety concerns on roads.

Flower Drawings and Crafts

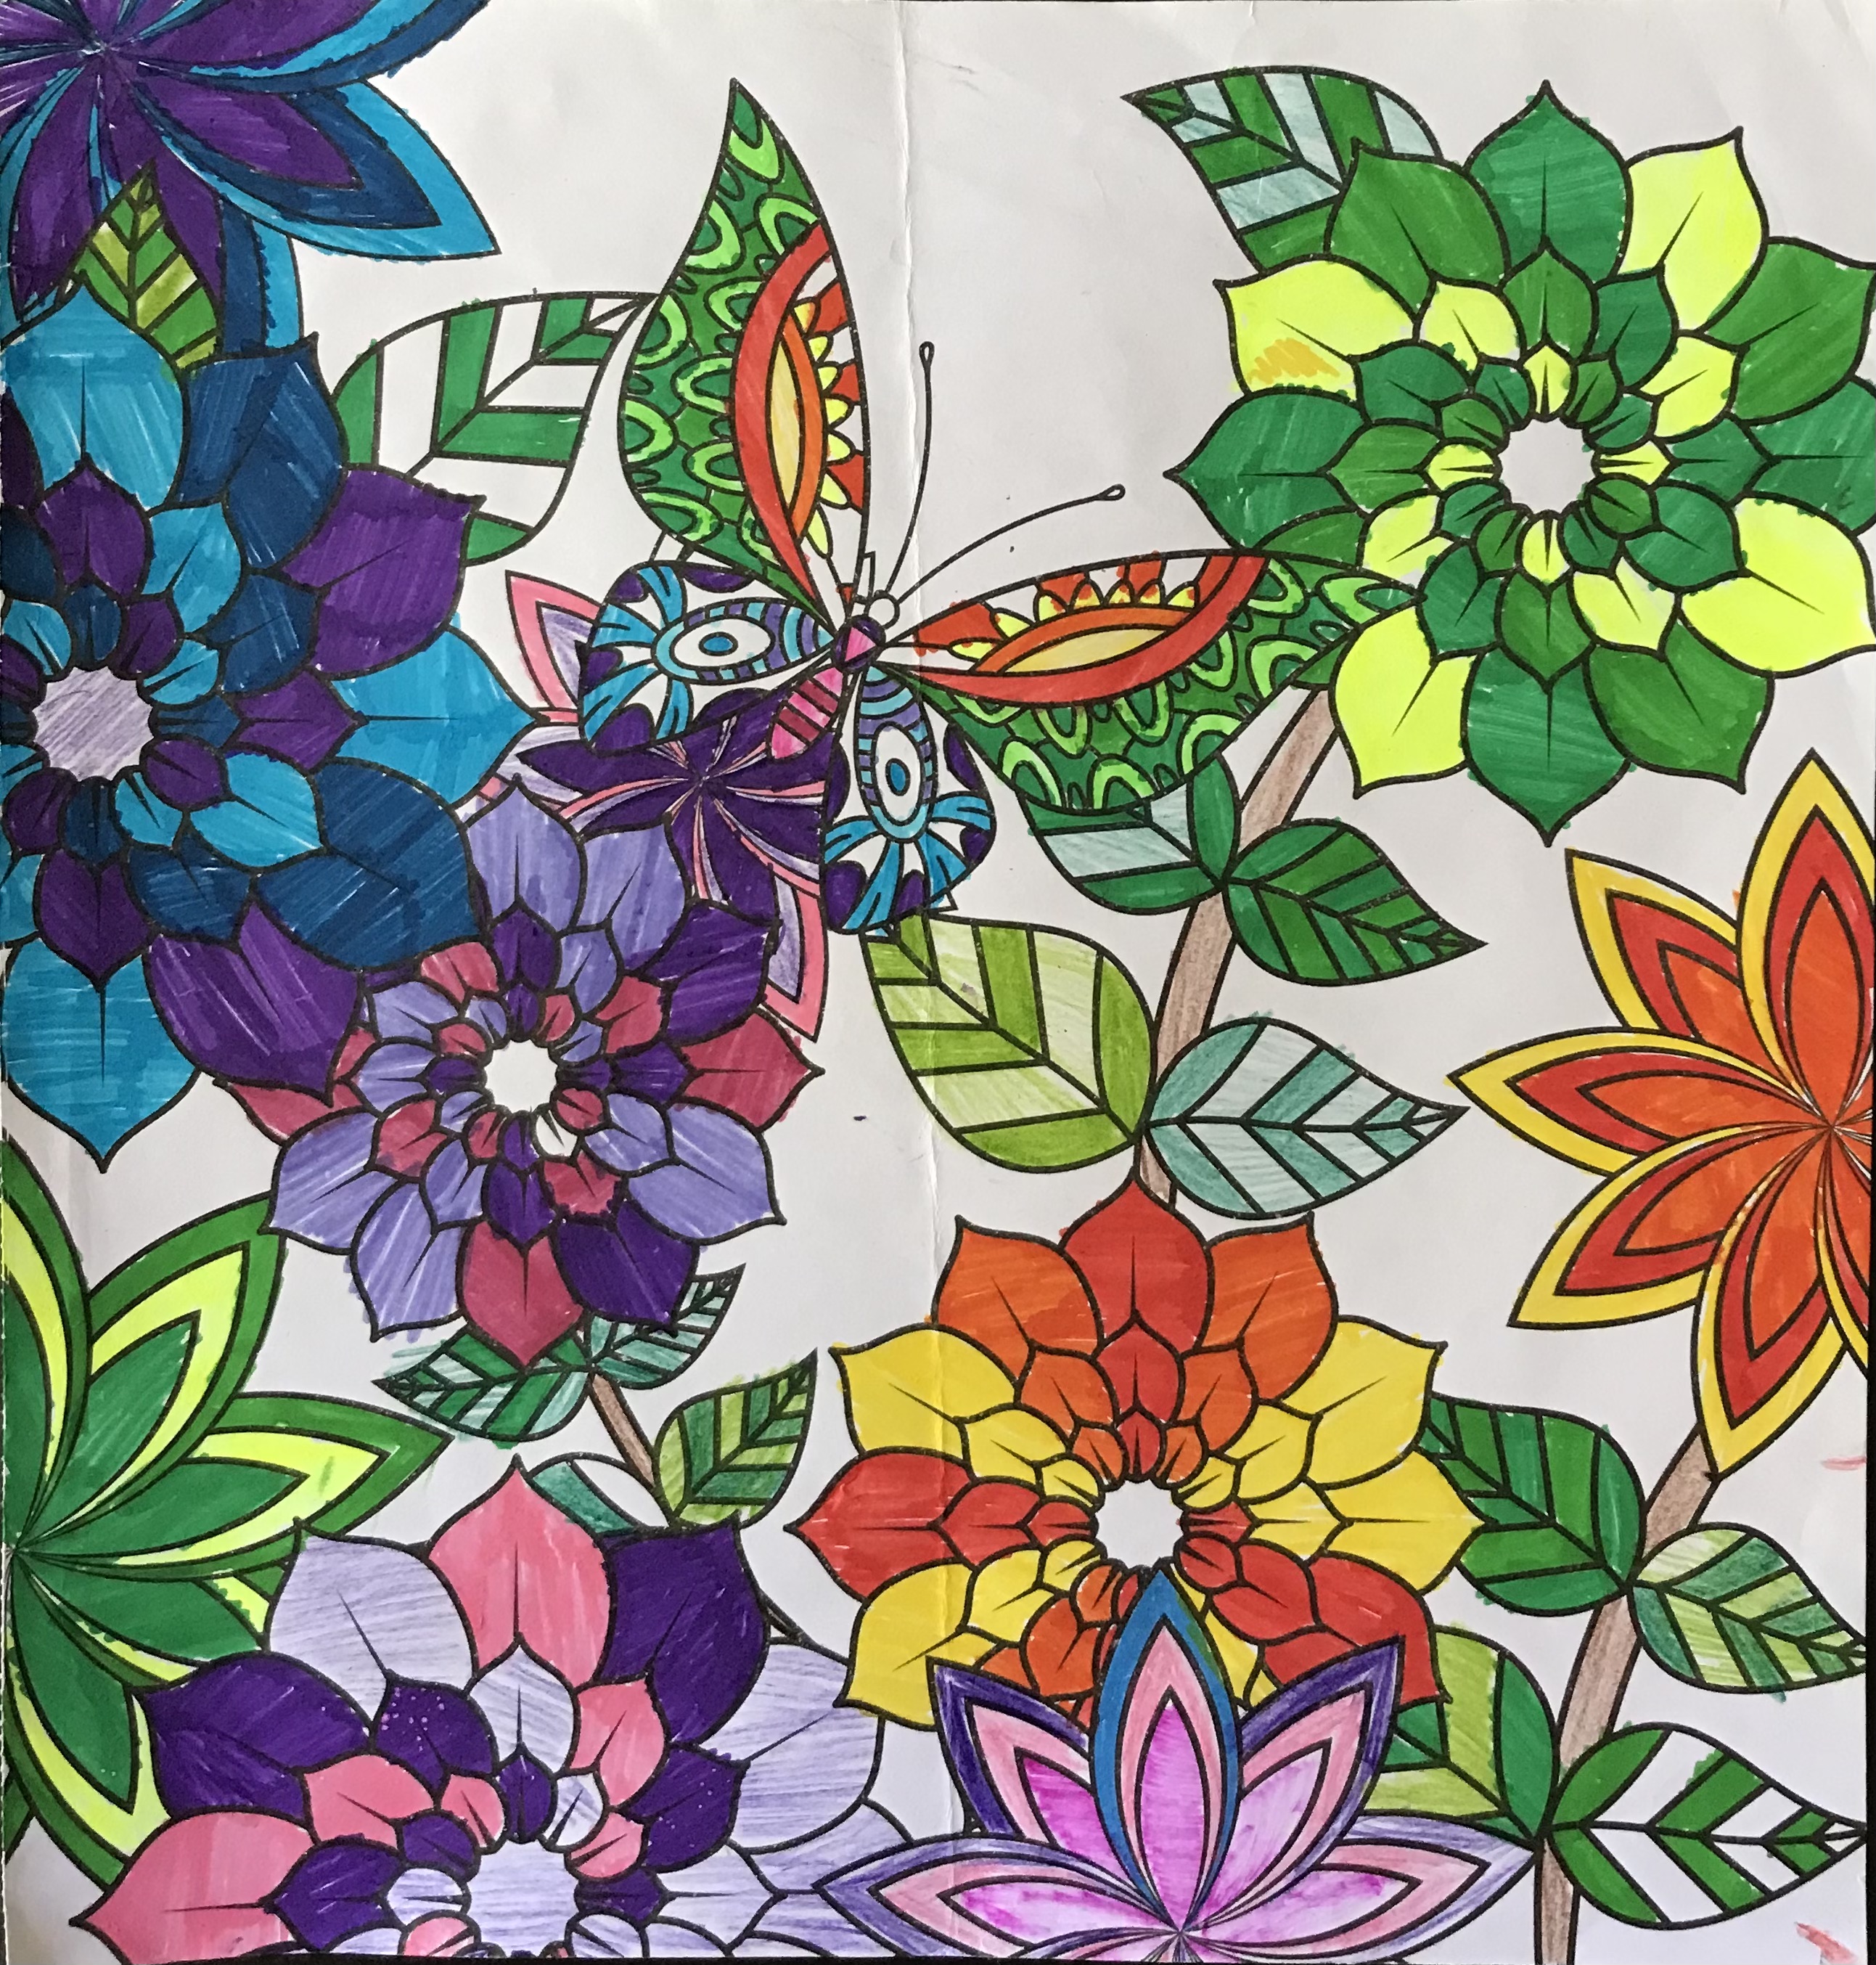
Drawing flowers can be a fun and creative activity. Here are the steps to draw a simple flower:

Materials Needed:

  • Pencil
  • Eraser
  • Paper
  • Colored pencils, markers, or crayons (optional)

Steps to Draw a Simple Flower:

  1. Draw the Center of the Flower:

    • Start by drawing a small circle in the middle of your paper. This circle will be the center of the flower, where the petals will radiate from.
  2. Draw the Petals:

    • Around the center circle, draw the first petal. Petals can be oval, teardrop-shaped, or any shape you prefer.
    • Continue drawing petals around the center circle. Try to make them roughly the same size and shape, evenly spaced around the center.
  3. Add More Petals:

    • For a more detailed flower, you can add a second layer of petals behind the first. These petals should be visible between the gaps of the first layer.
  4. Draw the Stem:

    • From the bottom of the center circle, draw a straight or slightly curved line downward for the stem.
  5. Add Leaves:

    • Draw leaves on either side of the stem. The leaves can be simple ovals or more detailed with a pointed tip and a vein in the middle.
  6. Detail the Flower:

    • Add details to your flower, such as small lines on the petals to represent texture or veins. You can also add a few more leaves or grass at the bottom.
  7. Color the Flower (Optional):

    • If you want, you can color your flower using colored pencils, markers, or crayons. You can choose any colors you like, or try to match the colors of a real flower.
  8. Add Shadows and Highlights (Optional):

    • To give your flower a more realistic look, you can add shading to the petals and leaves by lightly shading one side with your pencil. You can also add highlights by leaving certain areas lighter.

May 1, 2024

Wall Decor

 Wall Decor

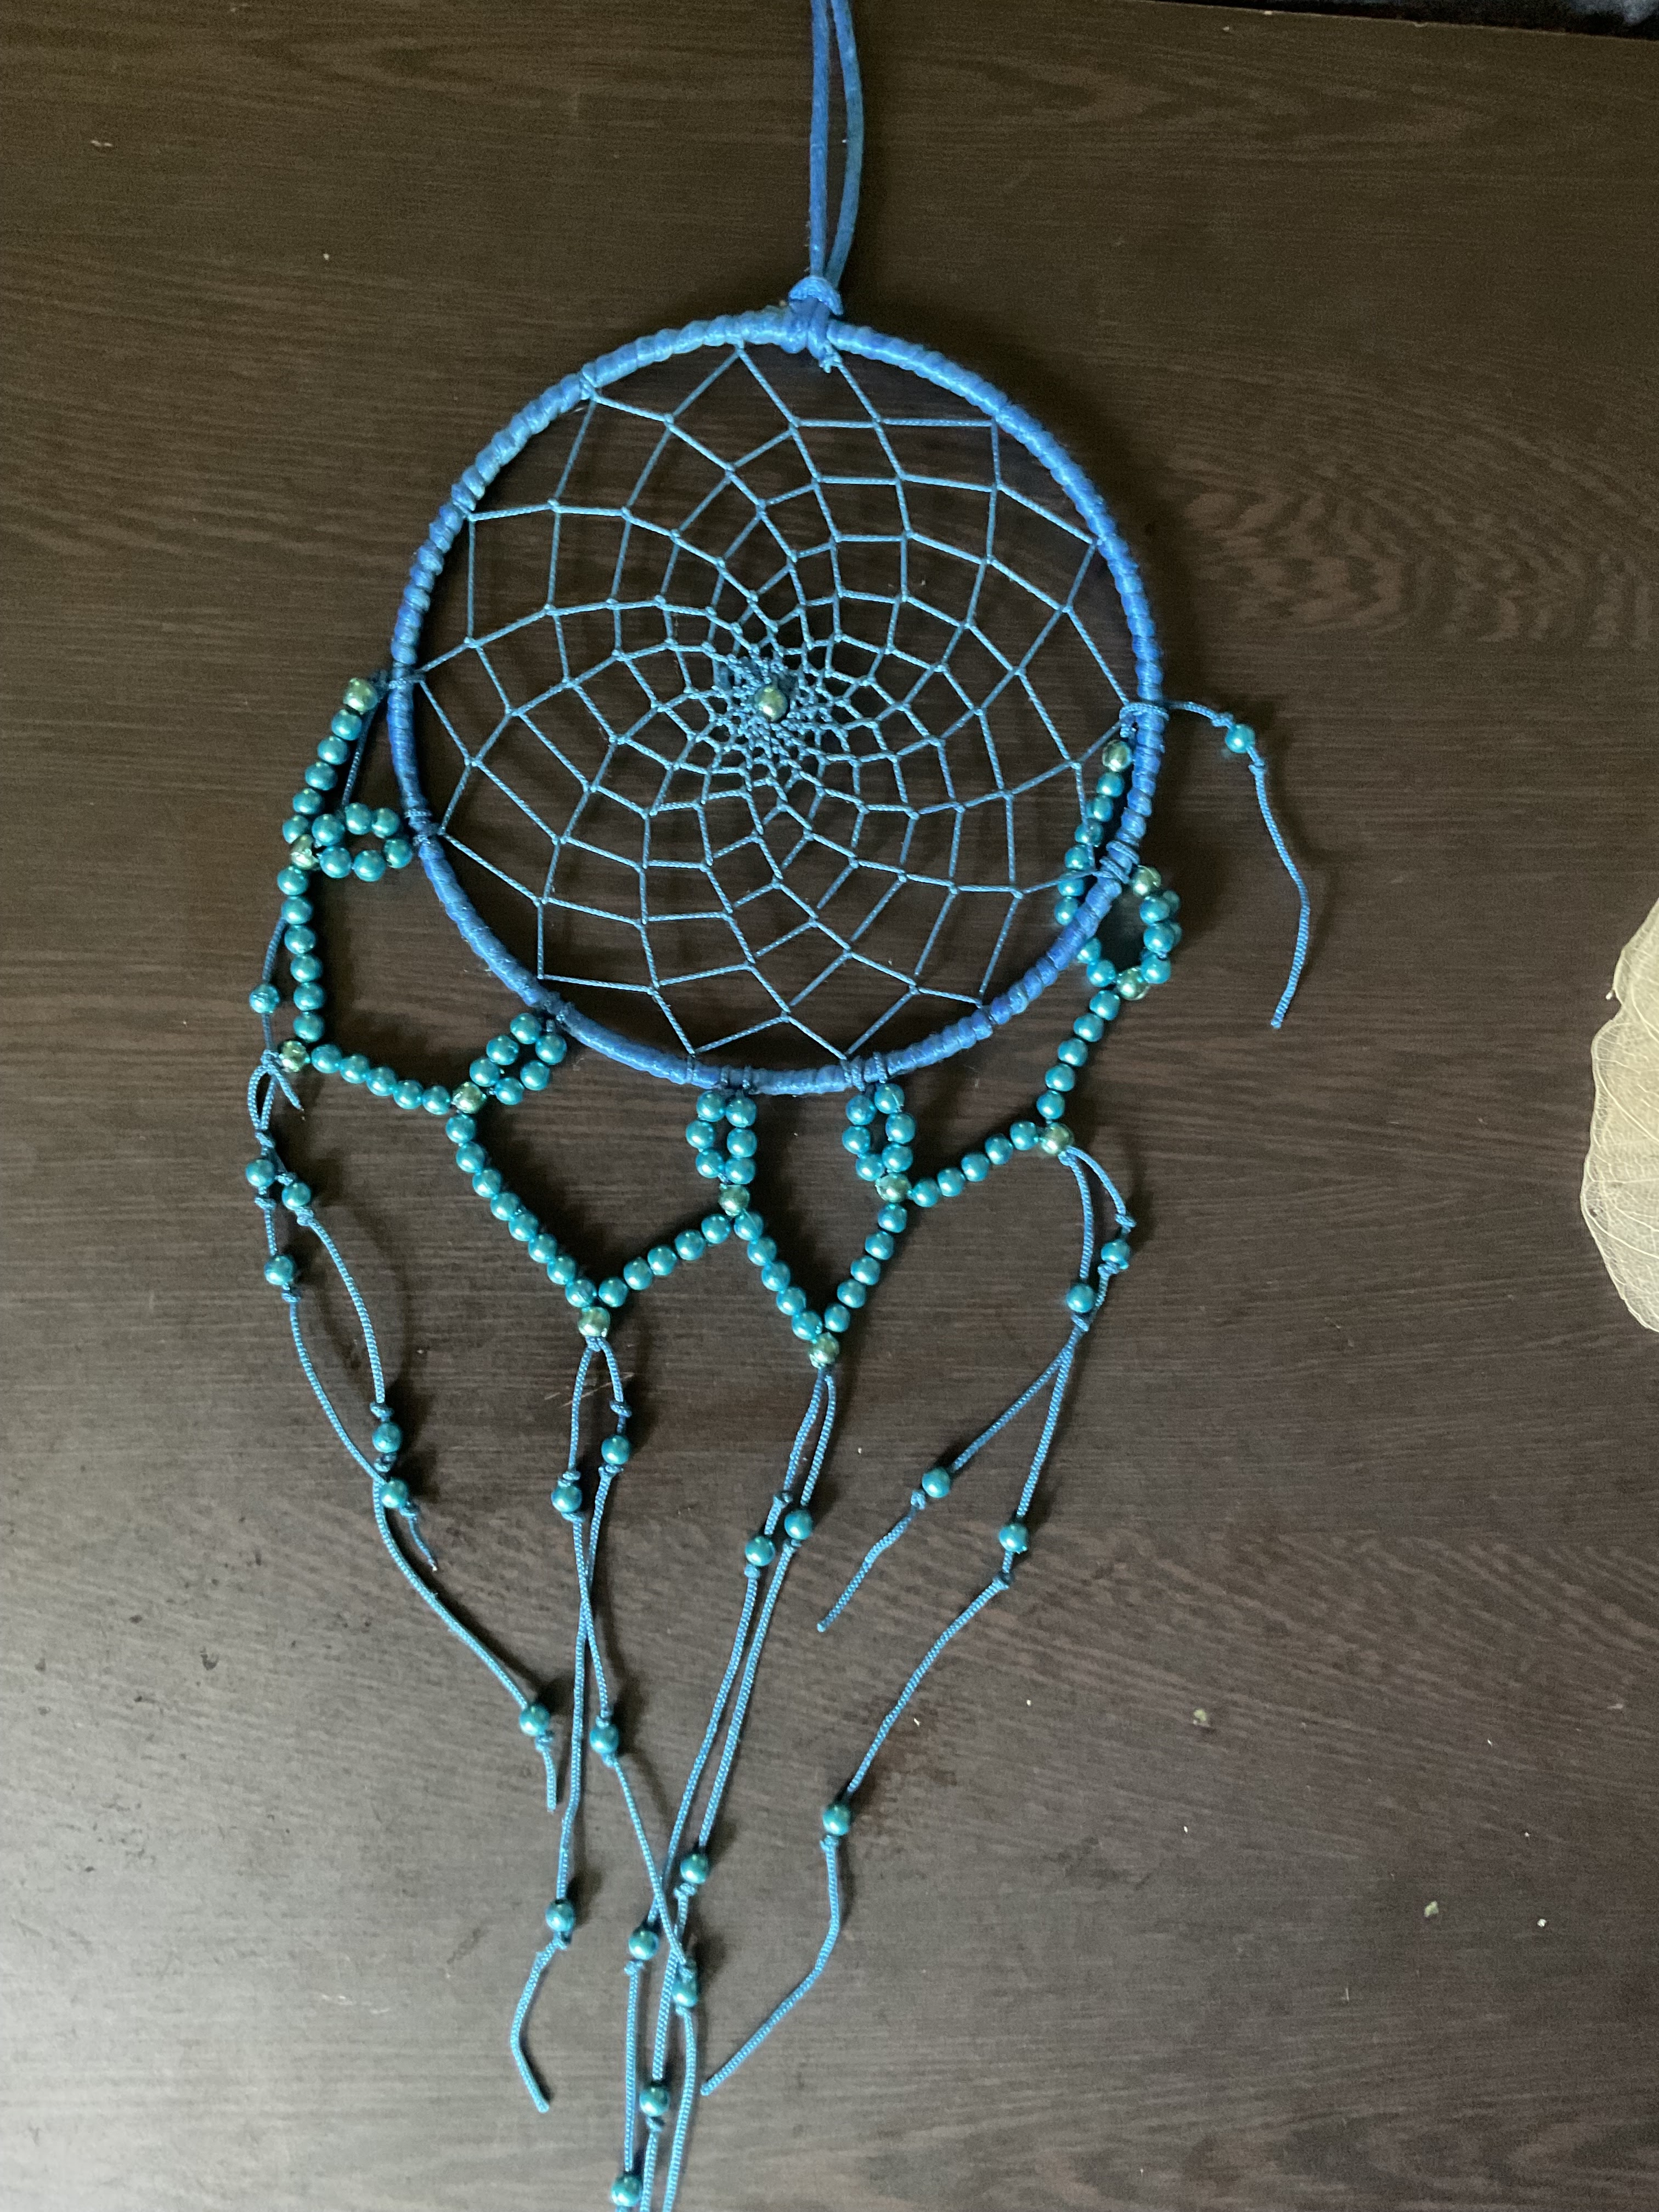
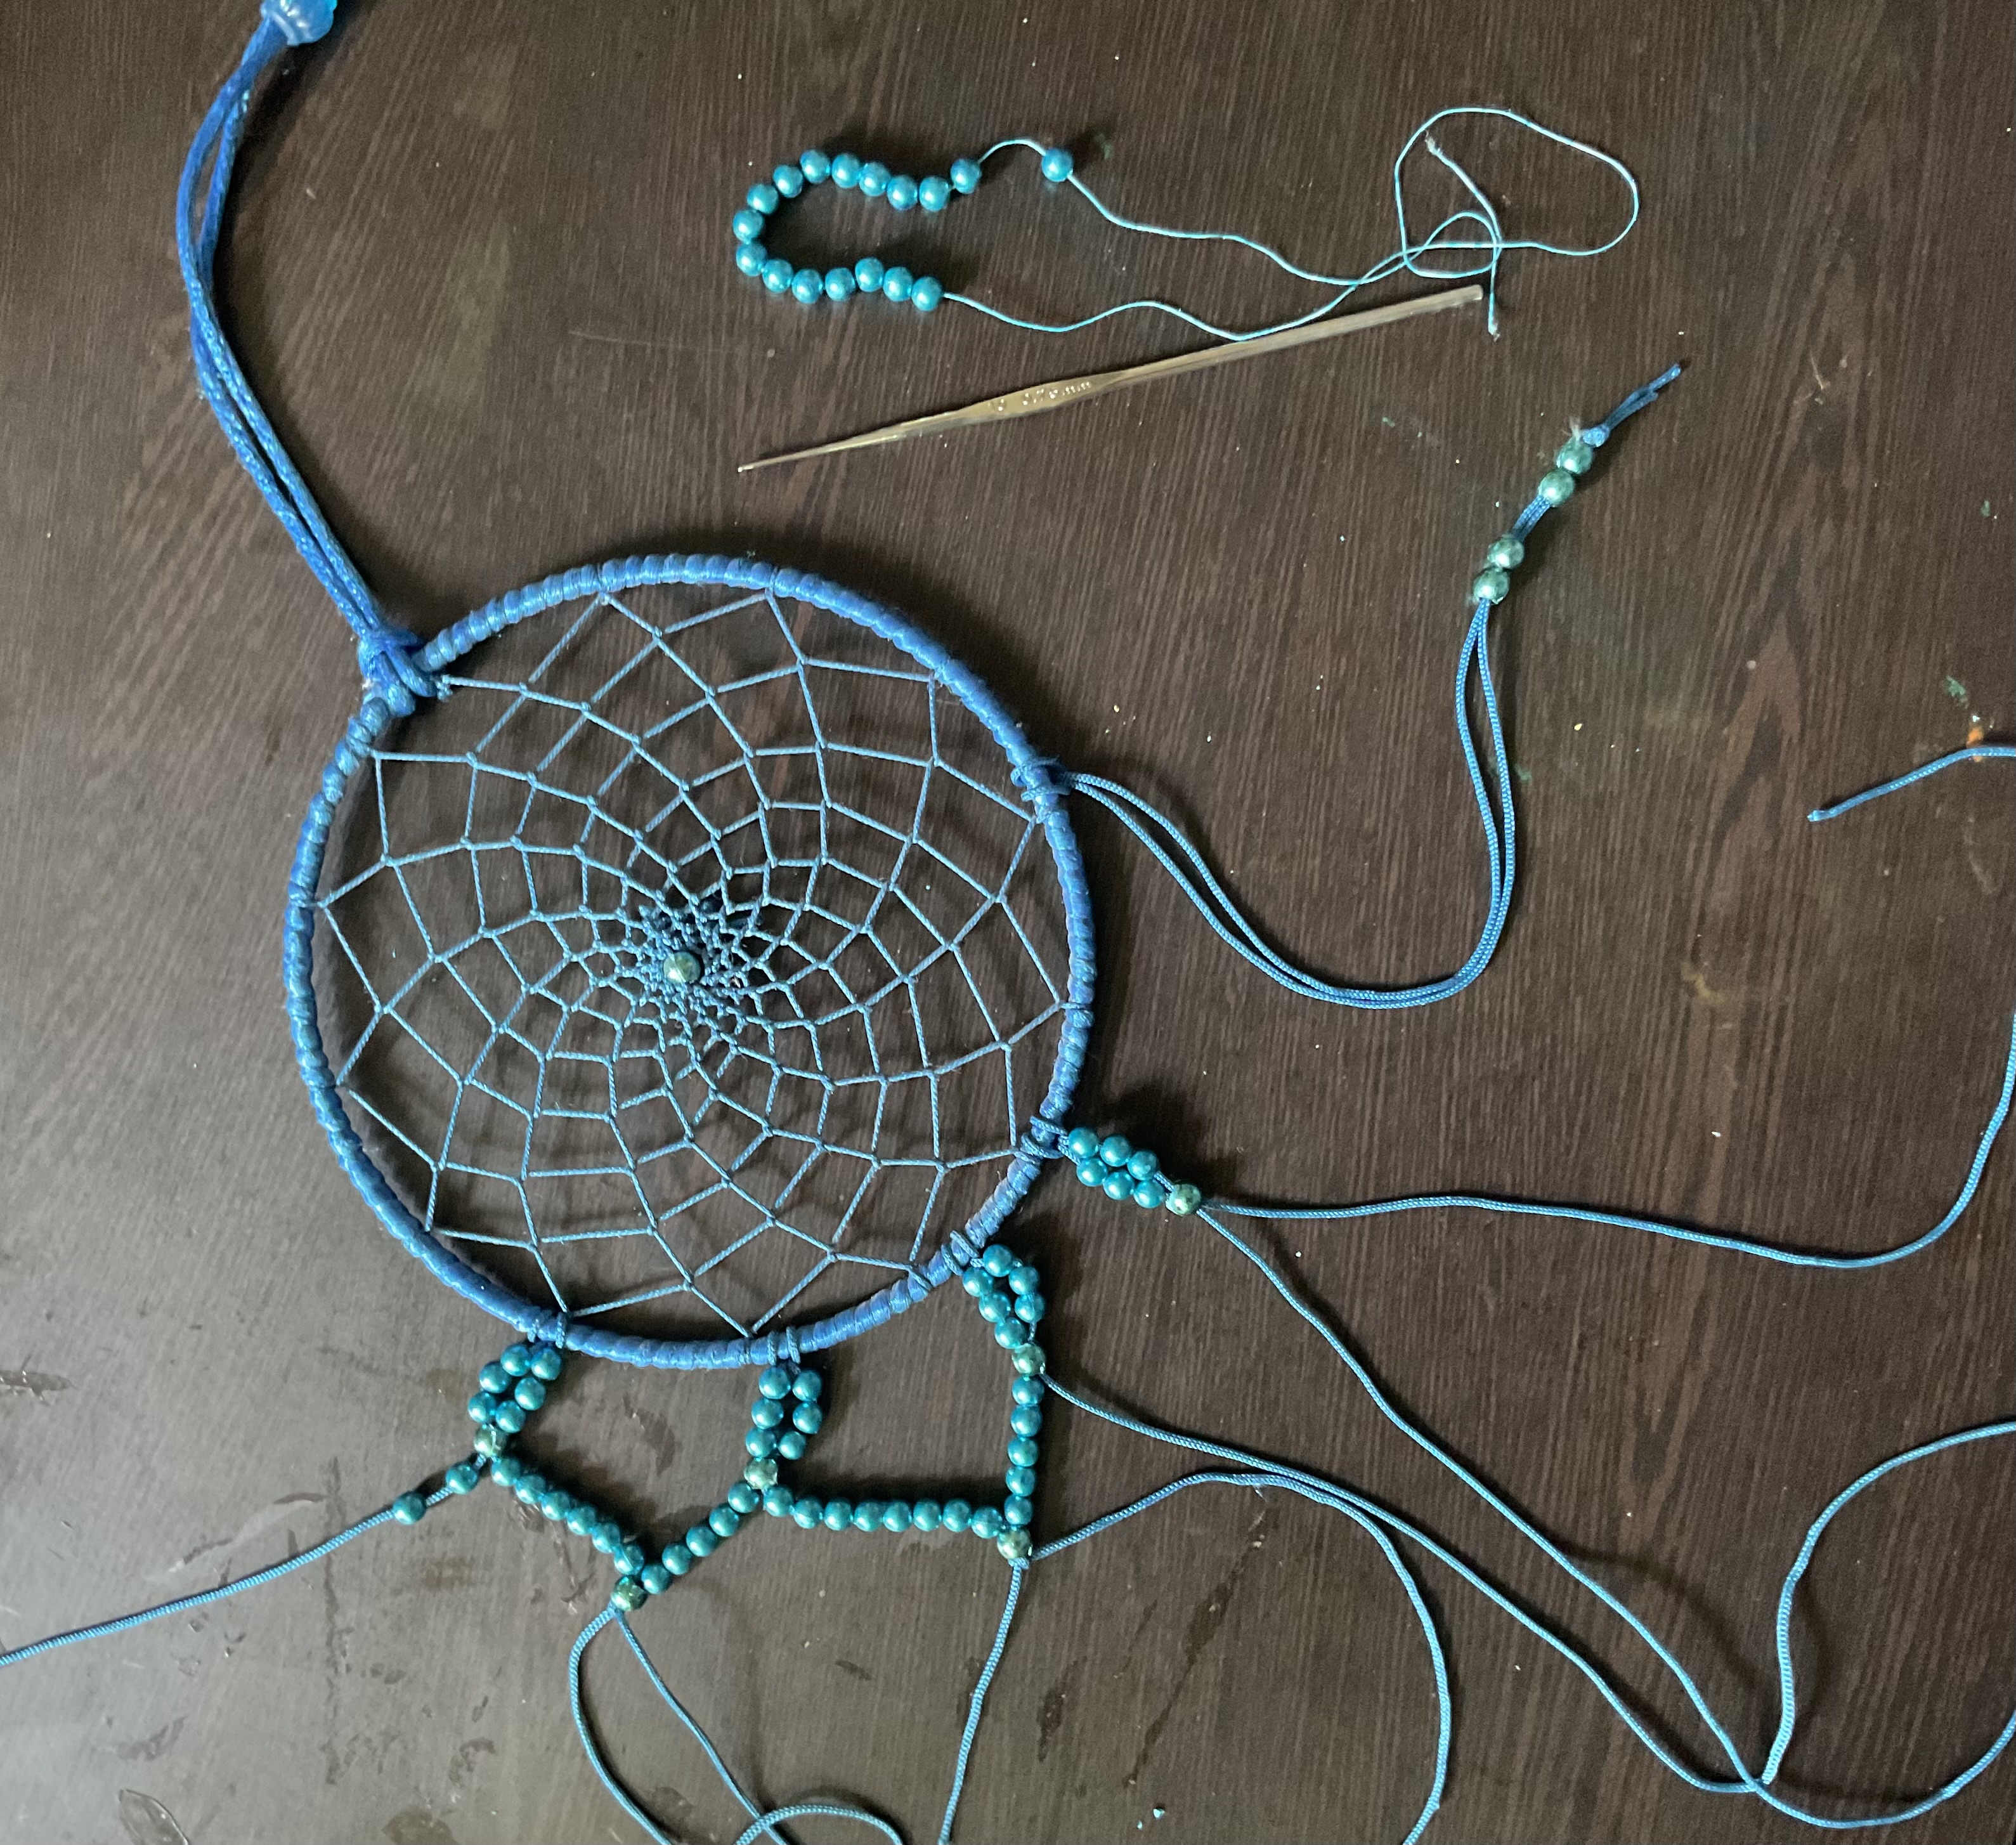
.Beautiful wall decor made with beads , feathers, blue thread, skeleton leaves, paint

  1. Wrapping the hoop. Using the 1 ply hemp, start by securing the end of the hemp to your hoop with a double knot. Wrap the hemp around the hoop by picking up the ball from the center of the hoop and bringing it up and around to the back
  2. Weaving the center web.
  3. Create the web by weaving  along the frame of the hoop, starting from the outside and working inwards.
  4. Boil the two cups of water
  5.  Remove the water from heat, add the leaves, and let them soak for 20 to 30 minutes. Once they are done soaking, scrape the pulp off like your normally would.
  6. Decorating with beads ,feathers leaves, glitters
  7. If you'd like you can add some beads to the center before finishing off.


January 27, 2024

Parrots world

 Parrot’s world 

Parrots are one of the most intelligent birds on the earth . They eat small grains like rice , fruits ans vegetables. Parrots are also originated from the Tropics , And the most important ….. Parrots come various different colours !

The most common colours of the parrot are green and red . But , they are parrots that have different colours like Parakeet , Blue-Fronted Amazon , Lovebirds and Cockatoos etc.

As you can they are many parrots with various different species , With various different qualities like colour etc. They are not only green and red which is the common .

In this post we should learn how to draw different types of parrots drawings , kids also try this drawings easy to understand.

December 22, 2023

Fox Drawing

Fox Drawing 

Foxes are species that pointes ears and narrow noses . The tails are long and bushy like. Coat colours include white ,tan gray, brown , black and red (which depends on the type of species). Some foxes also have a mix of colours . Some drawings of foxes are listed below .


Christmas Drawings

Christmas Drawings

Christmas is the annual festival celebrating the birth of Jesus Christ (who is believed as their son of their god) , observed primal ire on December 25 as a religious and cultural celebration among billions of people around the world . Here given below are some drawings related to the Christmas Day like Christmas tree or penguins as given below .

December 11, 2023

How to Draw Parrot

 Hello and Welcome back to a another  post !

Today we are going to be drawing a parrot with numbers !

Things we need :- A4 Sheet , Pencil , Eraser and Colour pencils .

So let’s get started !

Step 1 :- First , Draw two two’s one small and below it will be big .

Step 2 :- Second , Connect north the two’s to make the side of the parrot .

Step 3 :- Third ,  Draw the beak of the parrot which should drawn at the face .

Step 4 :- Fourth ,  Finish the tail of the parrot .

Step 5 :- Fifth , Draw the end of the tree and finish of by colouring the drawing .

And we are with this drawing , So we hope you like the drawing !

Thank you and Have a Great day !


Unicorn Special Drawings

Unicorn Special Drawings 

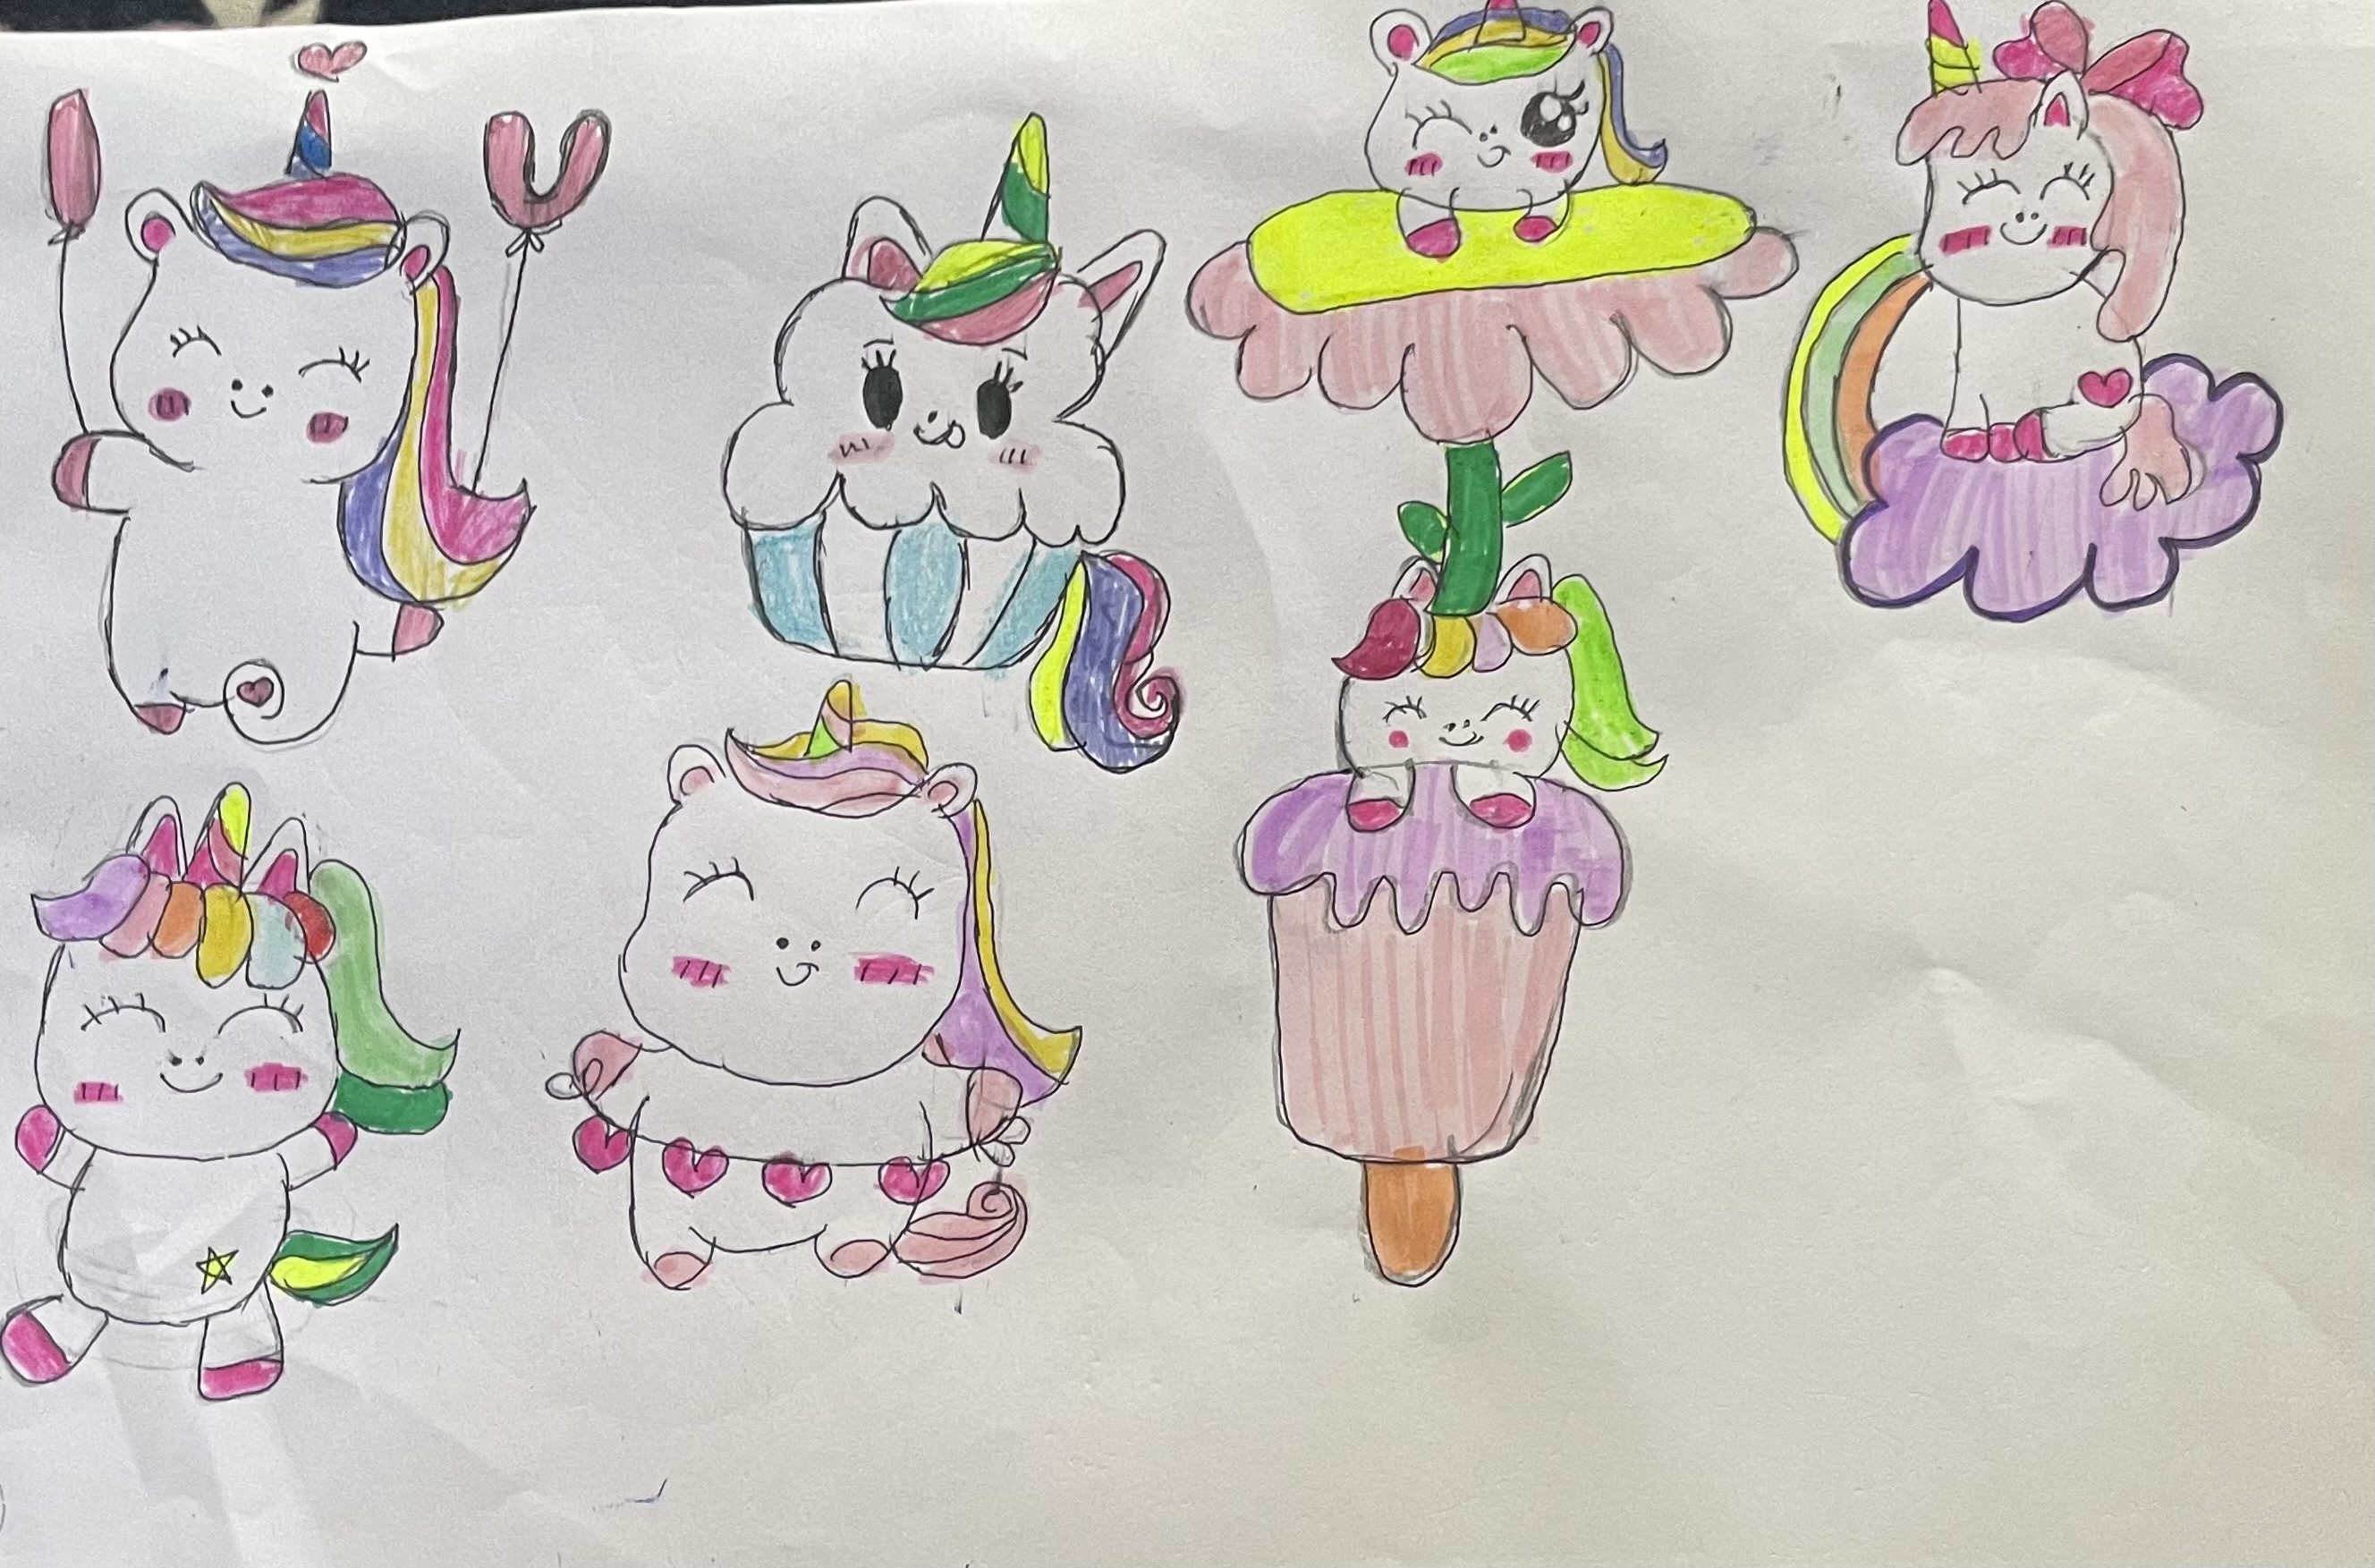
This blogs is all about ……. Unicorns! So , basically this blog is about the drawings of unicorn on various different styles either sleeping , eating , carrying something and many more other things. Given below are many more drawings of Unicorns and feel free to be inspired .


Physics Front Page Idea

Creative Physics Front Page Ideas for School Projects

A well-designed front page can make a physics project look interesting and impressive. Since physics is the study of energy, motion, forces, and the universe, the front page should reflect these ideas in a clear and creative way. With simple drawings and neat layouts, students can create an attractive physics project cover.

One common and effective idea is the science tools theme. Drawings of instruments like a pendulum, magnet, battery, bulb, or pulley immediately show that the project is related to physics. Adding labels or arrows can make the design more educational.

Another creative option is the laws and formulas theme. Writing famous formulas such as Newton’s laws of motion, speed = distance ÷ time, or Ohm’s law in neat handwriting gives the front page an academic look. These can be combined with small diagrams to keep the page visually balanced.

Students can also choose a space and astronomy theme. Illustrations of planets, stars, satellites, telescopes, or rockets highlight the connection between physics and the universe. This theme is especially suitable for projects related to light, gravity, or space science.

For a modern look, a minimalist physics design works well. Using clean lines, simple symbols like waves, atoms, or electric circuits, and limited colors keeps the front page neat and professional.

Overall, a good physics front page should be simple, creative, and related to the topic of the project. It should reflect scientific thinking while allowing room for imagination. A thoughtfully designed front page makes the project more appealing and shows a student’s interest in physics.The Branch of Science that deals with the structure of matter. It studies objects ranging from the very small using to the entire universe. It also involves study of its motion and behaviour through space and time .This Front Page Idea is all about physics basically you can see given below like a pendulum , Atomic Structure and many more other that you can see below .

History Project (Front Page Ideas)

 History Project 

(Front Page Idea ; About two Constituent Members)
  • First up is the front page idea 💡, Here I have the components of History like the Prehistoric Era , the Egyptian Civilisation ( The Pyramids of Giza ) , the Roman Empire , The period when the King ruled and etc.
  • Second up is the first page of the project , I have chosen the first constitution member as Sir Nyapathi Madhava Rau and I did research about him and his life and wrote on a A4 sheet and I also toke a picture of him during the time he was alive.
  • Third up is the second page of the project , I have chosen the first constitution member as Rajendra Prasad (The President of the Constitution )and I did research about him and his life and wrote on a A4 sheet and I also toke a picture of him during the time he was alive.

And that’s it what was the project 
Thank you and , we hope this helped you !

English Front page (PROJECT)

 ENGLISH FRONT PAGE IDEA

For this English Front page idea you need to know the elements of English like what is basically English but in the form of pictures. The first thing that might come to your mind is that writers/poets and poem and books and another thing that can also come to your mind is writing and pens (Here I have some the picture of William Shakespeare, Pens, Books, Candles and Inks). After thinking for thoroughly add the elements that you thought of English and draw them in pictures. After that just outline and colour it up . And we are done we this explanation of How you can this English Front page idea for a Project . 

So we hope you like and Thank you and Goodbye !


December 8, 2023

Flower vase Drawings

Flower Vase Drawings 

Step-by-Step Guide to Drawing a Flower Vase

Materials You’ll Need:

  • Paper
  • Pencil (preferably an HB or 2B pencil for sketching)
  • Eraser
  • Colored pencils or markers (optional for adding color)

Here are some drawings below to look at !


Step 1: Sketch the Outline of the Vase

Begin by drawing the outline of your vase. Start with a straight vertical line in the center of your page. This will act as a guide to ensure your vase is symmetrical.

On either side of the line, draw two slightly curved lines going downwards. These lines should resemble the outer edges of the vase. Connect the bottom of these lines with a smooth, curved line to form the base of the vase.

For the opening, draw an oval at the top of the vertical guide. This oval will represent the mouth of the vase.

Step 2: Add Details to the Vase

Now, refine the shape of your vase by adding details. You can decide whether you want a simple vase or a more ornate one with a decorative rim or handles. To draw the handles, sketch two loops or curves on each side of the vase.

Once you’re happy with the shape, erase any unnecessary guide lines to clean up the drawing.

Step 3: Draw the Flowers

Now comes the fun part—adding flowers! Begin by drawing the stems inside the vase, starting from the base and extending upward through the opening. The stems can be straight or slightly curved.

For the flowers, you can draw basic shapes like circles or ovals to represent the heads of the flowers. If you want to draw more detailed flowers like roses or daisies, lightly sketch out the petals one by one. A variety of flowers adds interest and dimension to your drawing.

Step 4: Add Leaves and Foliage

To complete the look, add some leaves and foliage around the flowers. Draw simple almond-shaped leaves along the stems, and vary their sizes for a natural effect. You can also add tiny buds or decorative elements like ferns for more variety.

Step 5: Shade Your Drawing

Shading is what brings your drawing to life. Start by identifying the light source. Decide where the light is coming from, then shade the opposite side of the vase and flowers to create depth.

Use soft, smooth strokes to shade the body of the vase, focusing on areas where the curves naturally create shadows. For the flowers, use light shading for the petals and darker tones for the areas hidden from the light.

Step 6: Add Color (Optional)

If you’d like to bring even more vibrancy to your drawing, feel free to add color using colored pencils, markers, or watercolors. Choose soft, pastel shades for a classic look, or bold, bright colors to create a modern, striking image.

Drawing of Lightning McQueen

Drawing of Lightning McQueen

Lightning McQueen #95 (number 95) is a famous , fast , movie/actor character from the Movie, Cars.
He is known for reaching very fast speeds  .” Faster than fast, Quicker than quick , I am Lightning. “ was said by Lightning McQueen which indicates or shows his levels of speed . Below the are given steps or picture you could say to draw lightning McQueen: :


December 3, 2023

Colouring Inspiration

Coloring Inspiration: Bringing a Bird to Life with Colors and Threads

Sometimes, creativity flows when we take a simple coloring template and turn it into something uniquely beautiful. That’s exactly what this project is about: drawing inspiration from coloring sheets and adding personal touches to bring them to life in a vibrant, textured way.

If you're looking for a relaxing and enjoyable activity, try adding your own spin to a pre-made template with colors, textures, or even materials like thread! Here’s how I transformed a simple bird template into a colorful piece of art using a combination of thread art and coloring.


What You’ll Need:

  1. Coloring Template – You can use a printed bird template or draw your own simple bird outline.
  2. Embroidery Threads – Grab a few colors like yellow, green, blue, and white for texture.
  3. Colored Markers or Pencils – Reds, greens, and blues to add depth to the design.
  4. Glue – To stick threads in place.
  5. Scissors – To cut the thread.
  6. Thick Paper or Cardstock – A strong base is ideal to hold the weight of threads and colors.
  7. Optional Frame – Add a finishing touch by framing your piece.

Step 1: Start with a Simple Bird Template

Whether you’re using a pre-drawn template or one you’ve sketched yourself, begin by printing or outlining the bird. This project can be as simple as coloring inside the lines or as elaborate as adding materials like thread to enhance the design.

  • Body and Feathers: The template I used had a lovely bird with flowing tail feathers that begged for some extra flair. Start by lightly coloring the body and outline the feathers.

Step 2: Add Texture with Threads

One of the most fun and creative parts of this project is adding texture with embroidery thread. If you’re feeling adventurous, try this out:

  • Feather Threads: Glue colored threads along the bird’s feather lines. I used bright yellows and dark blues to create a 3D effect, layering the thread to mimic real feathers.
  • Layer the Threads: You can create depth by using different colors and thicknesses of thread. Start with darker shades for the base and use lighter ones for the highlights.

Don’t be afraid to get creative here! The combination of texture and color really makes the bird come alive.


Step 3: Color the Body and Background

While the threads are drying, take the time to color in the bird’s body and surrounding elements. You can use colored pencils, crayons, or markers — whatever inspires you!

  • Body and Wings: I chose darker shades for the body to contrast with the bright threadwork on the feathers.
  • Land and Plants: Add some greenery to the background — a few shrubs or grass patches to give the bird a place to stand. It’s a simple addition but adds so much charm to the finished piece.

Step 4: Finishing Touches

Once your threads are set and your coloring is complete, step back and admire your work! If you’re really proud of it (which you should be!), consider adding a border around the paper and framing it to give it a polished look.


Final Thoughts: Color Your Own Way!

This bird template was just a starting point, and that’s what makes coloring so enjoyable — the freedom to add your own twist to a simple idea. Whether you stick to the basics of coloring or go all out with different materials like I did, this project is about letting your creativity guide you.

Feel free to be inspired by this blog and take on this project your way! Whether you draw, color, or even add your own textures, there’s no wrong way to create. You might just surprise yourself with how much fun you have while crafting something beautiful.


Happy coloring and crafting!


June 20, 2023

Beauty of Earth

Beauty of Earth 

We live on the most beautiful planet, Earth which is very clean and attractive and nature full of greenery. Nature is our best friend which provides us all the resources to live here. It gives us water to drink, pure air to breathe, food to eat, land to stay, animals, plants for our other uses, etc for our good . We should fully enjoy the nature without disturbing its environment. We should care for our nature, make it peaceful, keep it clean and prevent it from the destruction so that we can enjoy nature forever. Nature is a most precious gift given by the God to us to enjoy but not to harm or destroy.

Thank you and hoped you liked these drawings below !