Flower Vase Drawings
Step-by-Step Guide to Drawing a Flower Vase
Materials You’ll Need:
- Paper
- Pencil (preferably an HB or 2B pencil for sketching)
- Eraser
- Colored pencils or markers (optional for adding color)

Step 1: Sketch the Outline of the Vase
Begin by drawing the outline of your vase. Start with a straight vertical line in the center of your page. This will act as a guide to ensure your vase is symmetrical.
On either side of the line, draw two slightly curved lines going downwards. These lines should resemble the outer edges of the vase. Connect the bottom of these lines with a smooth, curved line to form the base of the vase.
For the opening, draw an oval at the top of the vertical guide. This oval will represent the mouth of the vase.
Step 2: Add Details to the Vase
Now, refine the shape of your vase by adding details. You can decide whether you want a simple vase or a more ornate one with a decorative rim or handles. To draw the handles, sketch two loops or curves on each side of the vase.
Once you’re happy with the shape, erase any unnecessary guide lines to clean up the drawing.
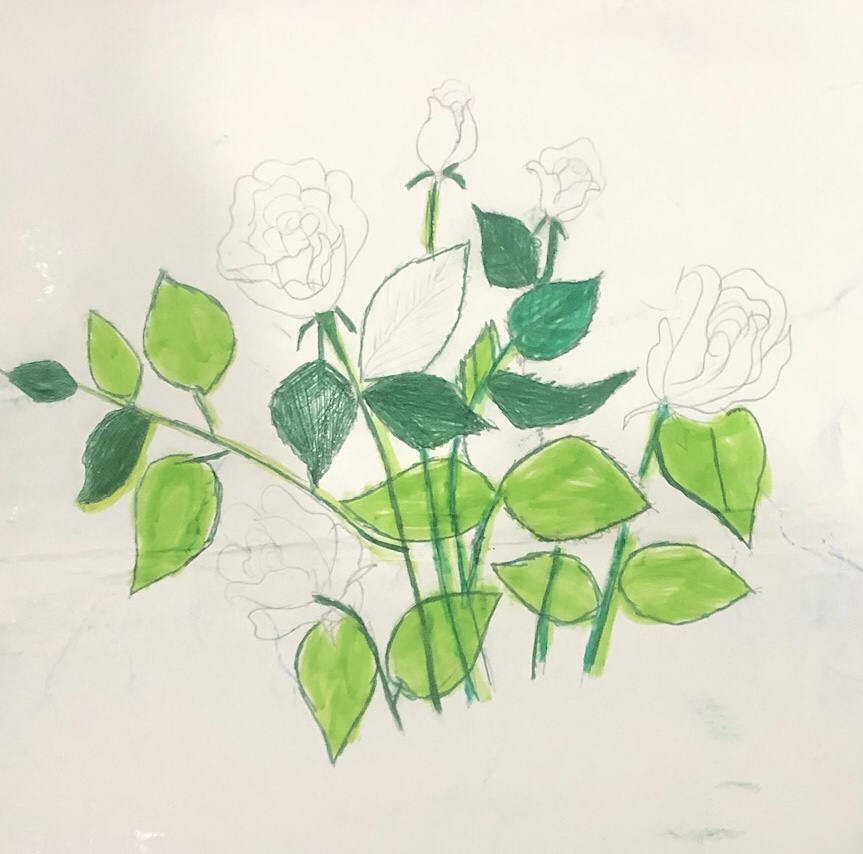
Step 3: Draw the Flowers
Now comes the fun part—adding flowers! Begin by drawing the stems inside the vase, starting from the base and extending upward through the opening. The stems can be straight or slightly curved.
For the flowers, you can draw basic shapes like circles or ovals to represent the heads of the flowers. If you want to draw more detailed flowers like roses or daisies, lightly sketch out the petals one by one. A variety of flowers adds interest and dimension to your drawing.
Step 4: Add Leaves and Foliage
To complete the look, add some leaves and foliage around the flowers. Draw simple almond-shaped leaves along the stems, and vary their sizes for a natural effect. You can also add tiny buds or decorative elements like ferns for more variety.
Step 5: Shade Your Drawing
Shading is what brings your drawing to life. Start by identifying the light source. Decide where the light is coming from, then shade the opposite side of the vase and flowers to create depth.
Use soft, smooth strokes to shade the body of the vase, focusing on areas where the curves naturally create shadows. For the flowers, use light shading for the petals and darker tones for the areas hidden from the light.
Step 6: Add Color (Optional)
If you’d like to bring even more vibrancy to your drawing, feel free to add color using colored pencils, markers, or watercolors. Choose soft, pastel shades for a classic look, or bold, bright colors to create a modern, striking image.


No comments:
Post a Comment