September 21, 2021

Pencil Tree

Hello Guys !

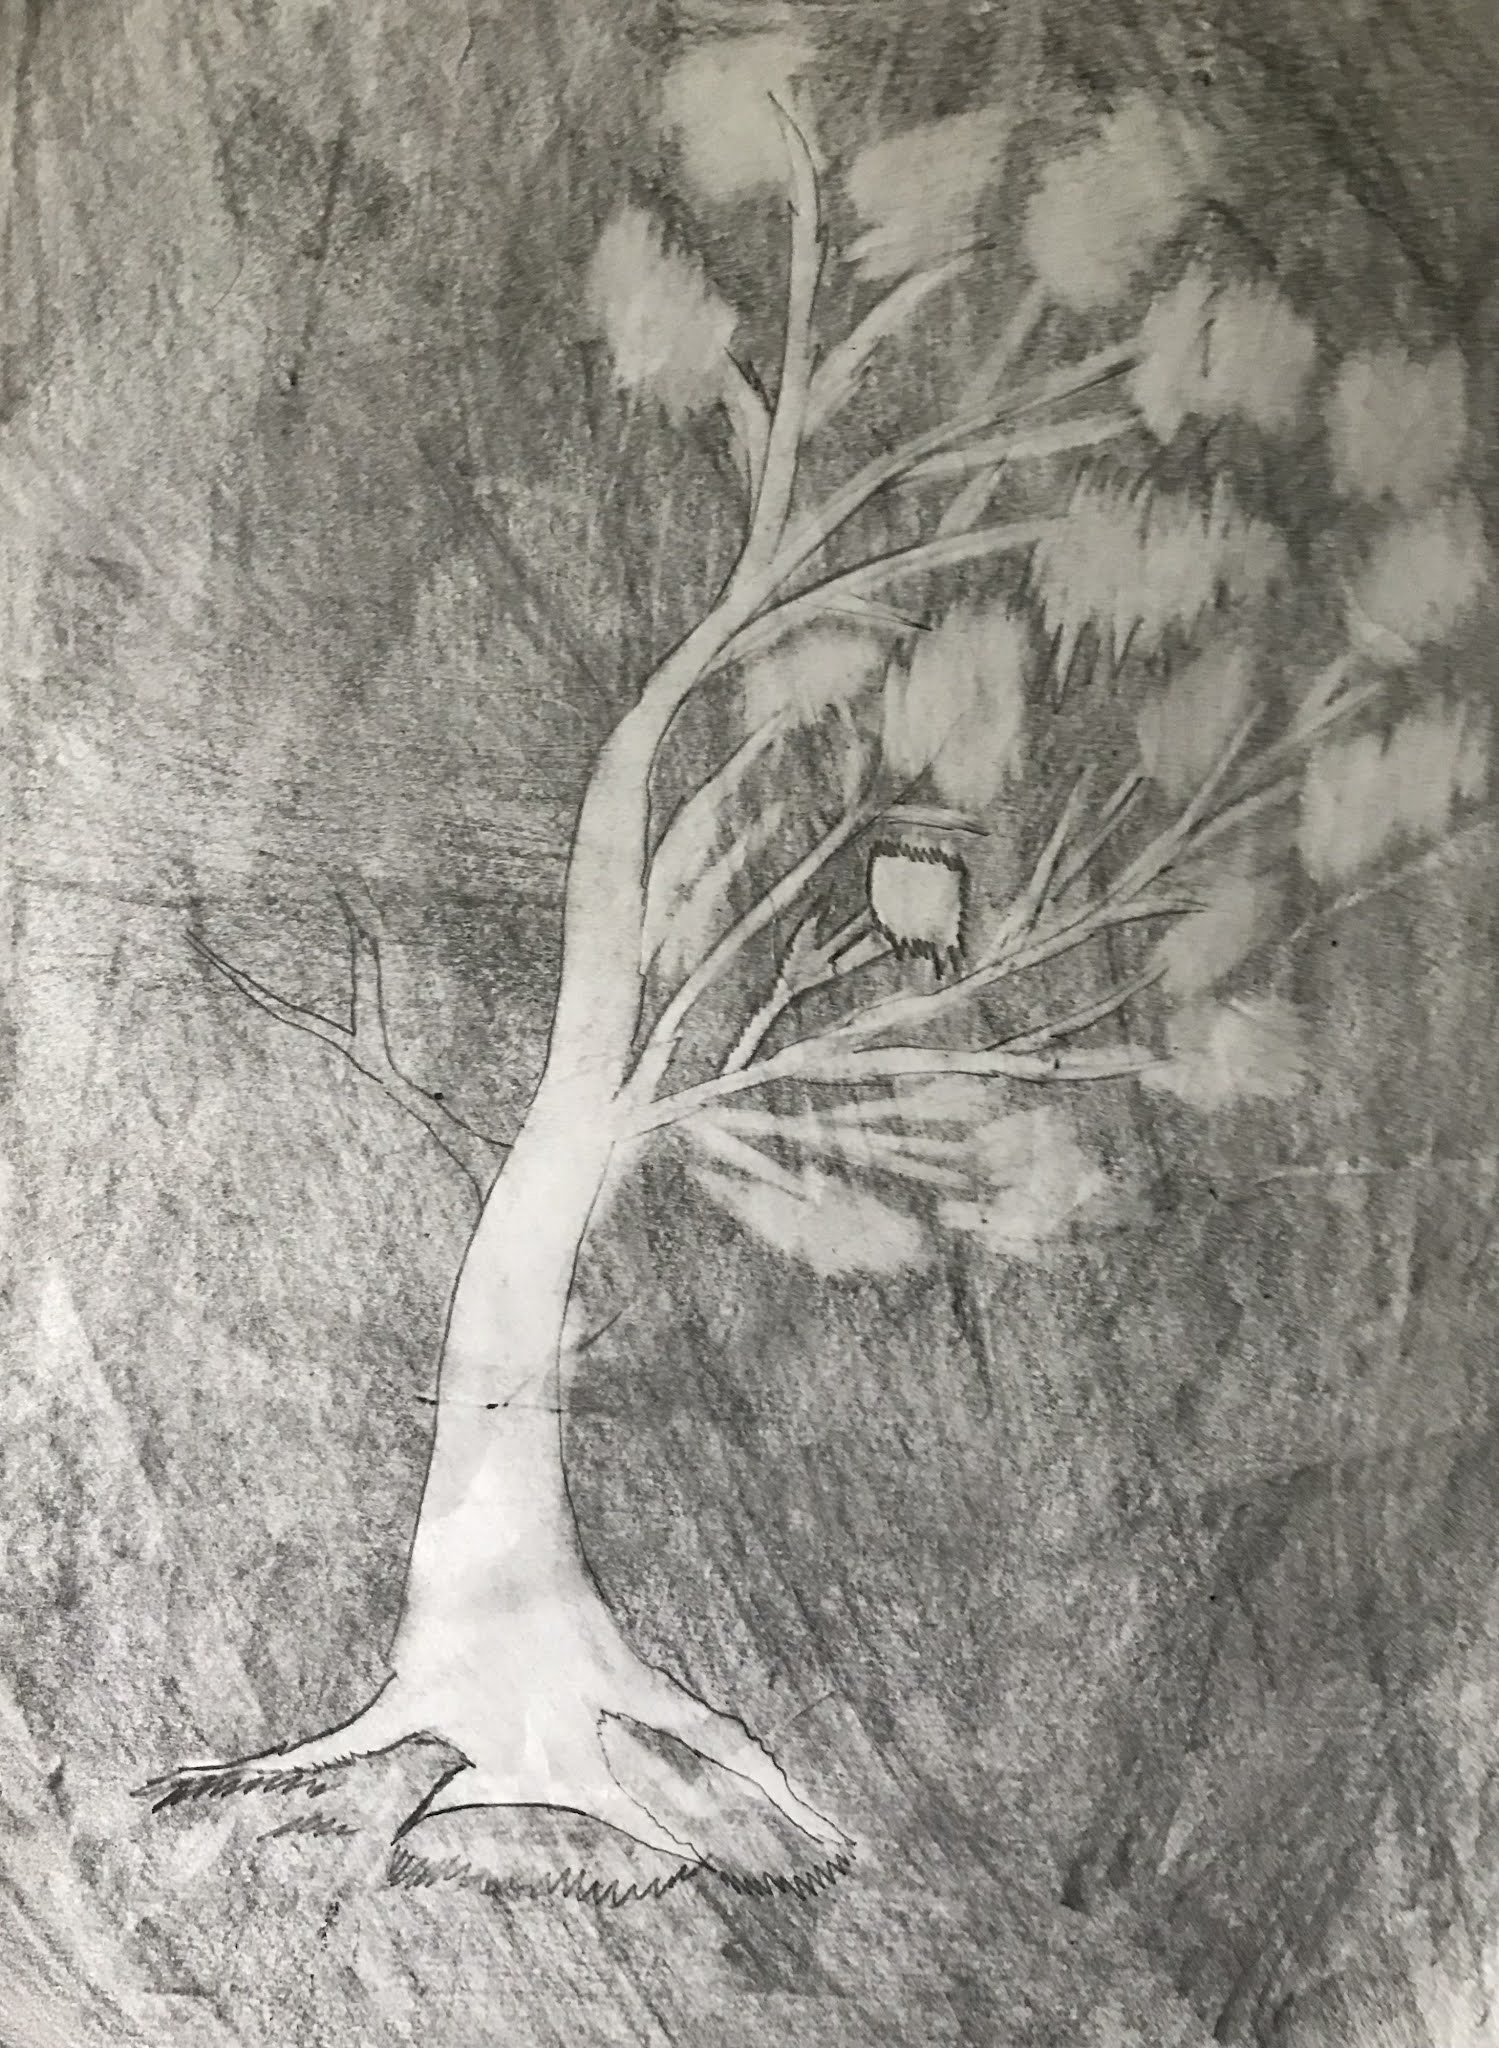
Today we are going to be drawing this Tree with a pencil and eraser !

Things we need = dark pencil and a eraser

So let’s get started !

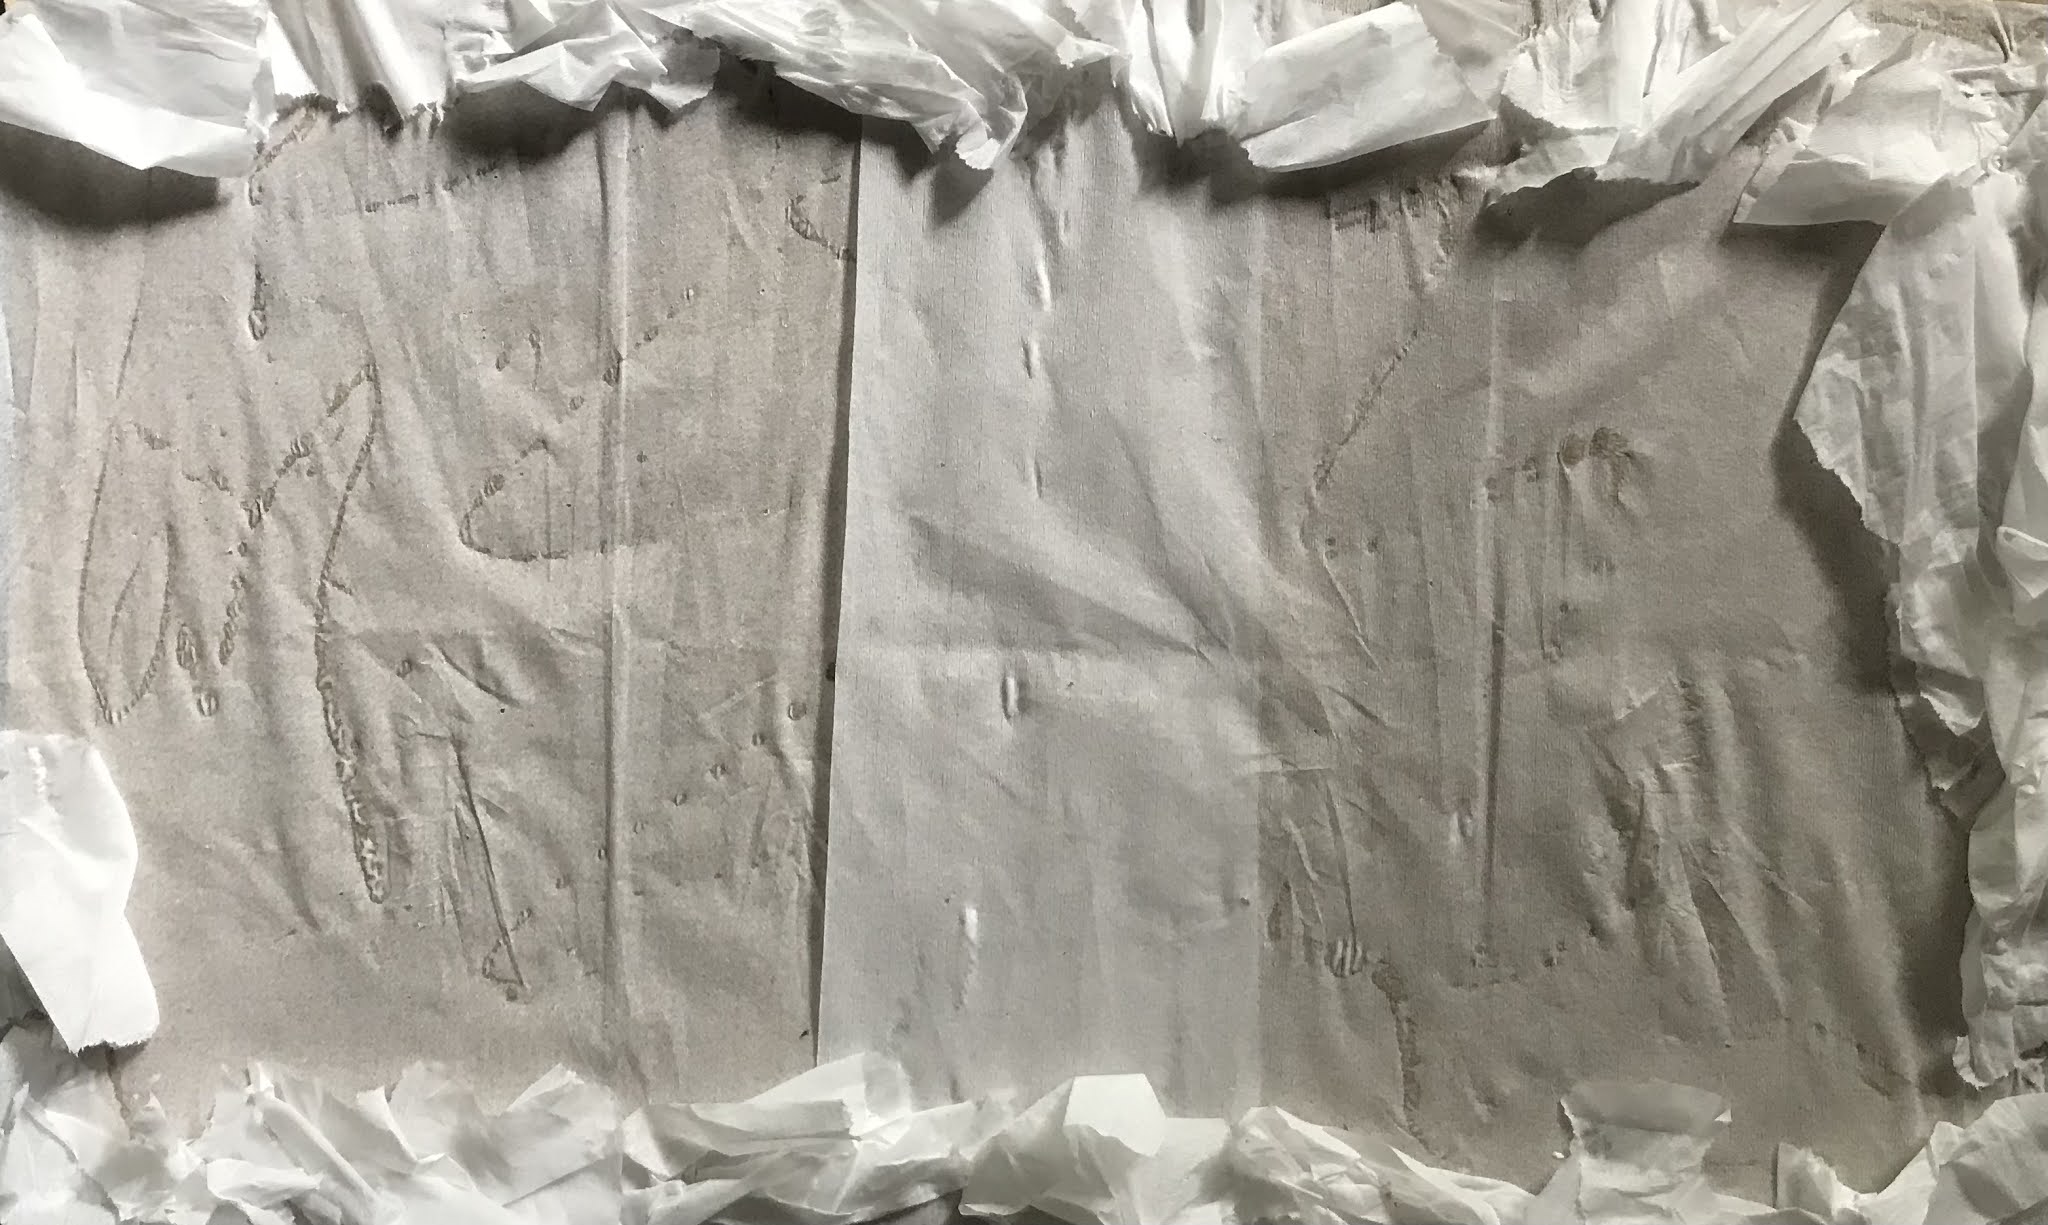
Step 1 : First , take a dark or light pencil and shade the entire page with the dark pencil (I prefer to dark pencil ) .

Step 2 : Second , take an eraser and draw the stems and bark of the tree .

Step 3 : Third , after that is done draw zigzag lines at the edges of the each branch .

Step 4 : Fourth , outline the drawing with a pencil and on the leaves .

And we are done with the drawing the tree with only a pencil and eraser !


September 20, 2021

Hibiscus 🌺


Hi guys !

Today we are going to be learning how to draw a Hibiscus !

About Hibiscus :

Hibiscus is a genus of flowering plants in the mallow family, Malvaceae. The genus is quite large, comprising several hundred species that are native to warm temperate, subtropical and tropical regions throughout the world .

Things we need = Oil pastels , Pen , Pencil , Marker .

So let's get started !

Step 1 : First , draw the five petals of the Hibiscus .

Step 2 : Second , draw the stem of the Hibiscus .

Step 3 : Third , draw the small dots or small stems on the stem of the Hibiscus .

Step 4 : Fourth , draw the main stem of the Hibiscus .

Step 5 : Fifth , Next do some colouring or add some mountains , clouds and pond if you want extra scenery .


August 11, 2021

Tree Craft Making Ideas

Hello guys !

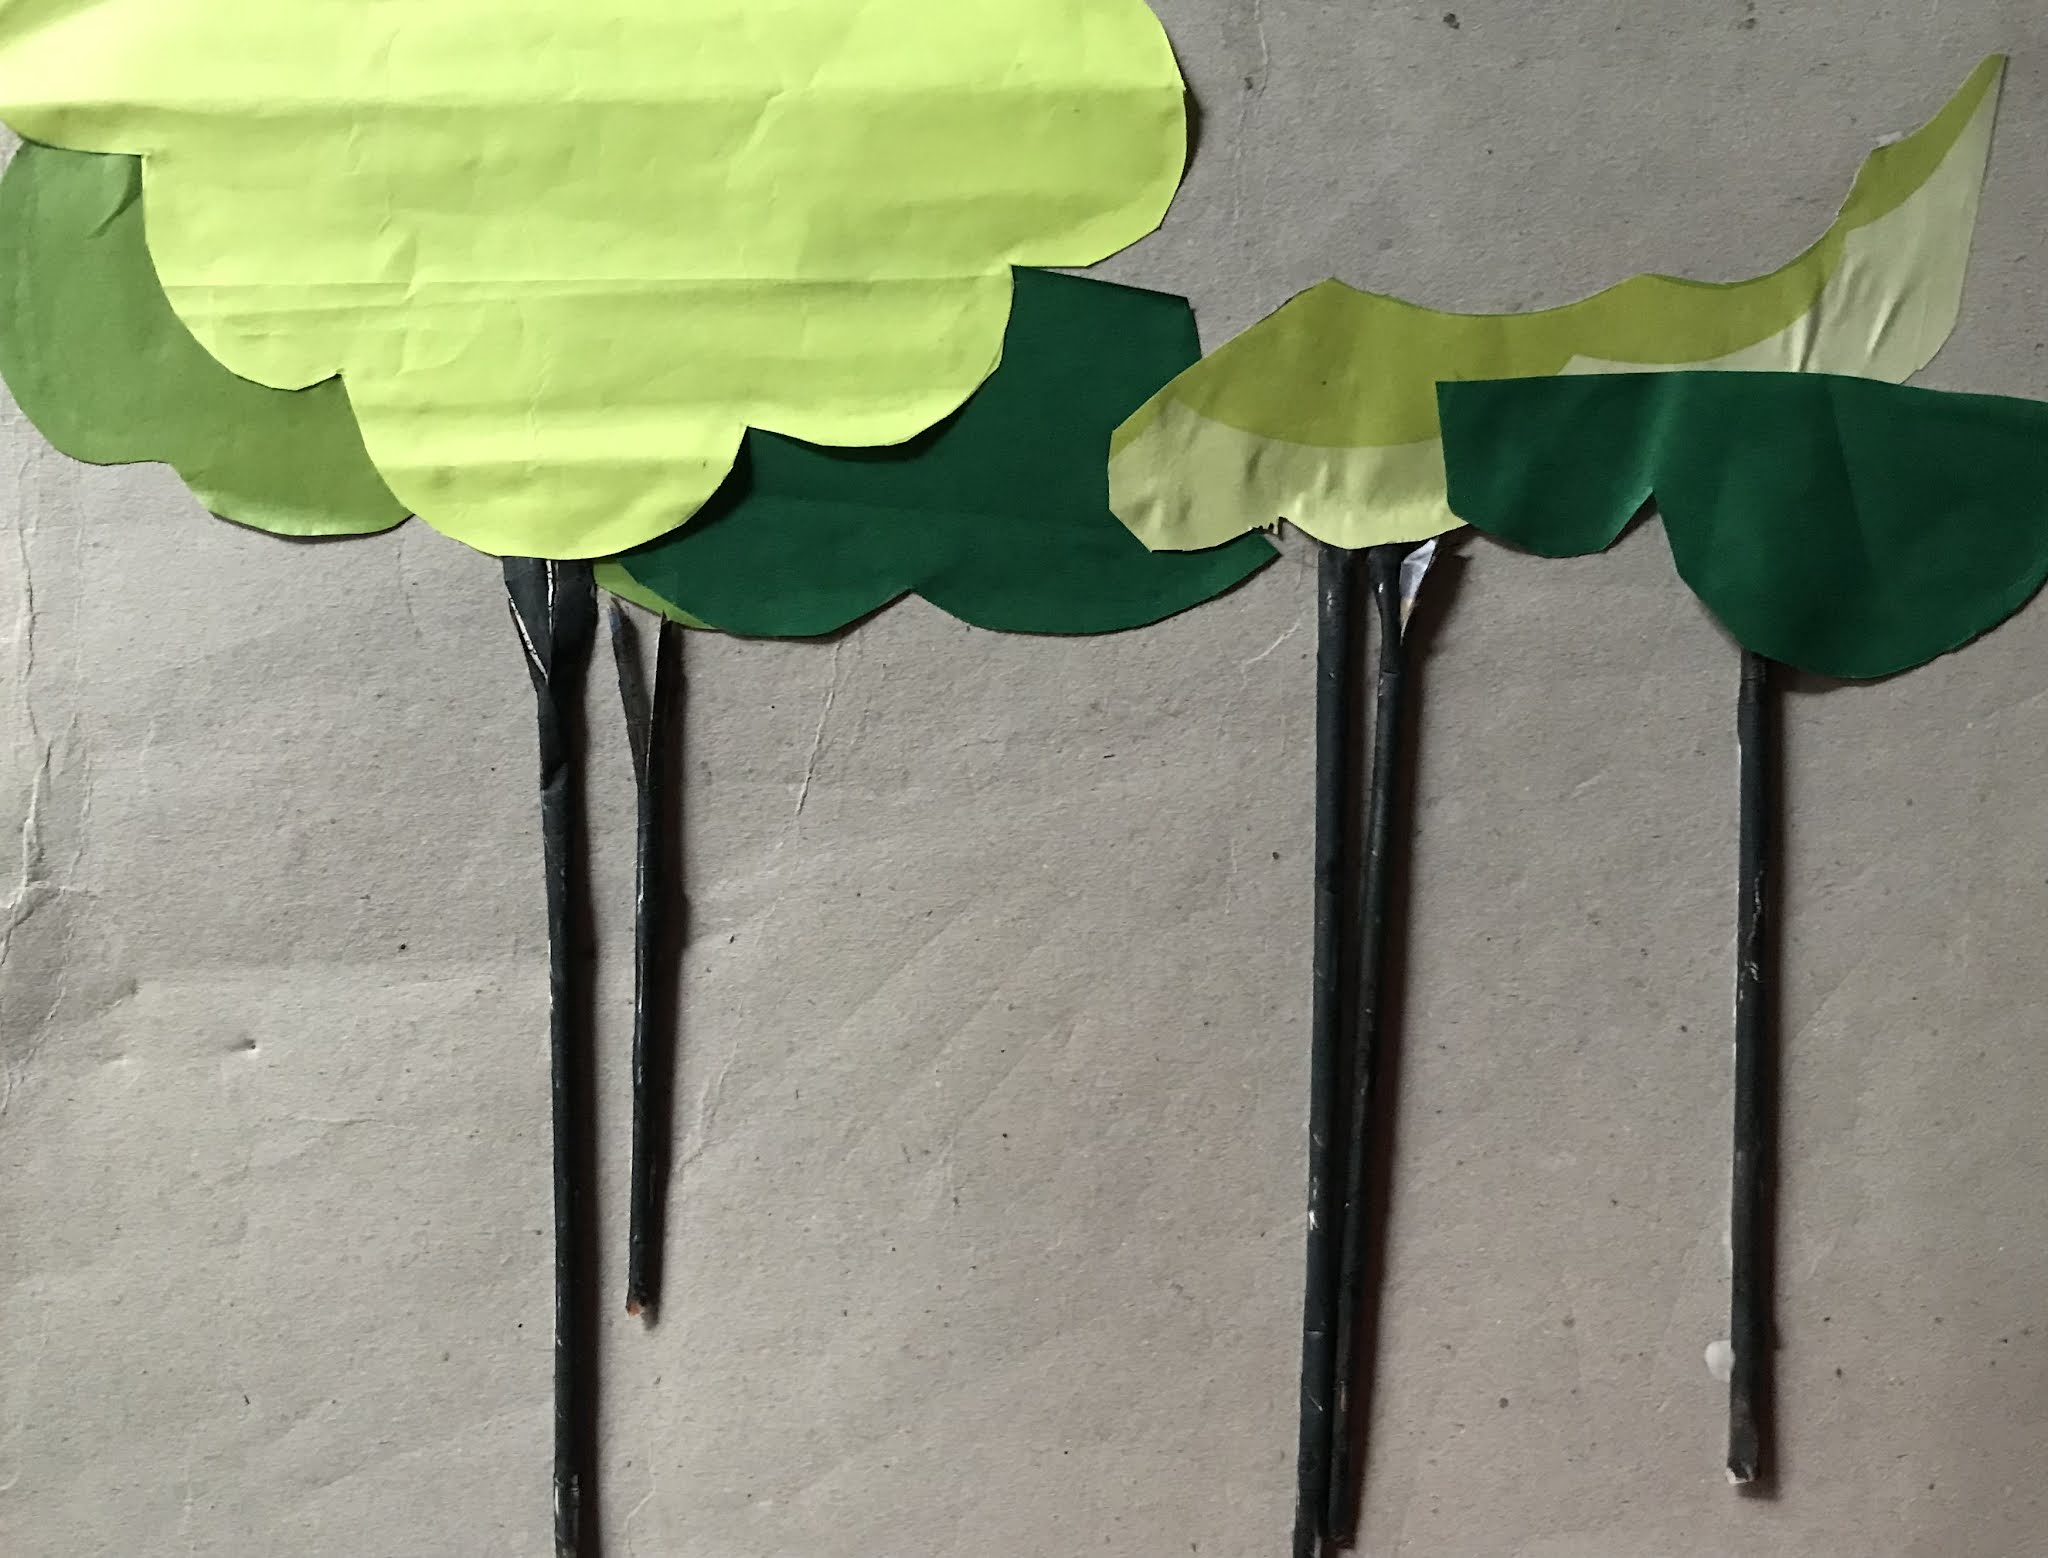
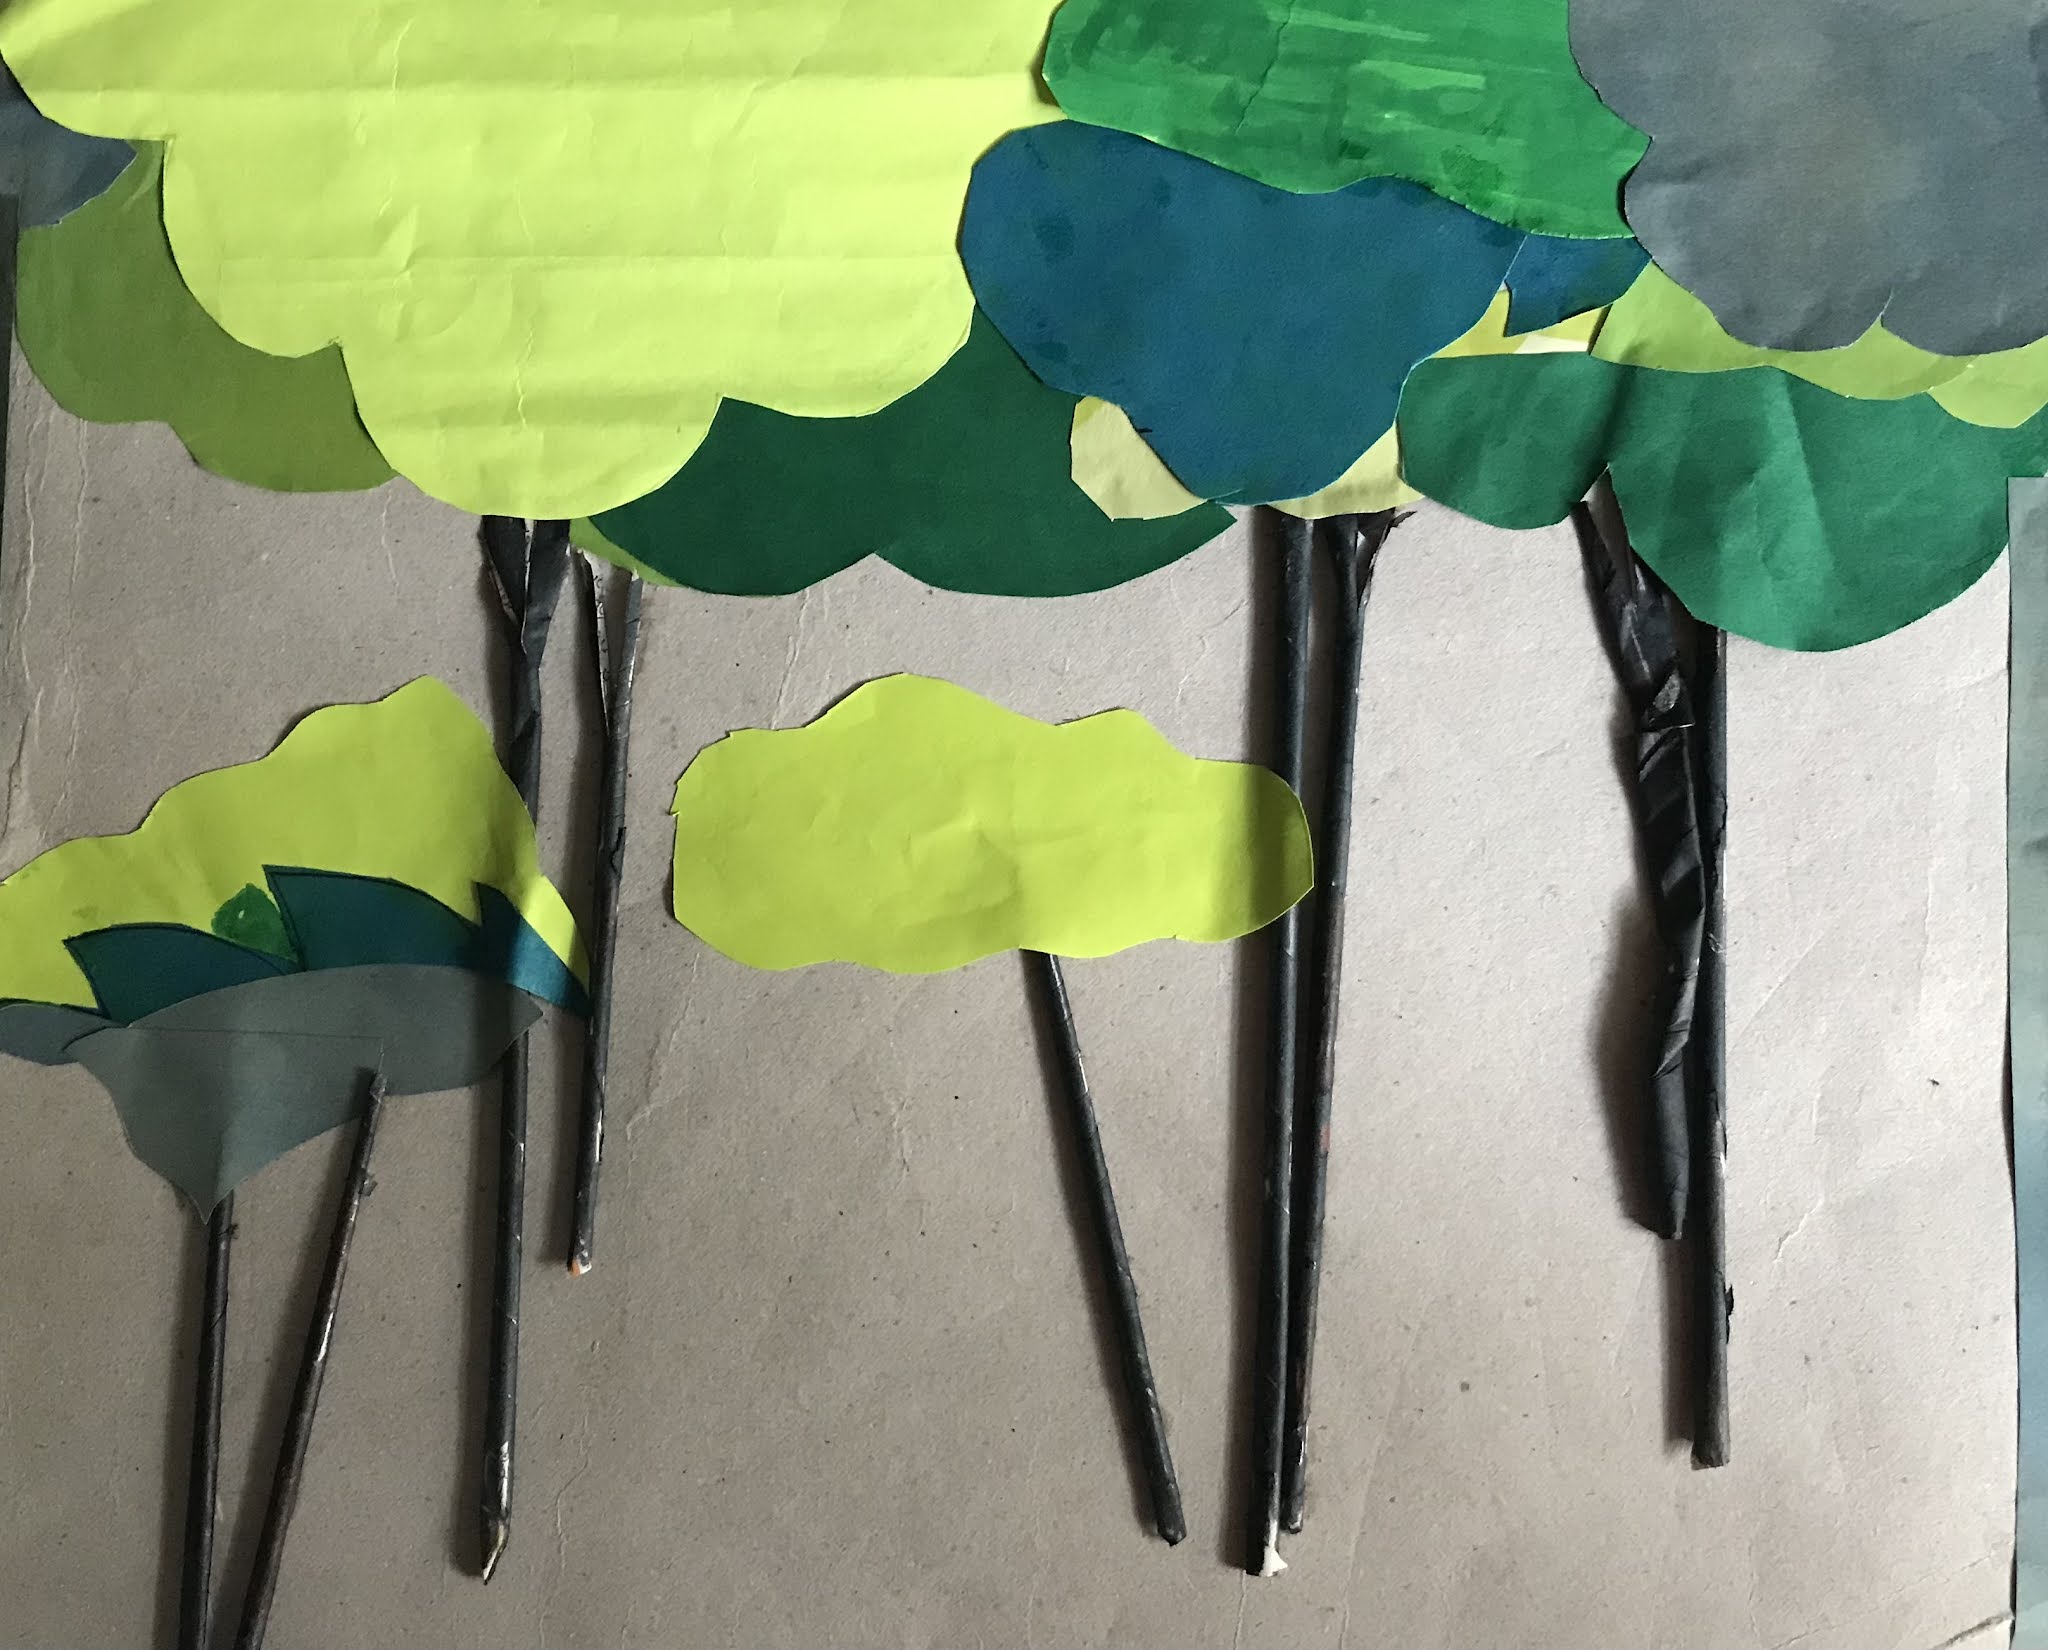
Today we are going to be making a tree craft idea ! for kids easy to learn and make it .

Things we need = colour paper , black hard colour paper and colours pencils / pens / oil pastels .

So let’s get started !

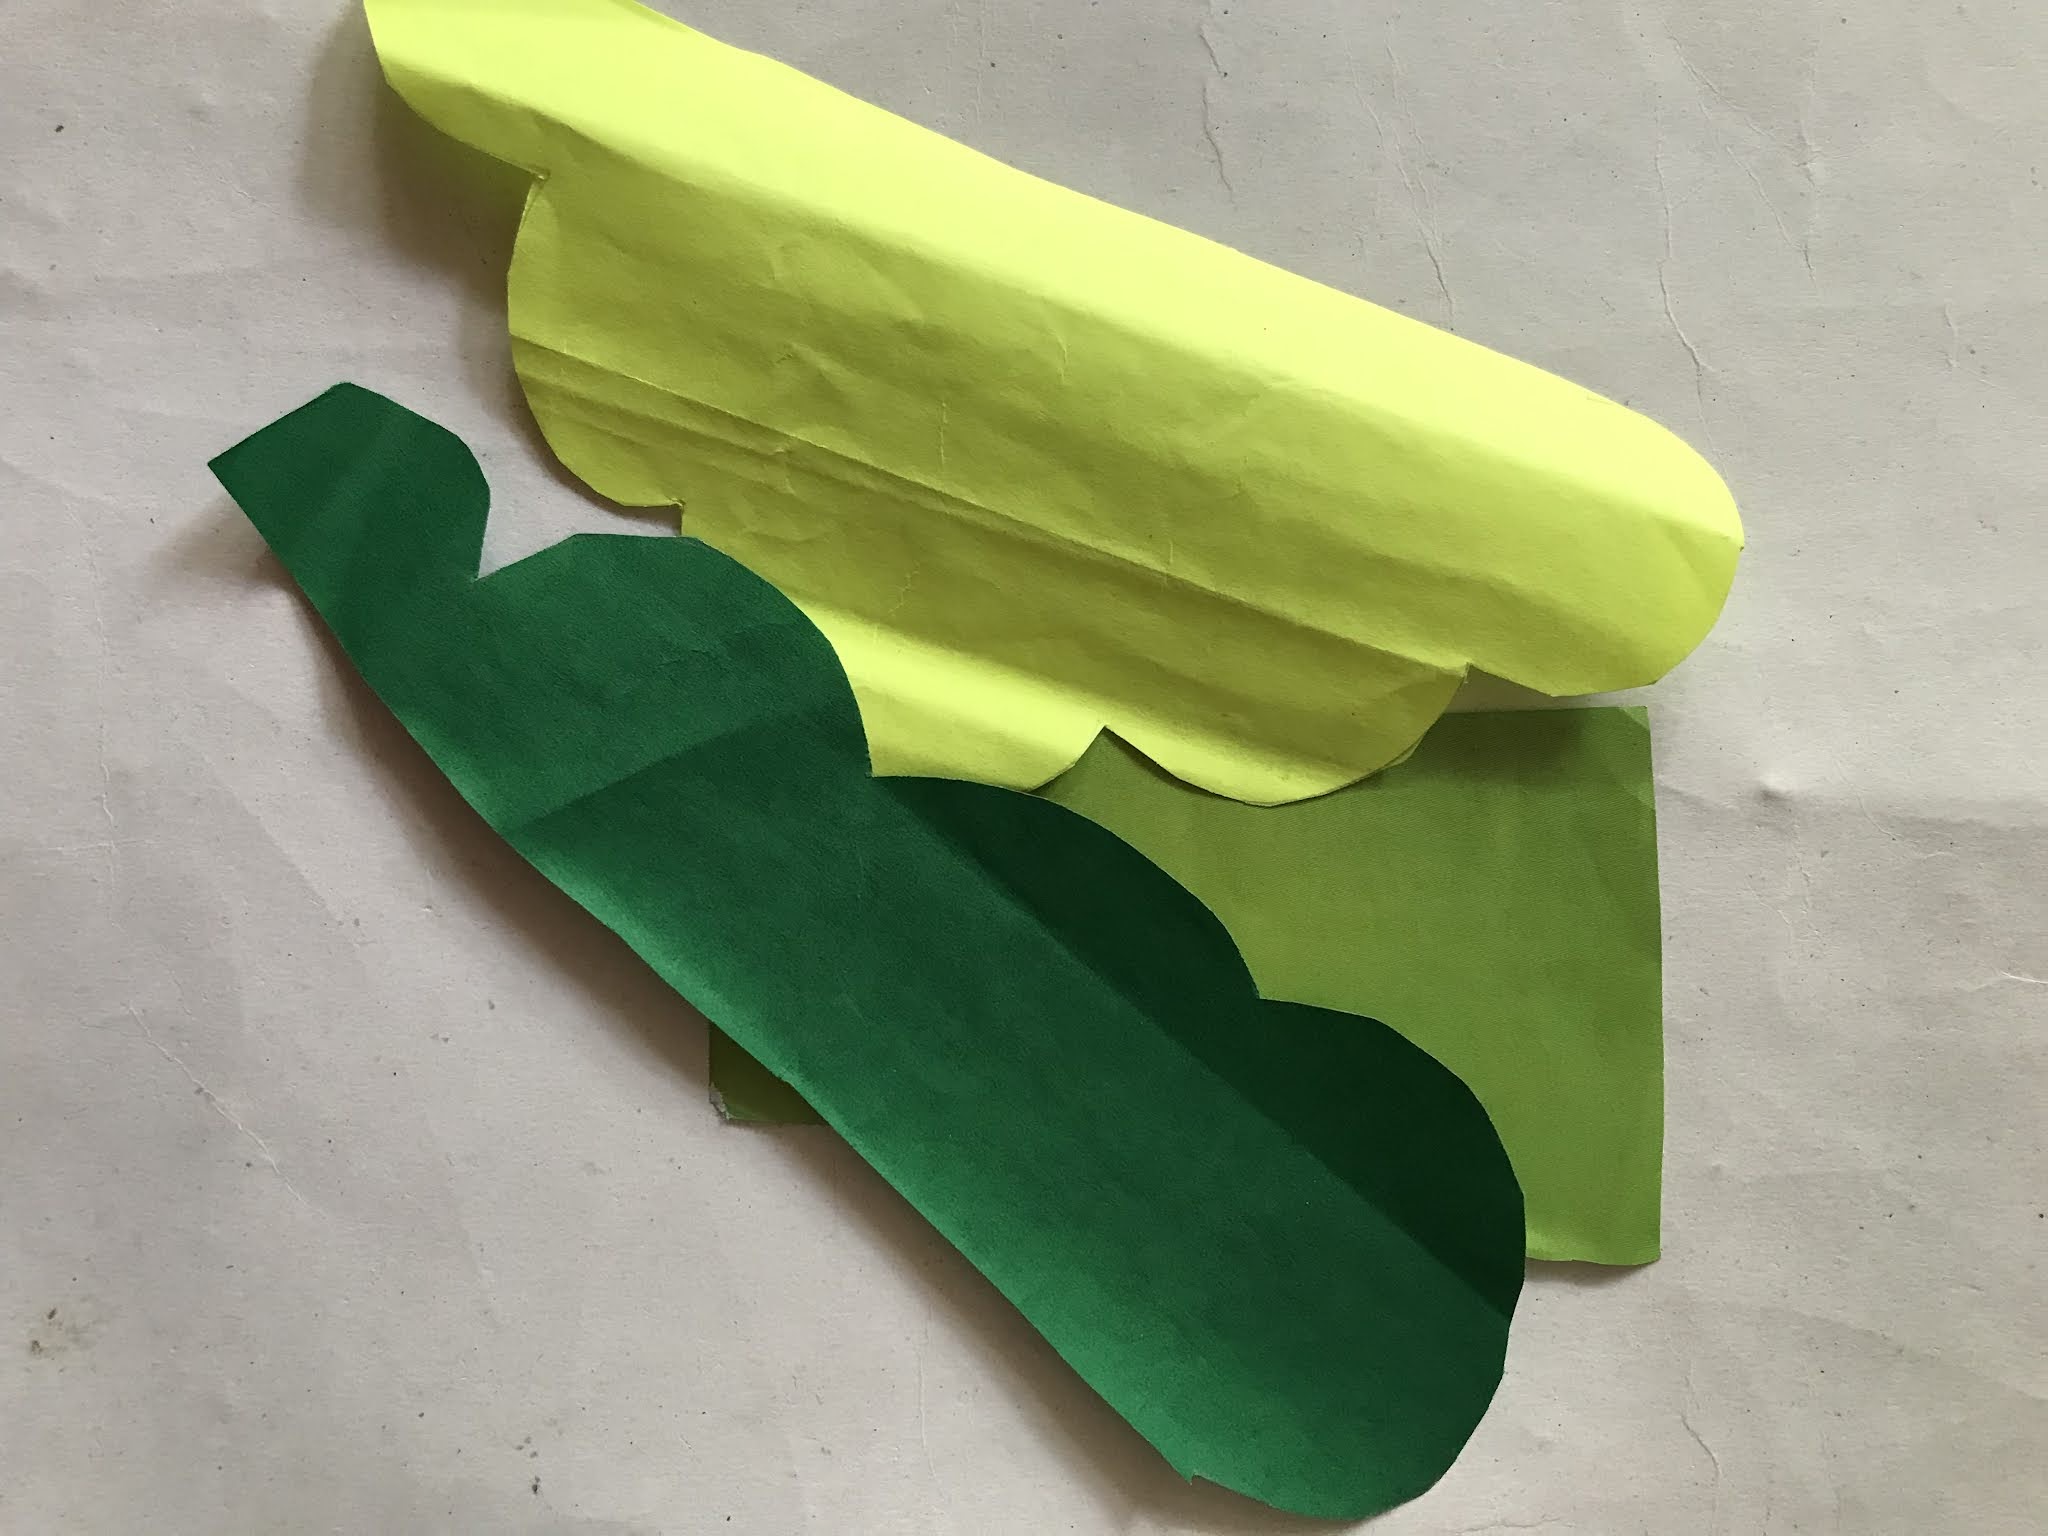
Step 1 : First , take some different shades of green colour papers and cut them into the shape of leaves of the tree .

Step 2 : Second , stick the cutting pieces of different green colured papers / leaves of the trees upside down on the paper .

Step 3 : Third , take a black hard colour paper and roll them into the shape into a cylinder for the stems is the tree .

Step 4 : Fourth , glue the stems onto the tree starting of the tree .

Step 5: Fifth , and colour the ground with green

And we are done with the drawing. So we hope you like it !

Thank you and stay safe !


August 9, 2021

Women Drawings

Hello guys !

Today we are going to be drawing some Chinese girls !

Things we need = paper , colour pens , colour pencils , and pencil .

So let’s get started !

Step 1 : First , take a sheet of paper and draw a circle and below a neck and the hair with rubber bands . ( and the hair has to be long )

Step 2 : Second , draw the dresses of the girls with long ribbons in the front .

Step 3 : Third , draw some dresses designs you like on the dress we used crochet on the neck and flowers and clouds .

( this step is not really necessary) Step 4 : Fifth , outline the girls with pens

Step 5 : Fourth , colour the hair black or brown .

And we are done with the drawing we hope you like it !

Thank you and Goodbye !


July 21, 2021

Puffins

 Hello guys !! Today we will going to be drawing a Puffin bird !!!

So let's get started !!!!!!!

How to draw the puffin :

Things we need = paper , crayons , pens , pencil , markers .

Step 1 : First , draw a oval in sideways ( in order to draw the head of the mother and child bird )

Step 2 : Second , draw the eyes and a yellow circle on the body and beak .

Step 3 : Third , draw another oval outside the bird , don't connect the oval with the other side.

Step 4 : Draw body of the puffin , Next draw the feathers or wings for the body .

Step 5 : Fifth , colour the mother and the child puffin .

How to draw the background :

Step 1 : First , draw some lines over the puffin ( wavy lines ) .

Step 2 : Second , draw some dry grass in the ground like in the first picture .

Step 3 : Third , colour the dry grass in brown and the grass in green .


July 18, 2021

Fashion Model

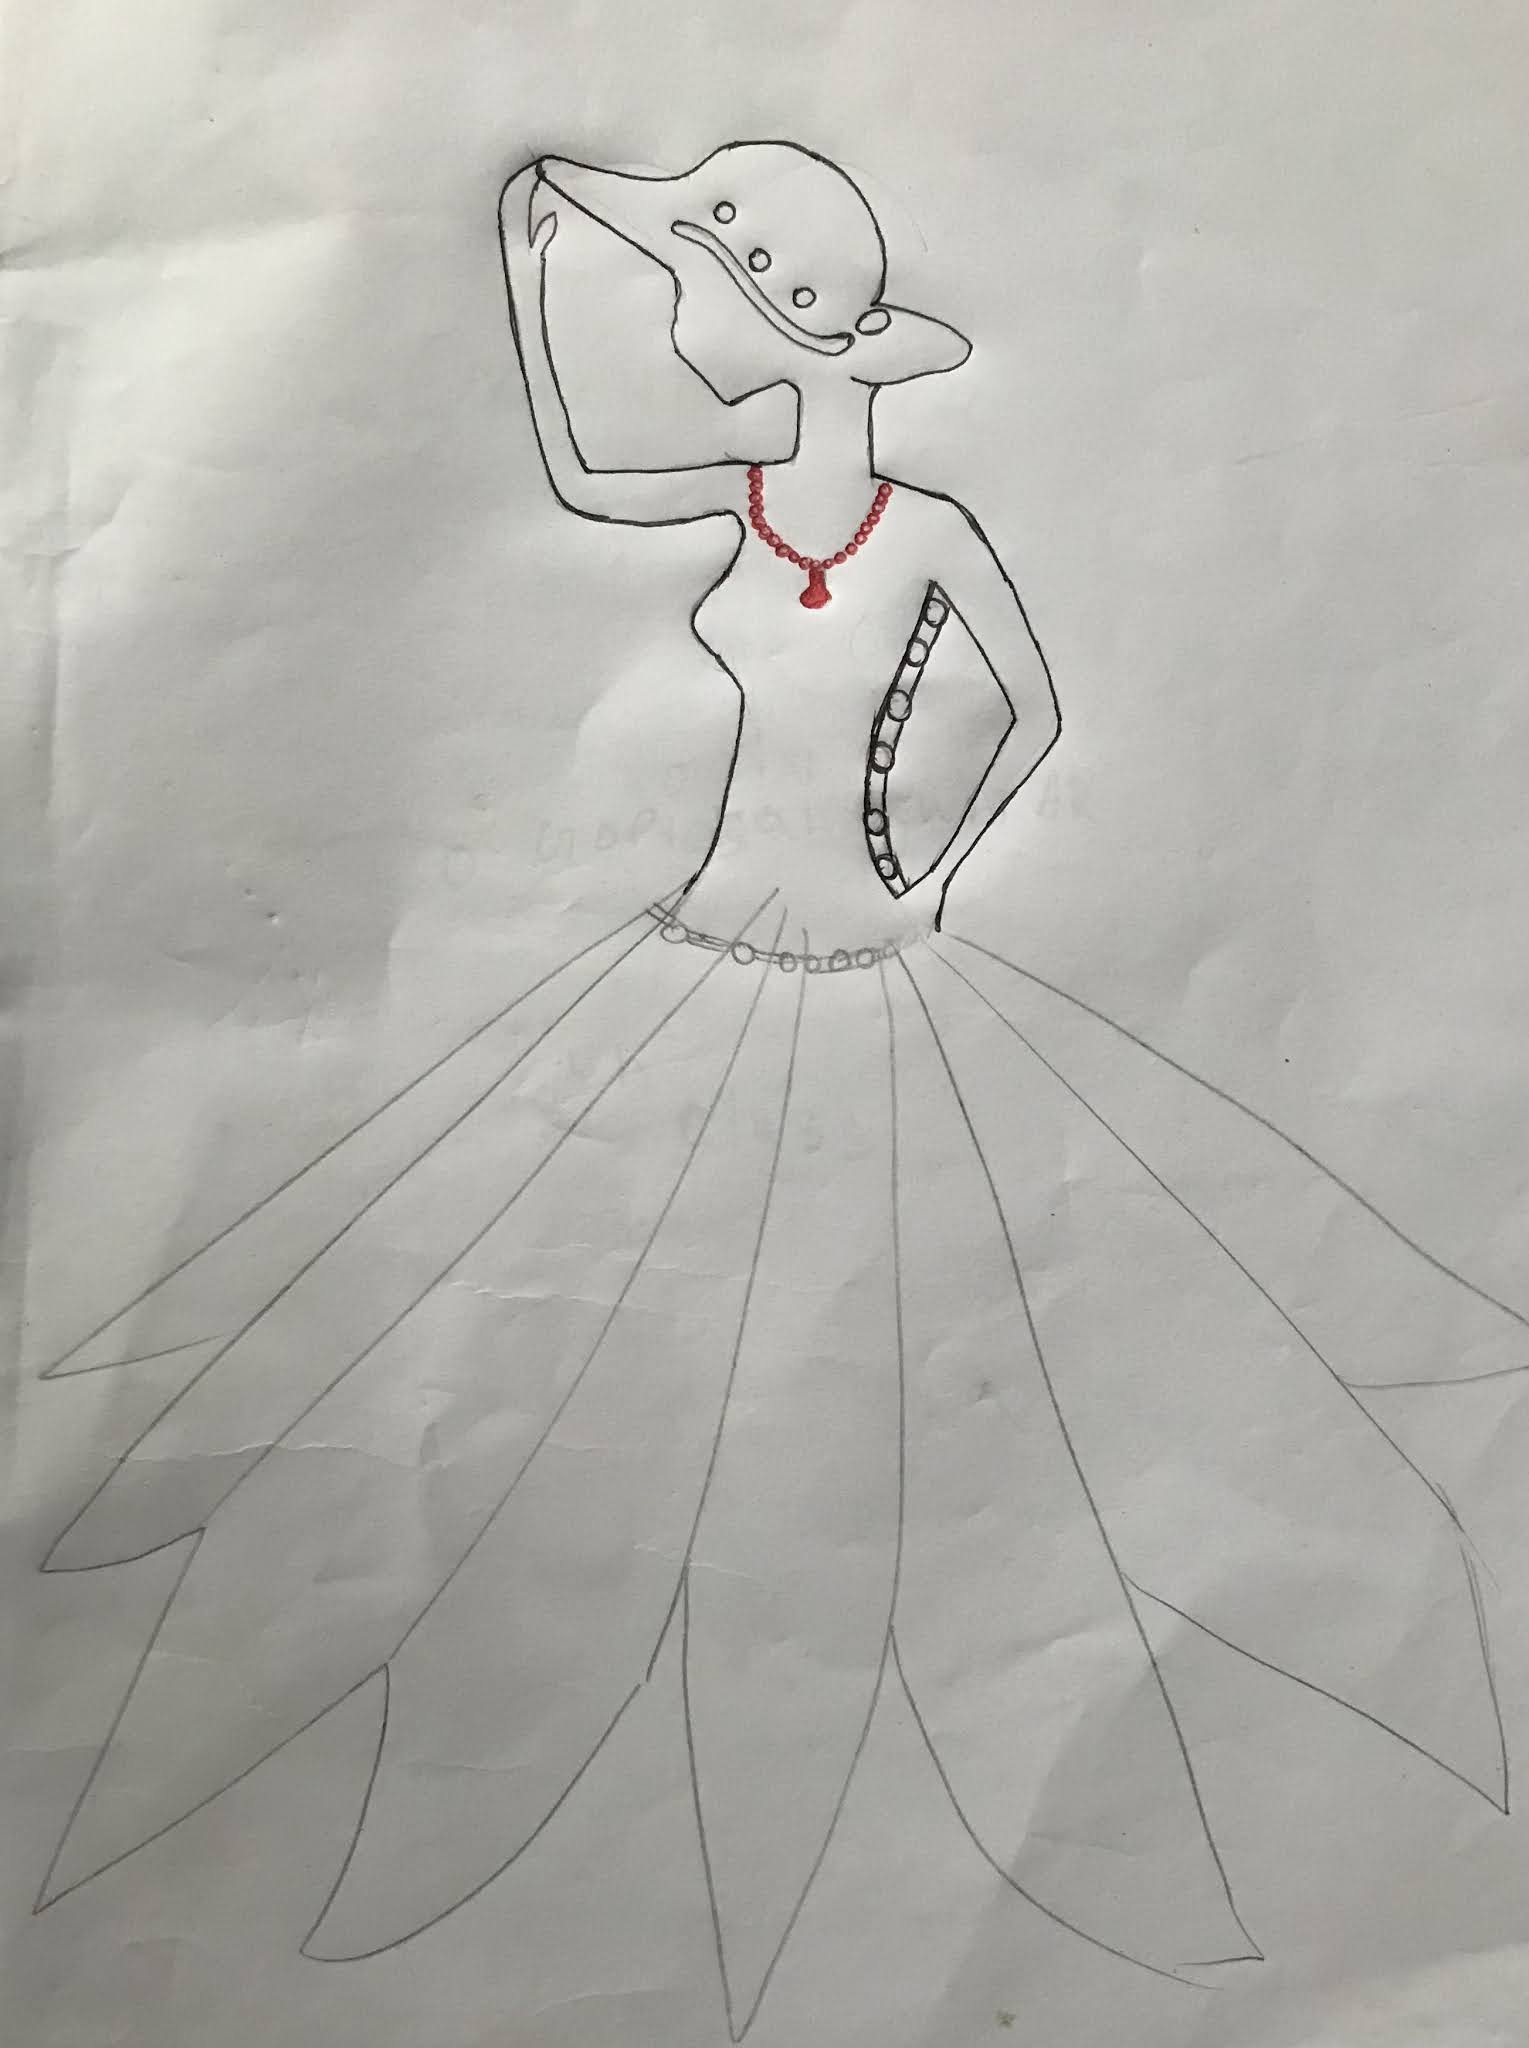
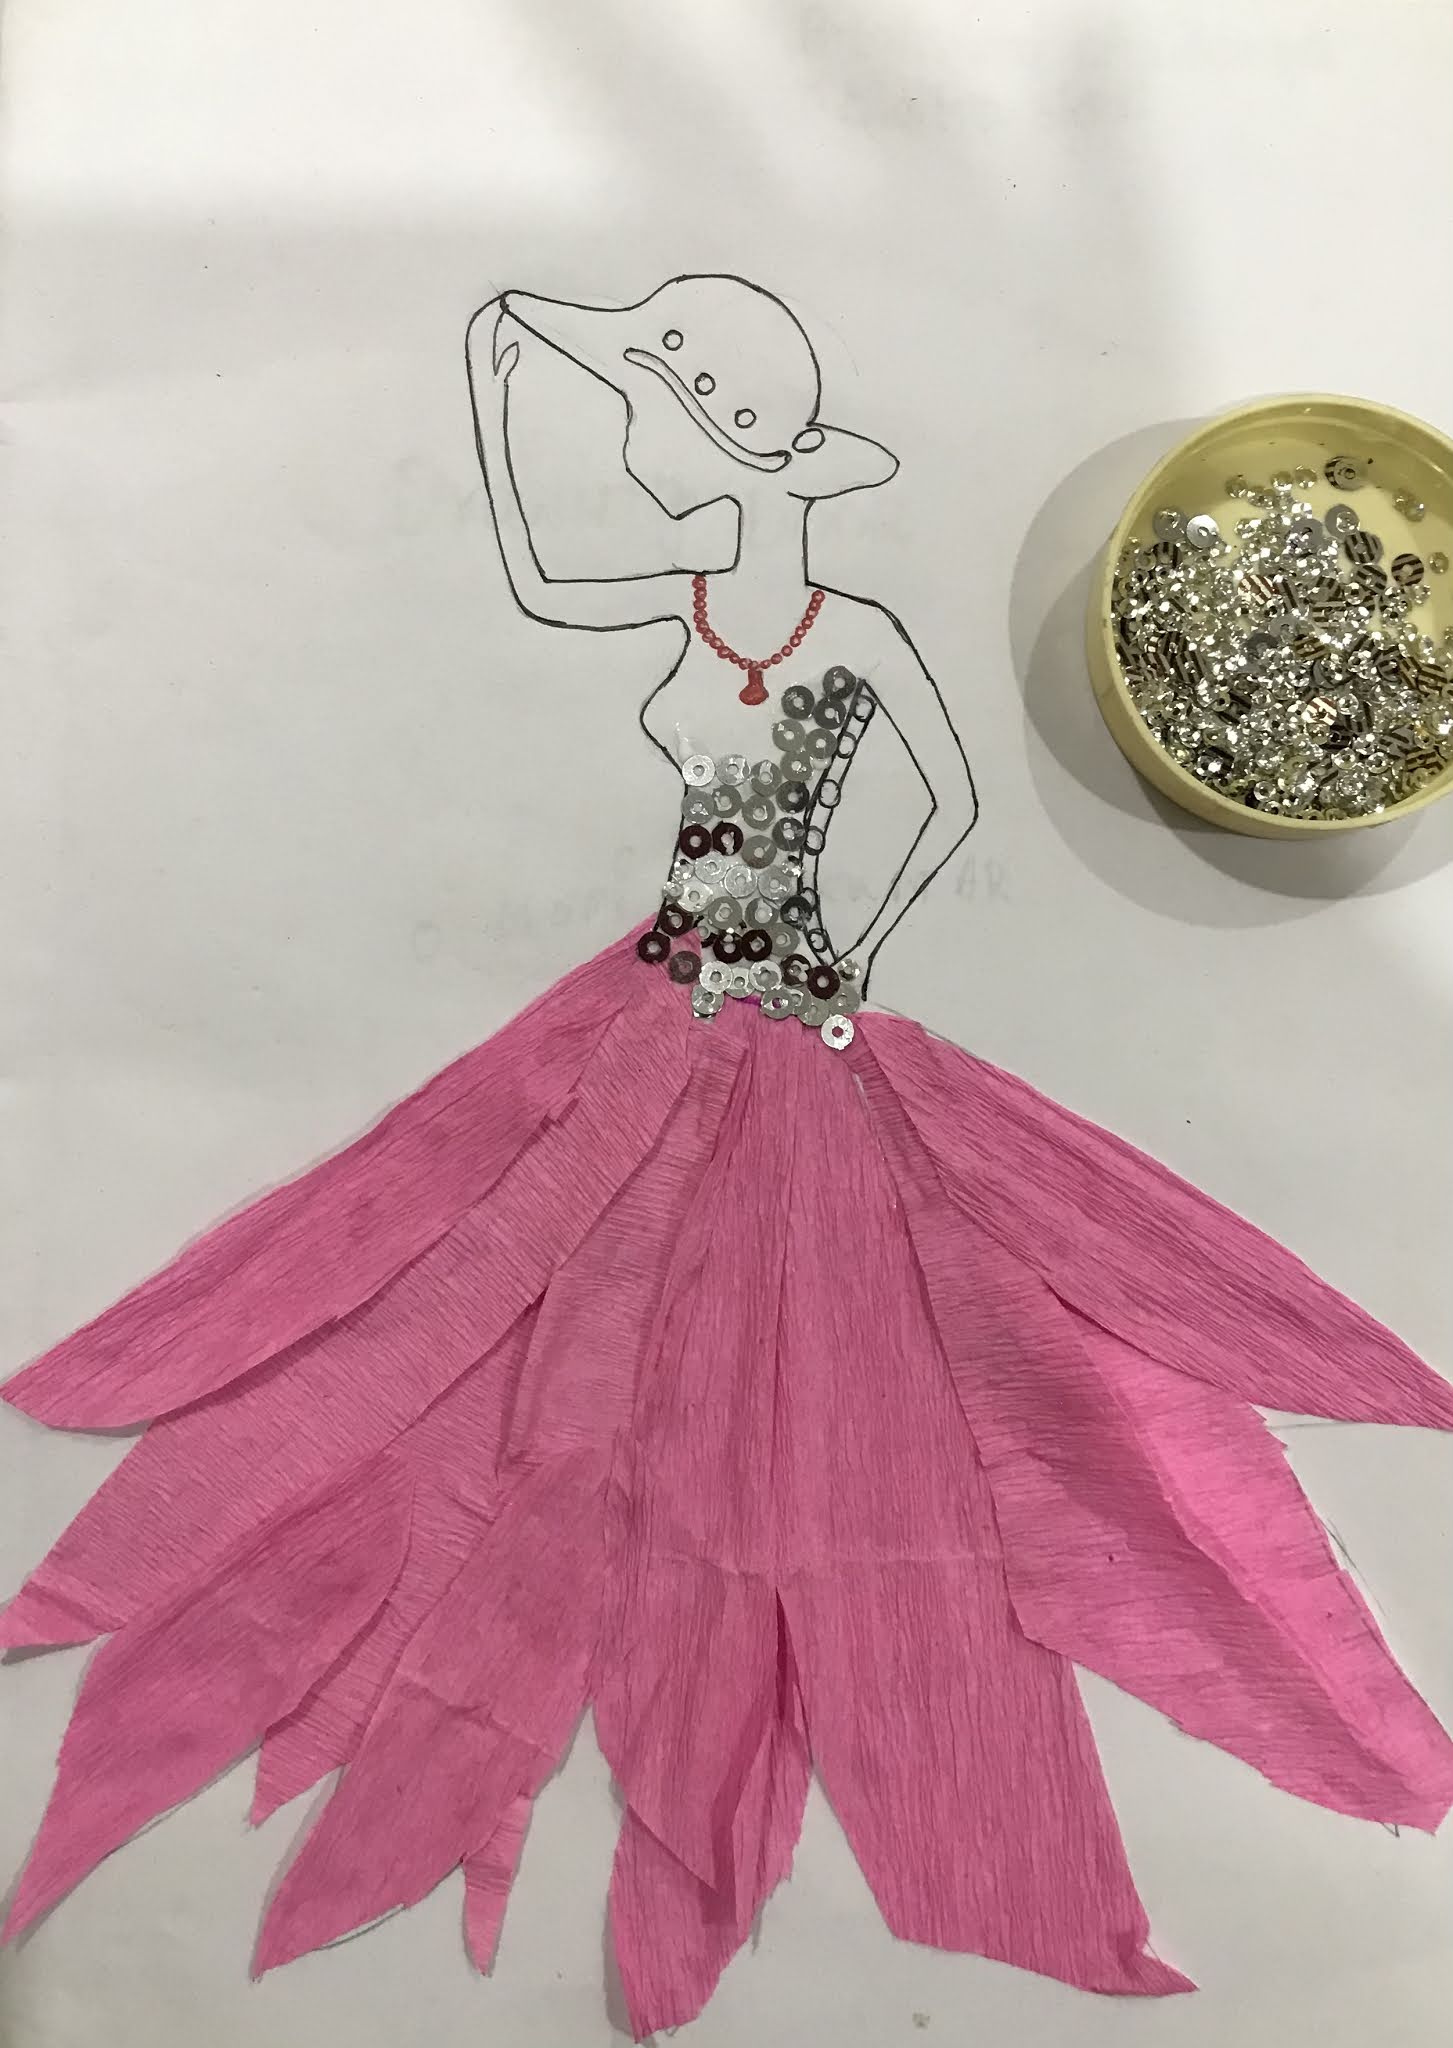
 Hello guys and welcome back !! Today we will be drawing this Fashion model !!

Things we need for the drawing = pen, glitter pens, colour pencils , sequences and party streamers .

So let's get started !!

Step 1 : First , take a pencil or a pen and draw the head , hands and body .

Step 2 : Second , draw the necklace of the girl .

Step 3 : Fourth , draw the hat of the girl .

Step 4 : Third , draw the designs of the dress , skirt and hat of the girl .(you can do your own designs ) attach colour papers like dress

How to colour the girl :

Step 1 : First , take the party streamers and make them the shape of the feathers . Next , glue them to the skirt given in the picture .

Step 2 : Second , take a colour of a glitter pen like gold and colour the hat with it .

Step 3 : Third , take some sequences and stick them onto the dress of the girl .

Step 4 : Fourth , colour the body of the girl with skin colour .


July 16, 2021

Kookaburra

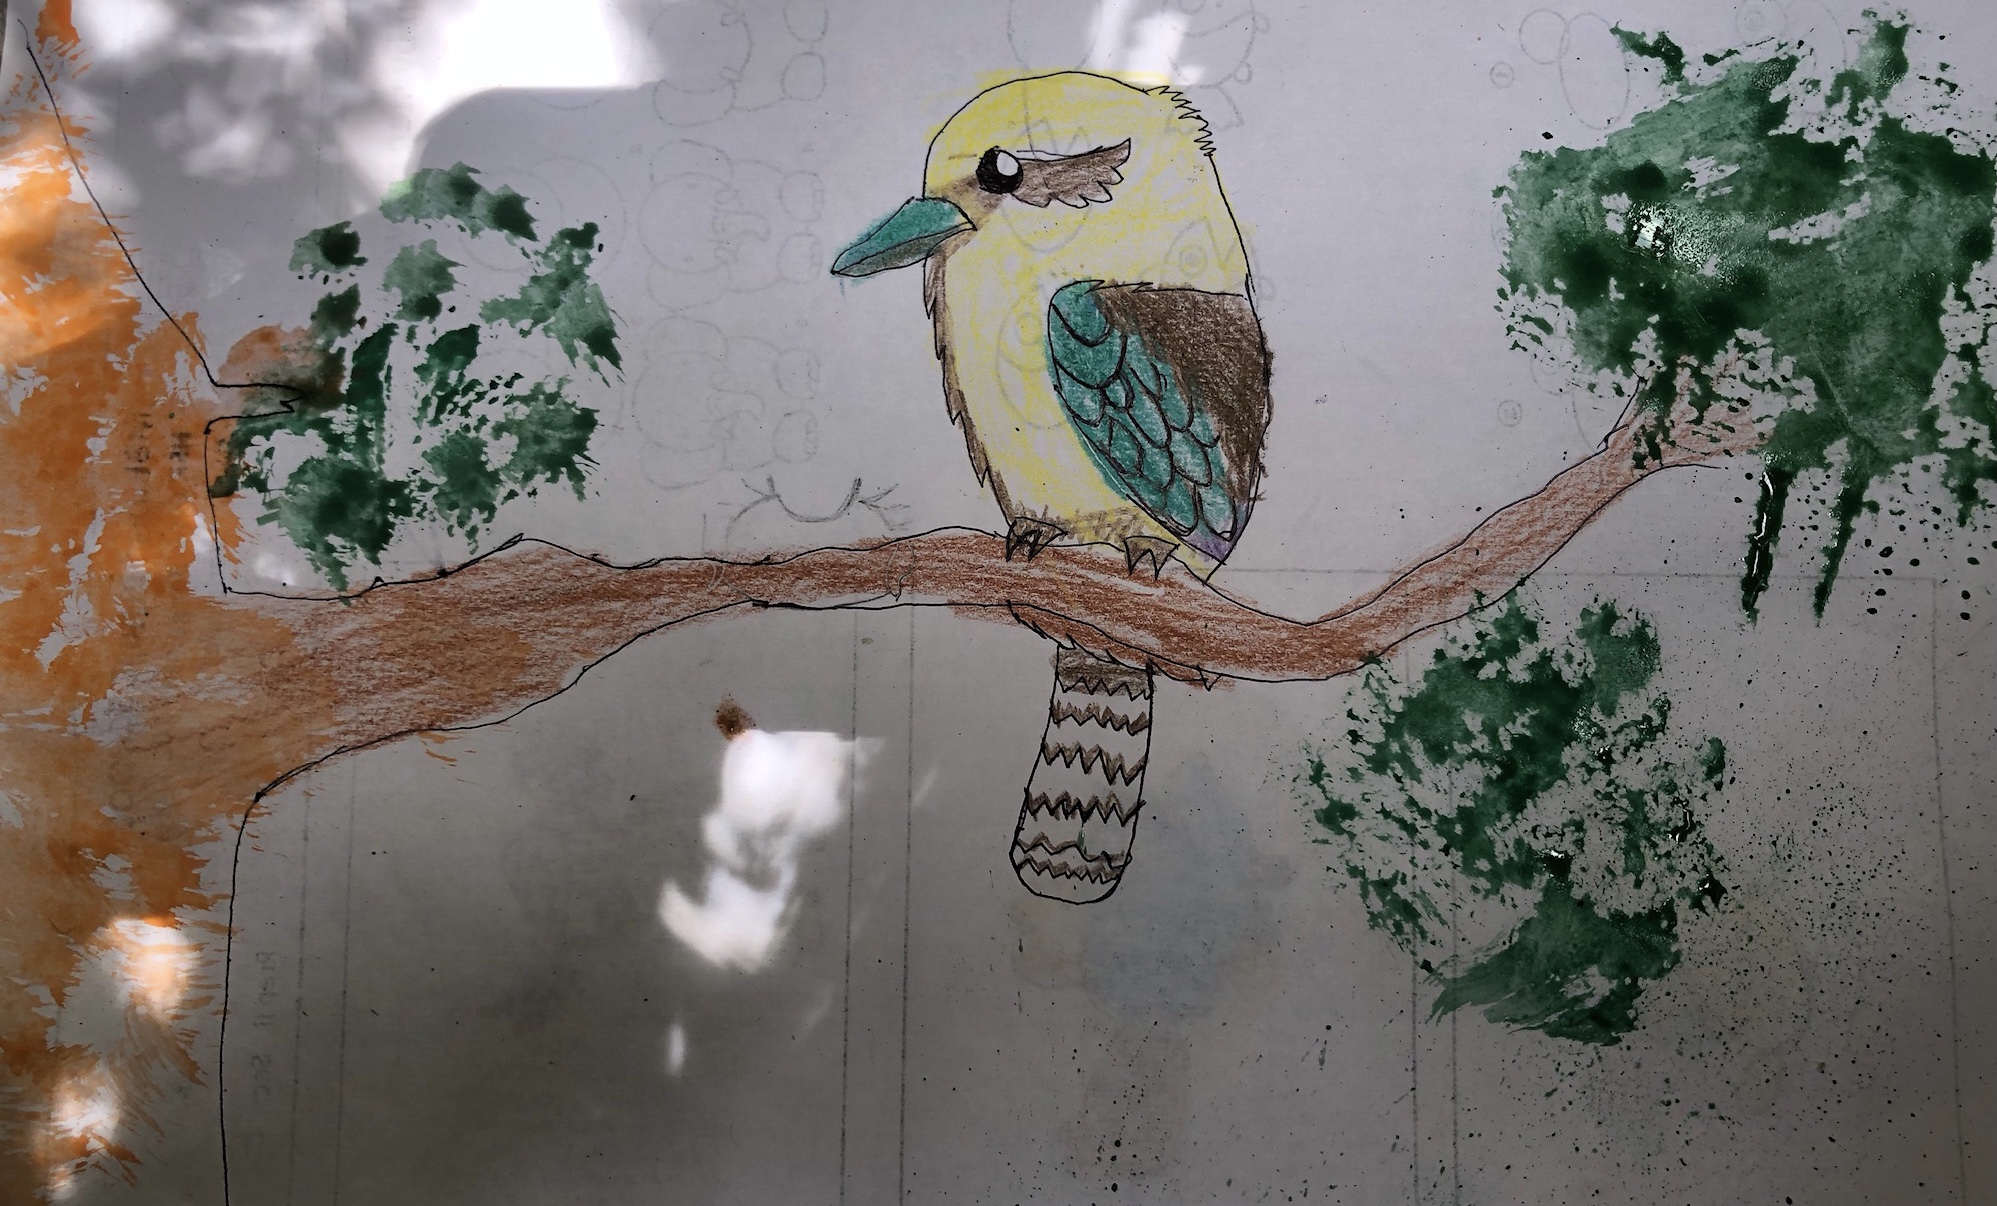
 Hello Guys ! Welcome back ! Today we will be drawing a bird ( Kookaburra ) !

How to draw the bird and tree :

Things we need = Colour pencils , oil pastels ( You can use color pens ) , Pen , pencils , paint brush , paint and paper .

So Let's Get Started !

Step 1 : First , take a page and draw some branches and a tree for the bird to sit on .

Step 2 : Second , take your paintbrush and dip it in green paint and paint leaves with the paintbrush .

Step 3 :Third , Now draw bird sitting on the tree with the tail sticking out of the tree .

Step 4 : Fourth , Now colour in the drawing with colourful colours .

How to draw the background of the drawing :

Things we need = paper , cotton , paint markers or oil-pastels and colour pencils .

Step 1 : First , take the same page you drew with the bird in and cover the background with gray or light gray .

Step 2 : Second , draw the stream behind the tree .

Step 3 : Third , next draw the flowers next to the stream .

Step 4 : Fourth , draw some grass at the bottom of the page .

Step 5 : Fifth , colour the page with given colour in the picture .

And we are done with the drawing . So we hope you like it .

Thank you Goodbye !!!!


July 14, 2021

Turtle Craft Making Ideas

 Turtle with Waste EggBox

Hello Guys ! Today we will be making this turtle with art supplies .

We know that it has been a really long time since we have uploaded , So today we are going to make today this turtle .

Steps for making the turtles :

Things we need = Cardboard , egg box , paper and oil pastels or paint ( best to use paint ) and glue or glue gun .

So let's get started !!!!!!

Step 1 : First , take an egg box and cut a circle out of it like in the picture .

Step 2 : Second , take the cardboard and cut out the fins out of it .

Step 3 :Third , take the cardboard and cut out the turtles head's

Step 4: Fourth , colour the circle you made with the egg boxes with different shades of greens . ( do same with the fins and head )

Step 5 : Fifth , attach the fins onto the main piece of the body and the head with glue .

And ....... We are done with turtle ! Yay ! Next we are going to make the background of the turtles .

Steps for making the background of the turtles :

Things we need = Paper or Chart paper , napkins and tissue papers and crayons or oil pastels .

So let's get started of making the background of the turtle !!!!!!

Step 1 : First , take a sheet of paper and tissue papers and little bit crumble them like mountains .

Step 2 : Second , then take the tissue papers and stick them to the paper .

Step 3 : Third , take some colour pencils or oil pastels and colour them on the paper . ( you should use blue and green mostly or yellow and blue like an ocean )

And we are done with the turtles and the background of it . So , we hope you like it !!

Thank you and Goodbye !!!

Turtle Craft With Waste Egg Box


June 24, 2021

Easy Way To Draw a Duck

Hello Guys and Welcome back to another drawing !!

Today we will be drawing a duck (very easy) .

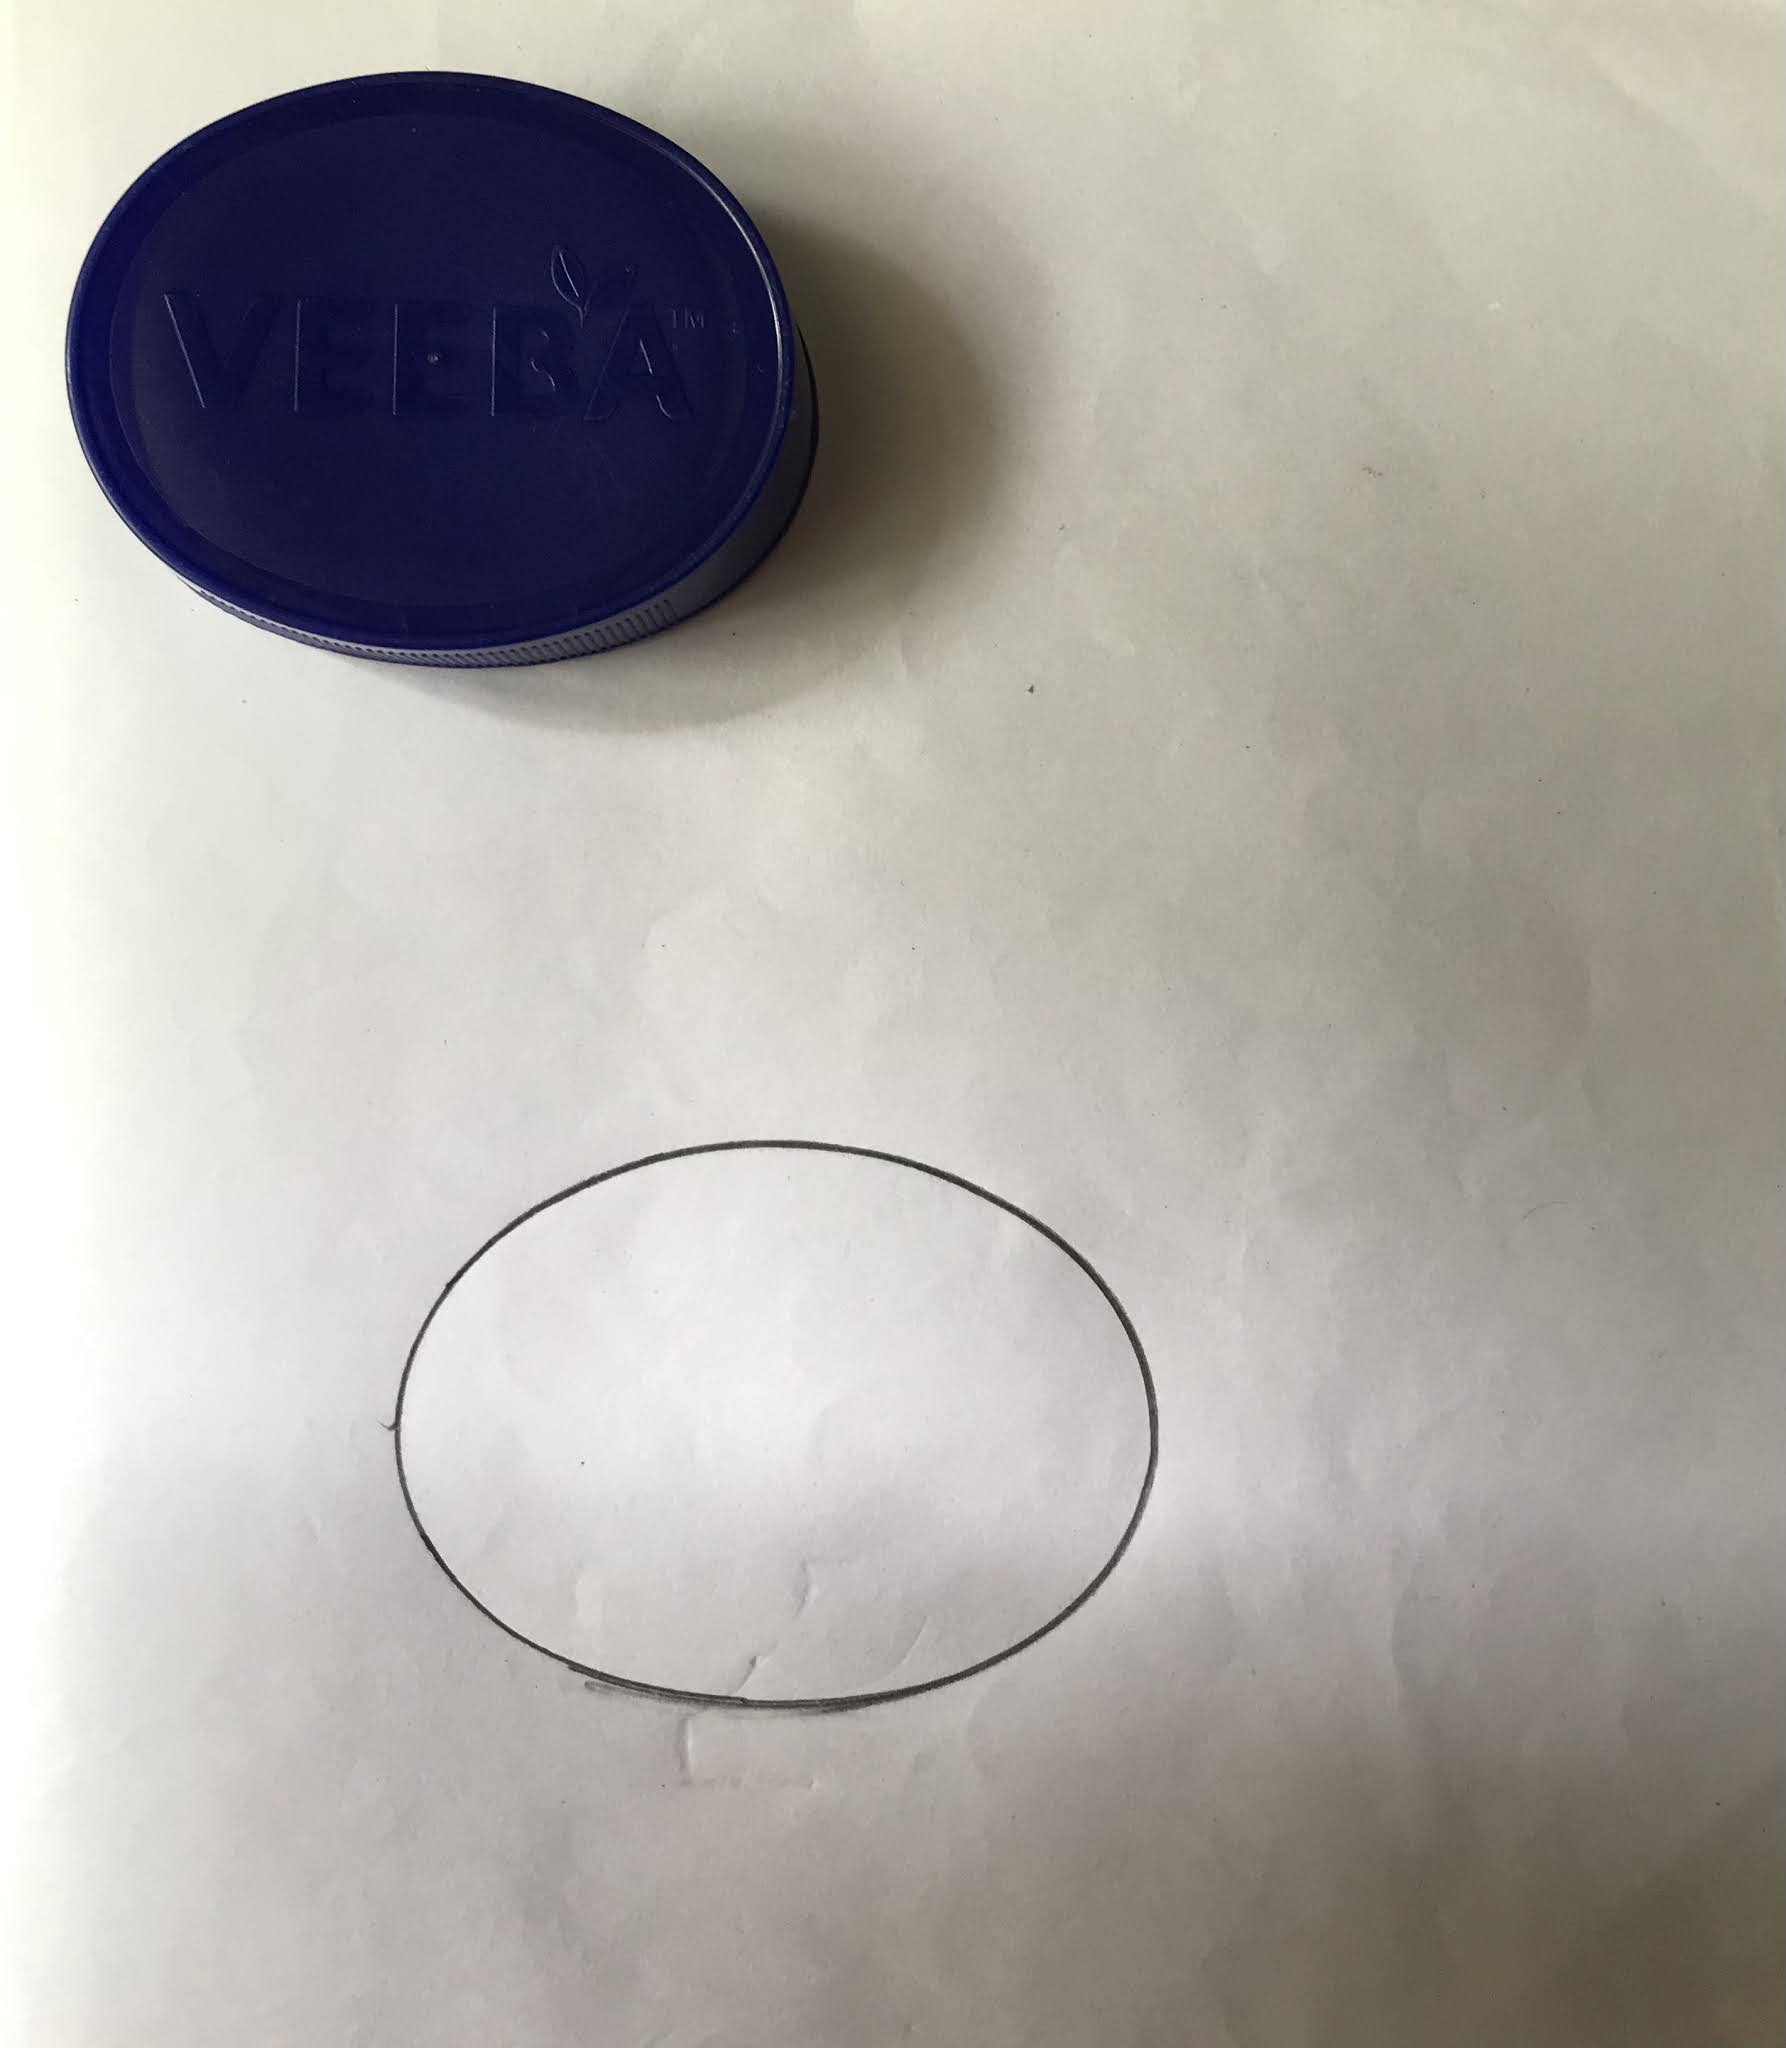
Things we need = Paper , Small cap , Big oval cap , pencil , markers and pens .

So Let's Get Started !!!

First , take a big oval cap and mark it around on the paper (you should get an oval ).

Second , take a smaller circle and mark it around it .

Third , draw a oval on the face . Next , draw the smaller oval under the long oval .

Fourth , draw a smaller circle inside the small circle and draw a small eyes for the duck . Next , draw more ovals for the wings ( One small and another Big) .

Fifth , draw the waves for the duck . Next , take a pen and eraser slowly erase the parts for the wings . Next , draw smaller half circles inside .

Sixth , draw some drops next to the duck .

And we are done with the drawing . So we hope you like it .

Thank you and Goodbye !!  click