Girl Picture Drawings
Di
Welcome to my Blog friends ,I write about Drawings And Craft Making Ideas and being a full-time creator You find different tips and tutorials ,Drawings for kids. Is a source of Home Decorating ideas.
Homemade Birthday Card
Hello guys and today we are going to be making a homemade Birthday Card !
Thing’s we need :- Coloured Paper , Scissors , Glue , Paper , Glitter pens , Chart Paper and Old Drawings
So let’s get Started !
Step 1 :- First , take some Chart paper and cold it into two’s .
Step 2 :- Second , take some coloured paper of your choice and cut it into a frame for the flowers .
Step 3:- Third , again take some coloured paper of bright colours and cut them into flowers .
Step 4:- Fourth , again take some coloured paper of green colour and cut them into leaves .
Step 5:- Fifth , now take some coloured paper of light green and roll them into sticks .
Step 6 :- Sixth , now glue the flowers , leaves , frame and stems .
Step 7:- Seventh , now turn the page and and take some of your old drawings and glue them there .
And now we are done with the card , so we hope you like it !
Thank you And Goodbye !
Hello Guys and Welcome !
Today we are going to be drawing a beautiful Swan Scenery !
Thing we need :- Pencil, Eraser, Marker, Colour Pencils, Oil Pastels and Tissues .
So let’s get Started !
Step 1:- First, take your pencil and start drawing four curves on the left-end corner to form the pathway of the bridge .
Step 2:- Second , draw the blocks and railings of the bridge connecting to the small island .
Step 3:- Third , draw a tree on the left-hand side of the page with its branches .
Step 4:- Fourth , below the bridge draw some bushes and some leaves .
Step 5:- Fifth , Next to the end of the bridge draw some irregular rocks and stones .
Step 6:- Sixth , Draw the stage where two swans will sit there .
Step 7:- Seventh , Draw the two swans on the stage .
Step 8:- Eighth , colour the drawing and colour the background to your wish .
And we are done with the Drawing , So we hope you like it .
Thank You and Goodbye !
Sunrise, Sunset and Moonlight (Night)
Sunrise is the moment when the Sun appears on the horizon in the morning. Although the Sun appears to "rise" from the horizon, it is actually the Earth's motion that causes the Sun to appear. The illusion of a moving Sun results from Earth observers being in a rotating reference frame .
Sunset, also known as evening and dusk is the daily disappearance of the Sun below the horizon because of the Earth's rotation. As viewed from everywhere on Earth (except the North and South poles), As viewed from the Northern Hemisphere, the Sun sets to the northwest in the spring and summer, and to the southwest in the autumn and winter.
Night is the period of darkness from sunset to sunrise during each 24-hour day, when the Sun is below the horizon. The exact time when night begins and ends depends on the location and varies throughout the year, based on factors such as season and latitude.
Hello Guys and Welcome to This Happy Birthday Greeting Card .
Happy Birthday Greeting Card Ideas:
How to make the Greeting Card:
Things You Need = Any color chart paper sheet, Glue, Sticky Note, Some Drawings, Markers, Streamers,Sequences,normal sheet of color paper.
Step 2:. Fold the paper into 1/4 size.
Step 3:Glue the normal sheet of color paperon two sides.
Step 4:Get the Drawings as shown in the Pictures .
Step 5: Glue the drawings on the chart paper or normal paper.
Step 6:Get an old sheet or new sheet of Design paper shown in the picture.
Step 7:Make roses out of the paper .
Step 8: Glue the roses on to the chart paper .
Step 9: Make the leaves out of different type of green shades of paper .
Step 10:Write Happy Birthady sign by using Sequences .
Step 11:Border the Happy Birthday sign using Makers.
Step 12: Write Happy Birthday ______ (name of the person) on the Sticky Note .
Step 13: Enjoy you are done with the greeting card!
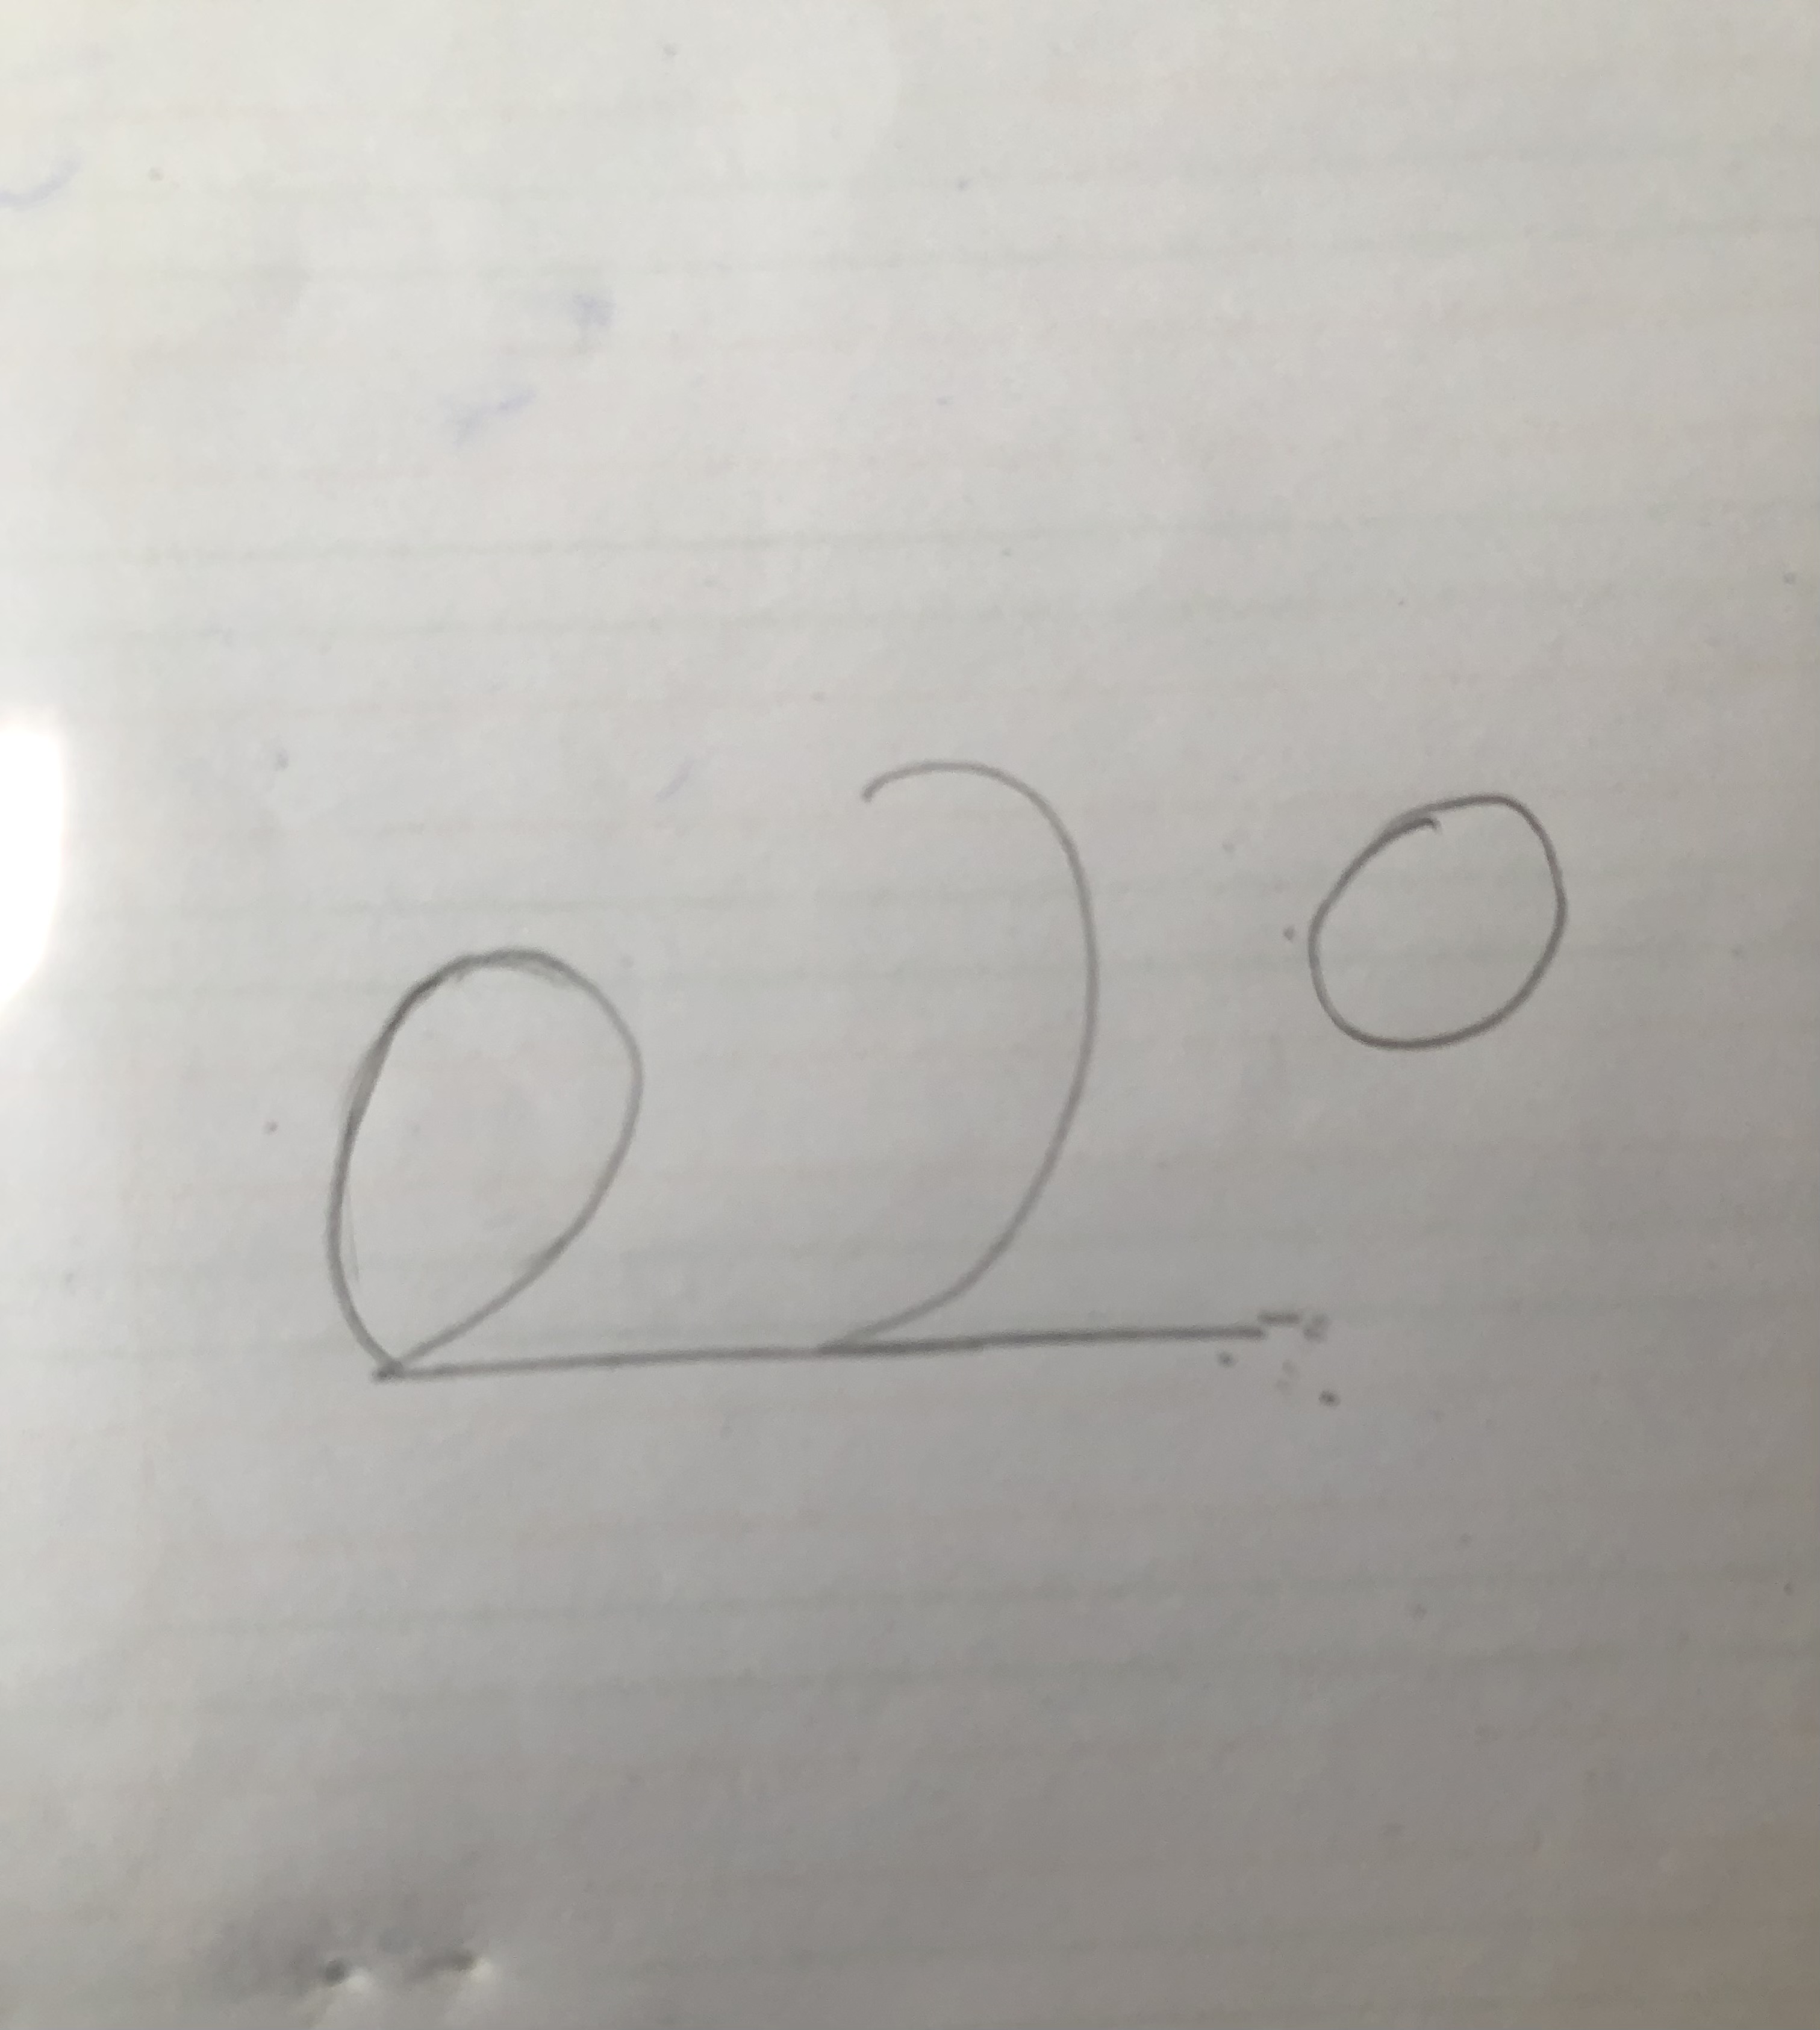
Step 1 :- First , draw two twos connecting each one small and one big .
Step 2 :- Second , draw a circle for the head of the dog and connect the upper part of the smaller two and connect it to the bottom part of the two .
Step 3 :- Third , draw the mouth of the dog and connect some few lines shown in the Second Picture .
Step 4 :- Fourth , Also connect some line shown in the First Picture .
Step 5 :- Fifth , draw the eyes and ears of the dog .
Step 6 :- Sixth , Colour the picture .