March 15, 2022

Number Drawings


๐Ÿฟ Squirrel

Hello Guys !

Today we are going to be drawing a Squirrel !

Things we need = Pencil , Pens , colour pencils or crayons ๐Ÿ– and paper .

So let’s get started !

Step 1 : First , Take any size paper and draw a Two and a three combined .

Step 2 : Second , next Erase the top part of the two and complete and the head of the squirrel .

Step 3 : Third , then the draw details if the squirrel heads like eyes and mouth .

Step 4 : Fourth , draw some branches for the squirrel to be on .

Step 5 : Fifth , draw some leaves , outline it and colour it .

And we are done with this number drawing , We hope you like it !

Thank you and Goodbye !


๐Ÿฆ‰ Owl

Hello Guys !

Today we are going to be drawing a Owl !

Things we need = Pencil , Pens , colour pencils or crayons ๐Ÿ– and paper .

So let’s get started !

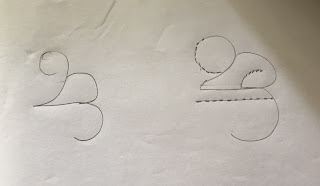
Step 1 : First , Take any size paper and draw a Two twos (one small and one big).

Step 2 : Second , next draw the body and the head of the owl.

Step 3 : Third , then draw some wiggle on the face and the legs of the owl.

Step 4 : Fourth , draw the details of the face like eyes and beak ,also draw the wings.

Step 5 : Fifth , outline it and colour it and if want also draw a background .

And we are done with this number drawing , We hope you like it !

Thank You and Goodbye !


February 2, 2022

Homemade Calendar & Time Table

Hello Guys !

Today we are going to be making two homemade calendars !

Things we need = Pencil , Pens , colour pencils or crayons ๐Ÿ– ,paper , ruler and glue .

So let’s get started !

Step 1 : First , Take any size paper and draw a line which should be folded near the middle .

Step 2 : Second , next wherever you have done the line put the line towards you then make two more lines facing towards the big line .

Step 3 : Third , then fold them behind the small page and glue them to the back after you a type of holder make three more of them .

Step 4 : Fourth , If you want you can decorate the three holders by putting characters by using glue.

Step 5 : Fifth , take a A4 sheet any colour and make two lines by the length of the paper and fold it then glue one side and stick it the other line to make the base.

Step 6 : Sixth , after that stick the 3 holders onto the base.

And we are done with this calendar , We hope you like it !

Thank you and Goodbye !

School TIMETABLE 


January 22, 2022

Mother’s Day wishes

 Mother’s Day wishes 

Hello and Welcome to this site !

Today we are back with a small cute girl girl giving her mother roses .

About Mothers :

“Mother is the name for God in the lips and hearts of little children.” “When you look into your mother’s eyes, you know that is the purest love you can find on this earth.” “A mother is she who can take the place of all others but whose place no one else can take.” … “The best place to cry is on a mother’s arms.”

Things we need : Some color pens or color pencils , pencil , plan white page or book .

Let’s get started !

Step 1:First , Draw the hair of the girl Next , Draw the face , dress , roses, stems , hands, ribbons , shoes, legs .

Step 2: Second, Color the dress Yellow and skirt also .

Step 3: Color the face , legs and hands skin colour .

Step 4:Color the hair with pancil black and a bit of shading on the hair .

Step 5: Color the roses and stems red and green color .it .


Indian Bride


Hello Guys !

Welcome and Today we are going to be drawing a Indian bride with designs on the dress of the girl !

Things we need = Pencil , Pens and crayons ๐Ÿ– .

So let’s get started !

Step 1 : First , draw the face of the bride .

Step 2 : Second , draw the eyes the nose and the lips of the bride .

Step 3 : Third , after that then draw the hands of the bride ๐Ÿ‘ฐ‍♀️.

Step 4 : Fourth , then draw the dress and the jewellery of the bride . 

Step 5 : Fifth , draw some tablas under the dress of the bride .

Step 6 : Sixth , Design the bride with your designs or ours .

And we are done with the drawing , We hope you like it !

Thank you and Have a Nice Day !


January 18, 2022

Fish Drawing

 Hello Guys !

Today we are going to be drawing some fishes and a scenery to go with !

Things we need = colours pencils or colours , marker , A4 sheet and pencil .

So let's get started ! 

How to draw the scenery :

Step 1 : First , take a page and draw the ocean waves .

Step 2 : Second , draw the clouds .

Step 3 : Third , Outline the ocean waves and clouds .

Step 4 : Fourth , colour the ocean waves and the clouds .

How to draw the fishes :

Step 1 : First , take a sheet of paper draw the fishes on it .

Step 2 : Second , Outline the fishes , Then colour the fishes .

Step 3 : Third , Cut out the fishes and paste them on the drawing .

And we are done with the drawing , So we hope you like the drawing !

Thank you and goodbye !


January 17, 2022

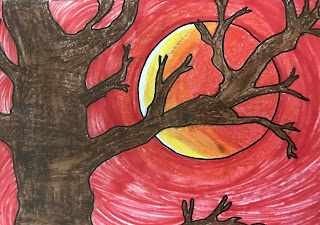
Blood Moon Drawing

 Hello Guys ! 

Welcome and Today we are going to be drawing of a blood moon !

Things we need = Pencil , Pens , crayons ๐Ÿ– (oil pastels ) and a small bowl .

So let’s get started !

Step 1 : First , take the small bowl and trace around the bowl to create a perfect circle .

Step 2 : Second , draw a small tree in the bottom of the page .

Step 3 : Third , after that then draw a big tree going across the moon .

Step 4 : Fourth , outline the drawing .

We are going to start colouring now !

Step 5 : Fifth , Take your crayons and take yellow , orange and red colour them from light to dark .

Step 6 : Six , colour the trees in brown-blackish colour .

Step 7 : Seventh , colour the background in red colour .

And we are done with the drawing , We hope you like it !

Thank you and Have a Nice Day ! 


Christmas Tree ๐ŸŽ„ Making Idea

 Hello Guys !

Welcome back to our blog and today we are making a Christmas tree put of paper ! 

(The third step is not that necessary if you want it look nice then read the third step)

Things we need : Paper , Thermocol , paint or crayons , blue and green party strings and markers.

So let's get started !

Step 1 : First , take a page and like a roll of paper .

Step 2 : Second , take the roll of paper and cut stripes that dont cut the enter paper .

Step 3 : Third , after you are done with the small stripes you can colour the stripes green colour or paint .

Step 4 : Fourth , curl the paper like ice cream cone .

Step 5 : Fifth , take some thermocol ,cut out a star and colour it .

And we are done with the craft , We hope you like it !

Thank you and Have a Good Day !


December 14, 2021

Giraffe Drawing

 Giraffe Drawing

Hello Guys !

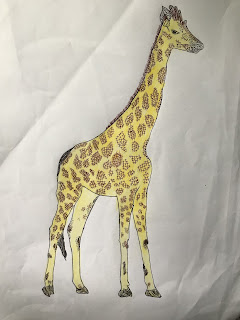
Today we are going to be drawing a giraffe with patterns on it !

Things we need = Pencil , Pens , colour pencils or crayons ๐Ÿ– and marker .

So let's get started !

How to draw the giraffe :

Step 1 : First , draw the giraffe and then draw it’s spots .

Step 2 : Second , outline the body of the giraffe but not the spots .

Step 3 : Third , do patterns of the giraffe’s spots .

Step 4 : Fourth , colour the giraffe’s eyes and body .

Step 5 : Fifth , draw a tree with leaves and branches .

Step 6 : Sixth , do x’s on the tree leaves and dots on the tree branch .

And we are done with the drawing , We hope you like it !

Thank you and Goodbye !


October 28, 2021

The Importance of Books Drawing


Today we are going to be drawing Some Books !

: Books play a role introducing students to a world of imagination providing Knowledge of the outside world . Books improves reading . The benefits of reading books are - functioning of the brain , Vocabulary , Mind , Knowledge and Concentration .

Things we need = Ruler , pen , pencil , oil pastels or colour pencils .

So let’s get started !

Step 1 : First , Take a blank paper and draw the border of the page .

Step 2 : Second , on the border draw books and slabs as bookshelves .

Step 3 : Third , after that is done write the importance of books which are given in the paragraph .

Step 4 : Fourth , write slogans like , “ A room with books is like a body without a soul ” .

Step 5 : Fifth , draw some pictures of books and colour them .

And we are done with the picture ! So we hope you like it !

Thank you and Goodbye !


October 2, 2021

Designer pot

 Hi guys !

Today we are going to drawing this pot with designs on it !

Things we need = oil pastels , pencil , pen and black poster or black oil pastel !

So let’s get started !

Step 1 : First , draw a pot with a pencil and out line it with a pen .

Step 2 :Second , Take some colourful oil pastels ( different colours )and colour the entire page in different different areas .

Step 3 : Third , next take a black poster or black oil pastel and slowly cover the entire page in black colour .

Step 4 : Fourth , take an empty pen refill or a toothpick to draw shapes and things on the pot for drawing .

Also We have another design for the designer pot !

Things we need = black paint and oil pastels !

Let’s Get started !

Step 1 : First , Cover the entire page in black paint and let it dry some time .

Step 2 : Second , Take some oil pastels colours draw some ovals .

Step 3 : Third , Draw some smaller ovals inside the big oval .

We are done with the drawing ! So we hope you like it !

Let us know if you likes the first design or the second design !

Thank you and Goodbye !


September 21, 2021

Pencil Tree

Hello Guys !

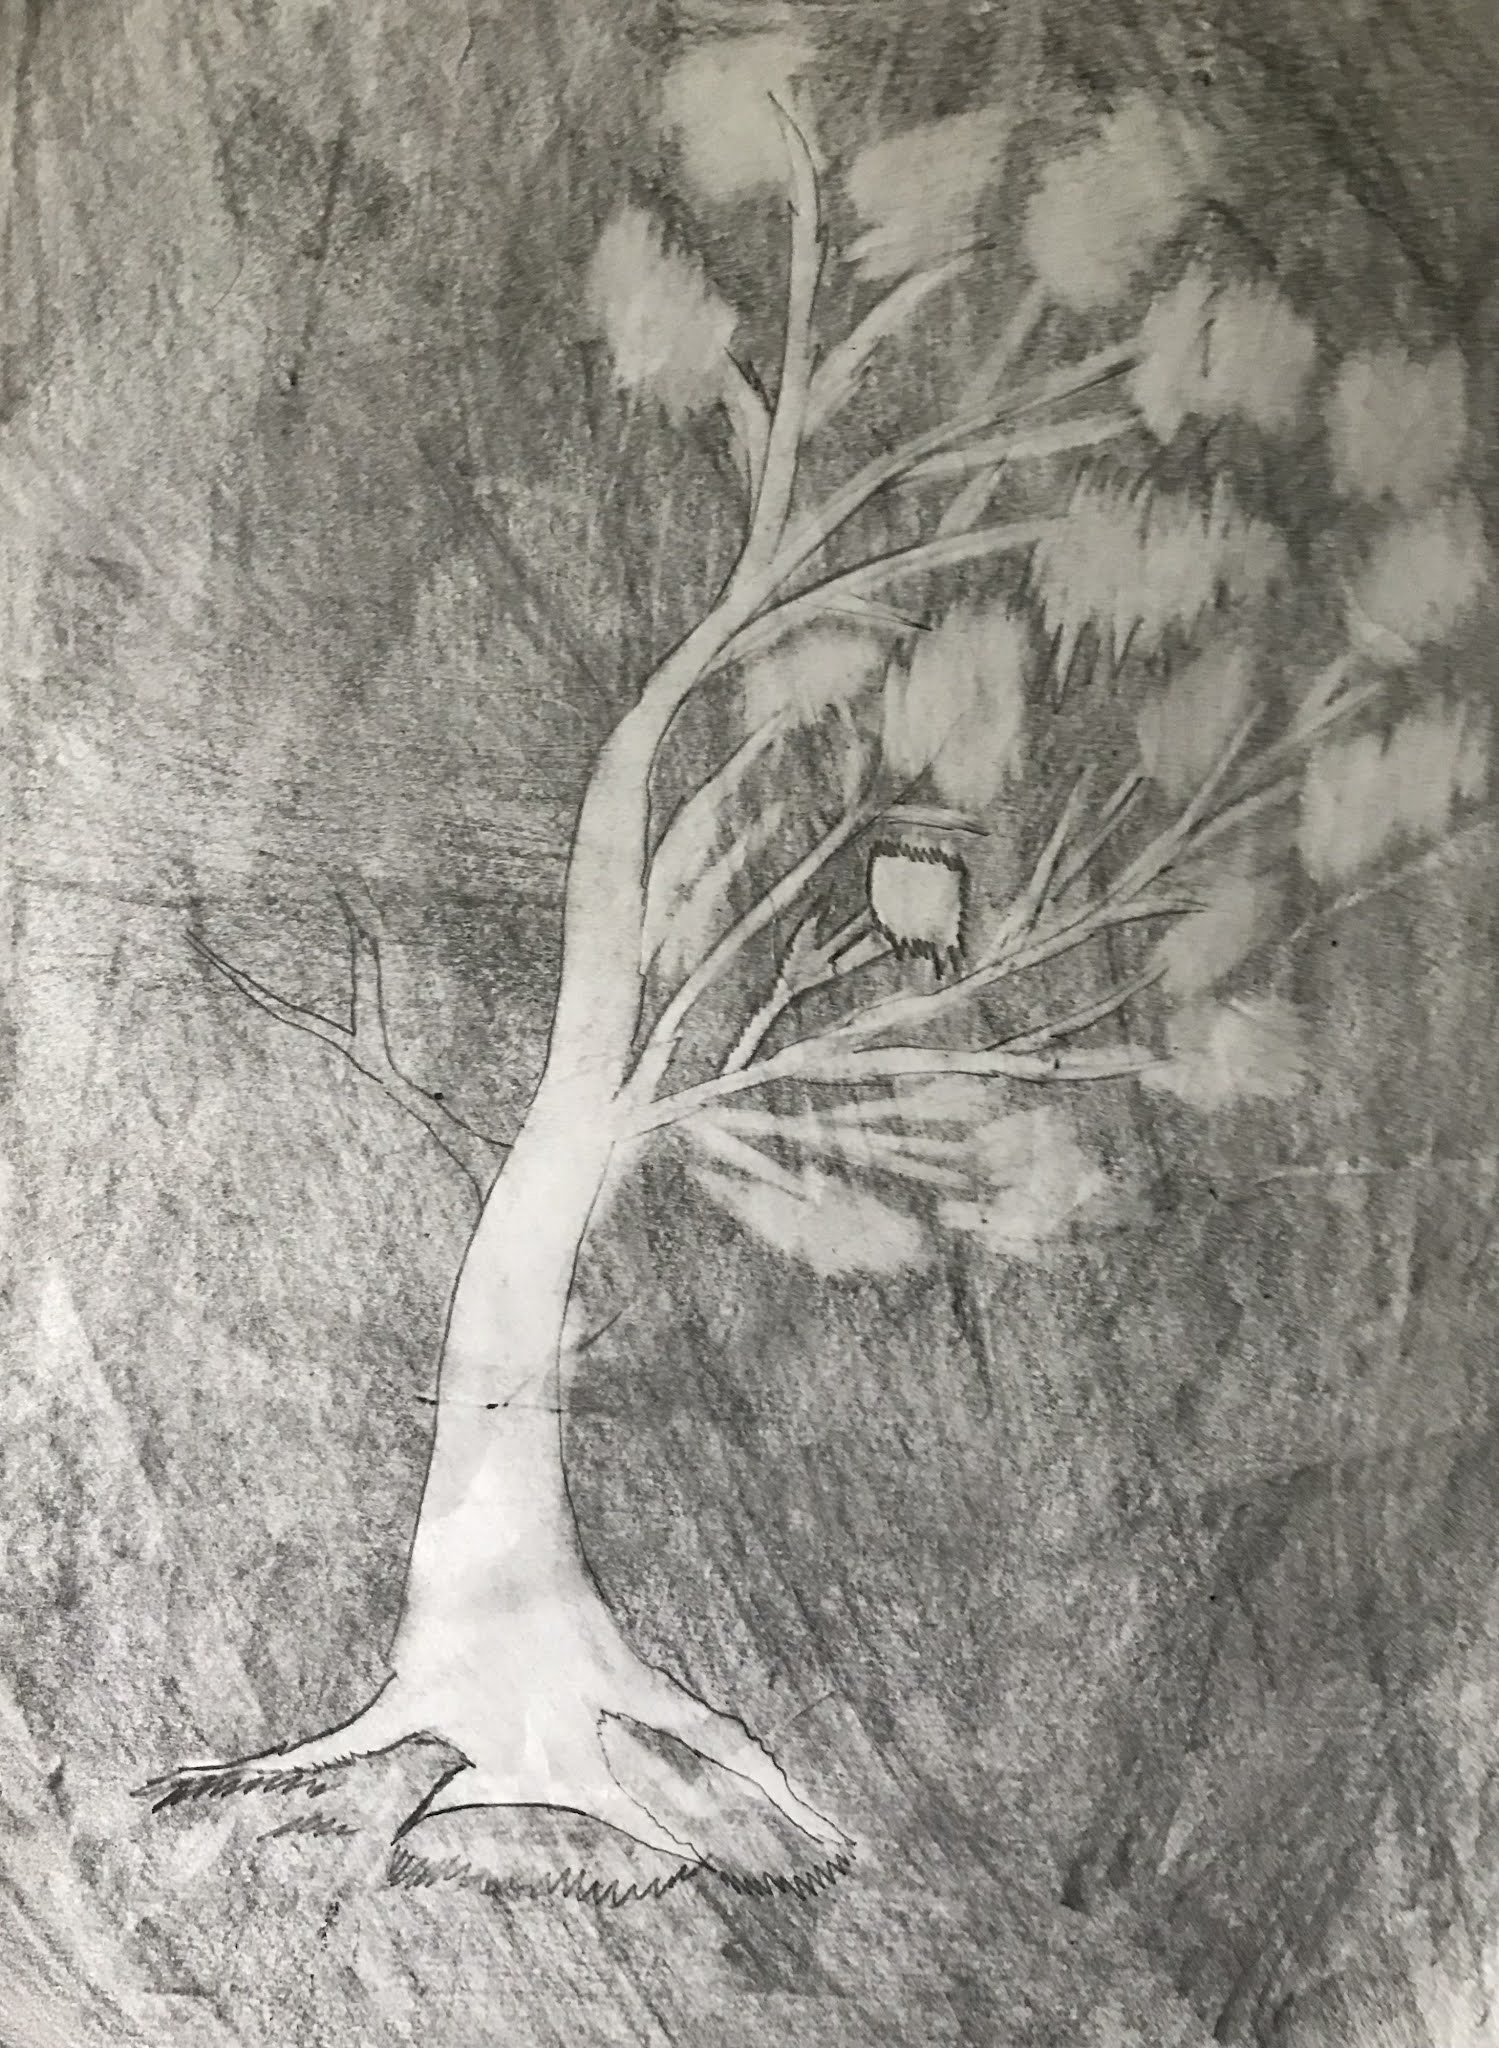
Today we are going to be drawing this Tree with a pencil and eraser !

Things we need = dark pencil and a eraser

So let’s get started !

Step 1 : First , take a dark or light pencil and shade the entire page with the dark pencil (I prefer to dark pencil ) .

Step 2 : Second , take an eraser and draw the stems and bark of the tree .

Step 3 : Third , after that is done draw zigzag lines at the edges of the each branch .

Step 4 : Fourth , outline the drawing with a pencil and on the leaves .

And we are done with the drawing the tree with only a pencil and eraser !


September 20, 2021

Hibiscus ๐ŸŒบ


Hi guys !

Today we are going to be learning how to draw a Hibiscus !

About Hibiscus :

Hibiscus is a genus of flowering plants in the mallow family, Malvaceae. The genus is quite large, comprising several hundred species that are native to warm temperate, subtropical and tropical regions throughout the world .

Things we need = Oil pastels , Pen , Pencil , Marker .

So let's get started !

Step 1 : First , draw the five petals of the Hibiscus .

Step 2 : Second , draw the stem of the Hibiscus .

Step 3 : Third , draw the small dots or small stems on the stem of the Hibiscus .

Step 4 : Fourth , draw the main stem of the Hibiscus .

Step 5 : Fifth , Next do some colouring or add some mountains , clouds and pond if you want extra scenery .