January 16, 2020

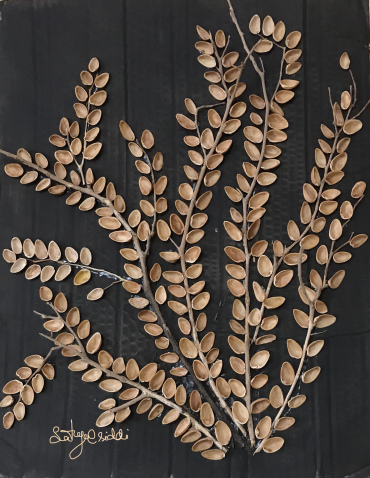
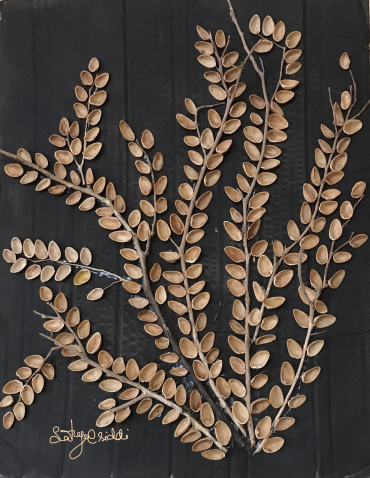
Pistha Shell Wall Decor

Using wastepistha shells to create a beautiful wall decor.
Materials requried: glue,pisthasells,waste cardboard,black paint,paint brush,waste dry stems.
First colored the card board with paint after it becomes dry,stick the dry stems,stick pistha shells as leaves.To the boarder attach lace


January 14, 2020

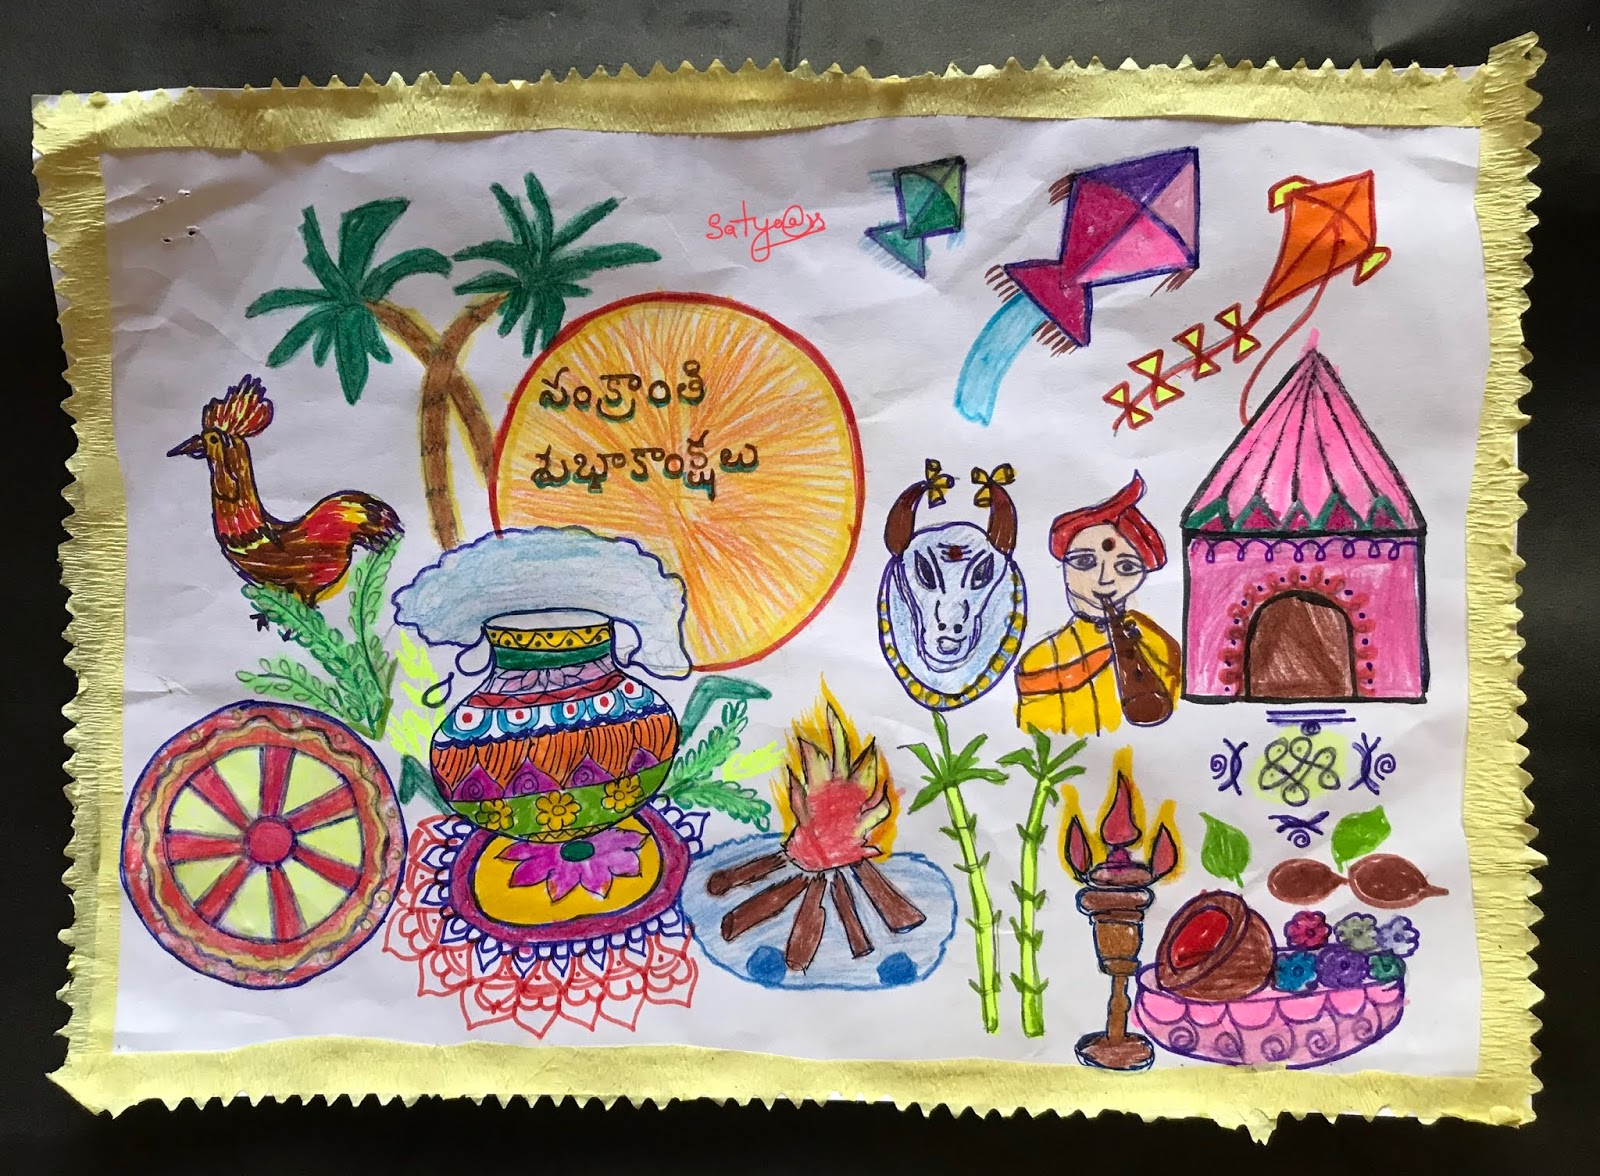
Pongal wishes

Happy Makara Sankranthi and Boghi wishes.Sankranti greetings.how the sankranthi festival celebrated one day is kites festival,rangoli colouring,during that day puja wearing new dresses.


January 13, 2020

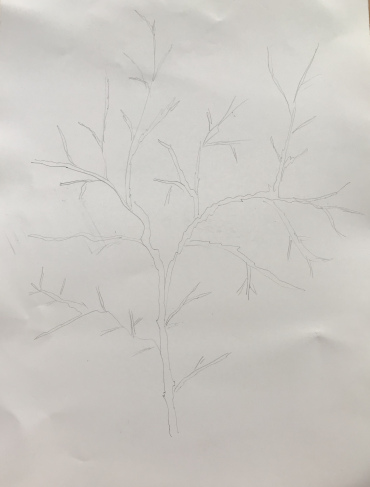
Tree making

With woolen threads tree decoration,simple and easy to make tree .I intrested gray colour to make this using gray and black colours.wall decoration ideas for living room.


January 9, 2020

Peacock Decoration With Glitters

How to decorate peacock for kids it’s simple and easy to make
Materials required to decorate this peacock : 1.sequenses different colours
                                                                        2.glue and paints


January 6, 2020

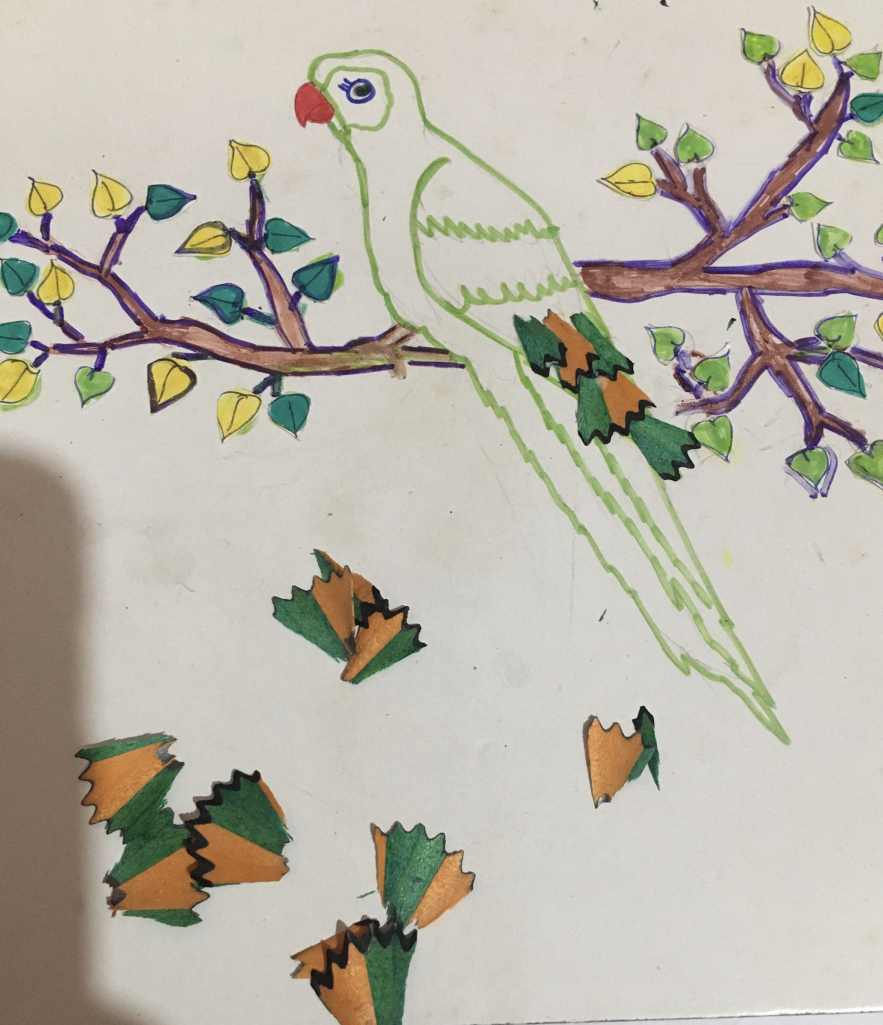
parrot with pencil waste


parrot with pencil waste:very simple to try with pencil waste.draw the parrot ,leaves and colour them. After cut the leaves and paste them.using penil waste decorte the parrot


January 5, 2020

Wall hanging with woolen threads

Wall hanging with waste gas cutters and woolen threads


The materials required to make this wall hanging
    1.Gas cutters
    2.woolen threads
    3.Beeds
    4.needle
   5.glue and glitters
First to tie around the gas cutter with woolen threads ,choose two different coloured threads.After you make pompoms attach this pom-poms with needle  and also attach beeds.
Add sequences with glue.


January 3, 2020

December 5, 2019

Bird Craft and Making Ideas

How to Draw a Beautiful Bird with Thread and Colors: A Step-by-Step Guide

Materials Needed:

  1. Drawing Paper (preferably thick or cardstock)
  2. Embroidery Threads (in various colors like yellow, blue, green, and white)
  3. Markers or Color Pencils (red, green, and other vibrant colors for detailing)
  4. Glue (to fix threads)
  5. Pencil and Eraser
  6. Scissors
  7. Ruler and Tape (optional for borders)

Step 1: Draw the Outline of the Bird

Start by lightly sketching the basic outline of the bird using a pencil. In this case, the bird appears to resemble a peacock or a similar feathered bird. Focus on sketching the head, body, legs, and tail feathers.

  • Head and Body: Draw a small circle for the head and a slightly larger oval for the body. The bird should be standing on a patch of land, so add short legs beneath the body.
  • Feathers: Extend long tail feathers upwards in an arc shape, giving them a fan-like spread. These will later be filled with thread for added texture.

Step 2: Prepare the Feathers for Thread Art

Once the basic outline is done, it's time to plan the threadwork. The tail feathers will be the highlight of this piece. Here's how to prepare:

  • Draw feather lines: Use your pencil to lightly draw curving lines representing the feathers. These lines will guide where you place the threads.
  • Color coordination: Choose vibrant thread colors, such as yellow for highlights and green/blue for the main feather lines. You can experiment with different shades.

Step 3: Start Adding Thread Art

Now comes the fun part — adding texture using embroidery thread! Follow these steps:

  • Glue the threads: Apply a thin line of glue along the pencil lines of the feathers. Carefully place the embroidery thread on the glue. Start from the base of the feather near the body and extend it outwards.
  • Layering the feathers: You can create layered effects by alternating colors. For example, the outer feathers might be yellow with blue accents in between.
  • Add volume: To give the feathers a 3D look, you can double or triple the layers of thread on each feather line.

Be sure to work slowly and let the glue dry between layers to avoid smudging.


Step 4: Detail the Body and Head

While the feathers are drying, move on to the bird's body and head. Use colored markers or pencils for this part:

  • Body shading: Use darker colors, like blue or green, to shade the bird's body, giving it depth.
  • Head details: Draw the eyes, beak, and any other details, like the crest on the head (if you're making it look like a peacock).
  • Feet and legs: Draw the legs and feet carefully, using a sharp pencil or fine markers. You can add small claws at the end of the feet.

Step 5: Add Background Details

Once your bird is complete, the background can be enhanced to make the overall artwork pop:

  • Grass and Land: Draw a small patch of grass beneath the bird’s feet. Use green markers to give it a natural look, and add some ferns or other plants for extra flair.
  • Additional Decorations: You can add red decorative patterns or plants to the side, as seen in the reference image. These can be simple spiral shapes, making the artwork even more dynamic.

Step 6: Border and Finishing Touches

For an added decorative touch, you can frame your drawing:

  • Create a border: Use a colored tape or cut-out border to frame the edges of your artwork.
  • Final adjustments: Once everything is dried, carefully inspect the drawing. Fix any loose threads or add extra glue where needed.

Step 7: Let it Dry

Once you're happy with your bird and background, let the entire piece dry thoroughly. This ensures that the thread sticks securely to the paper and doesn’t come off later.


This method allows  to add texture and dimension to art, making it stand out. Hang it on your wall, share it with friends, or even gift it to someone special. The combination of simple drawing and creative thread art is a beautiful way to express your artistic talent.