


 |
 |
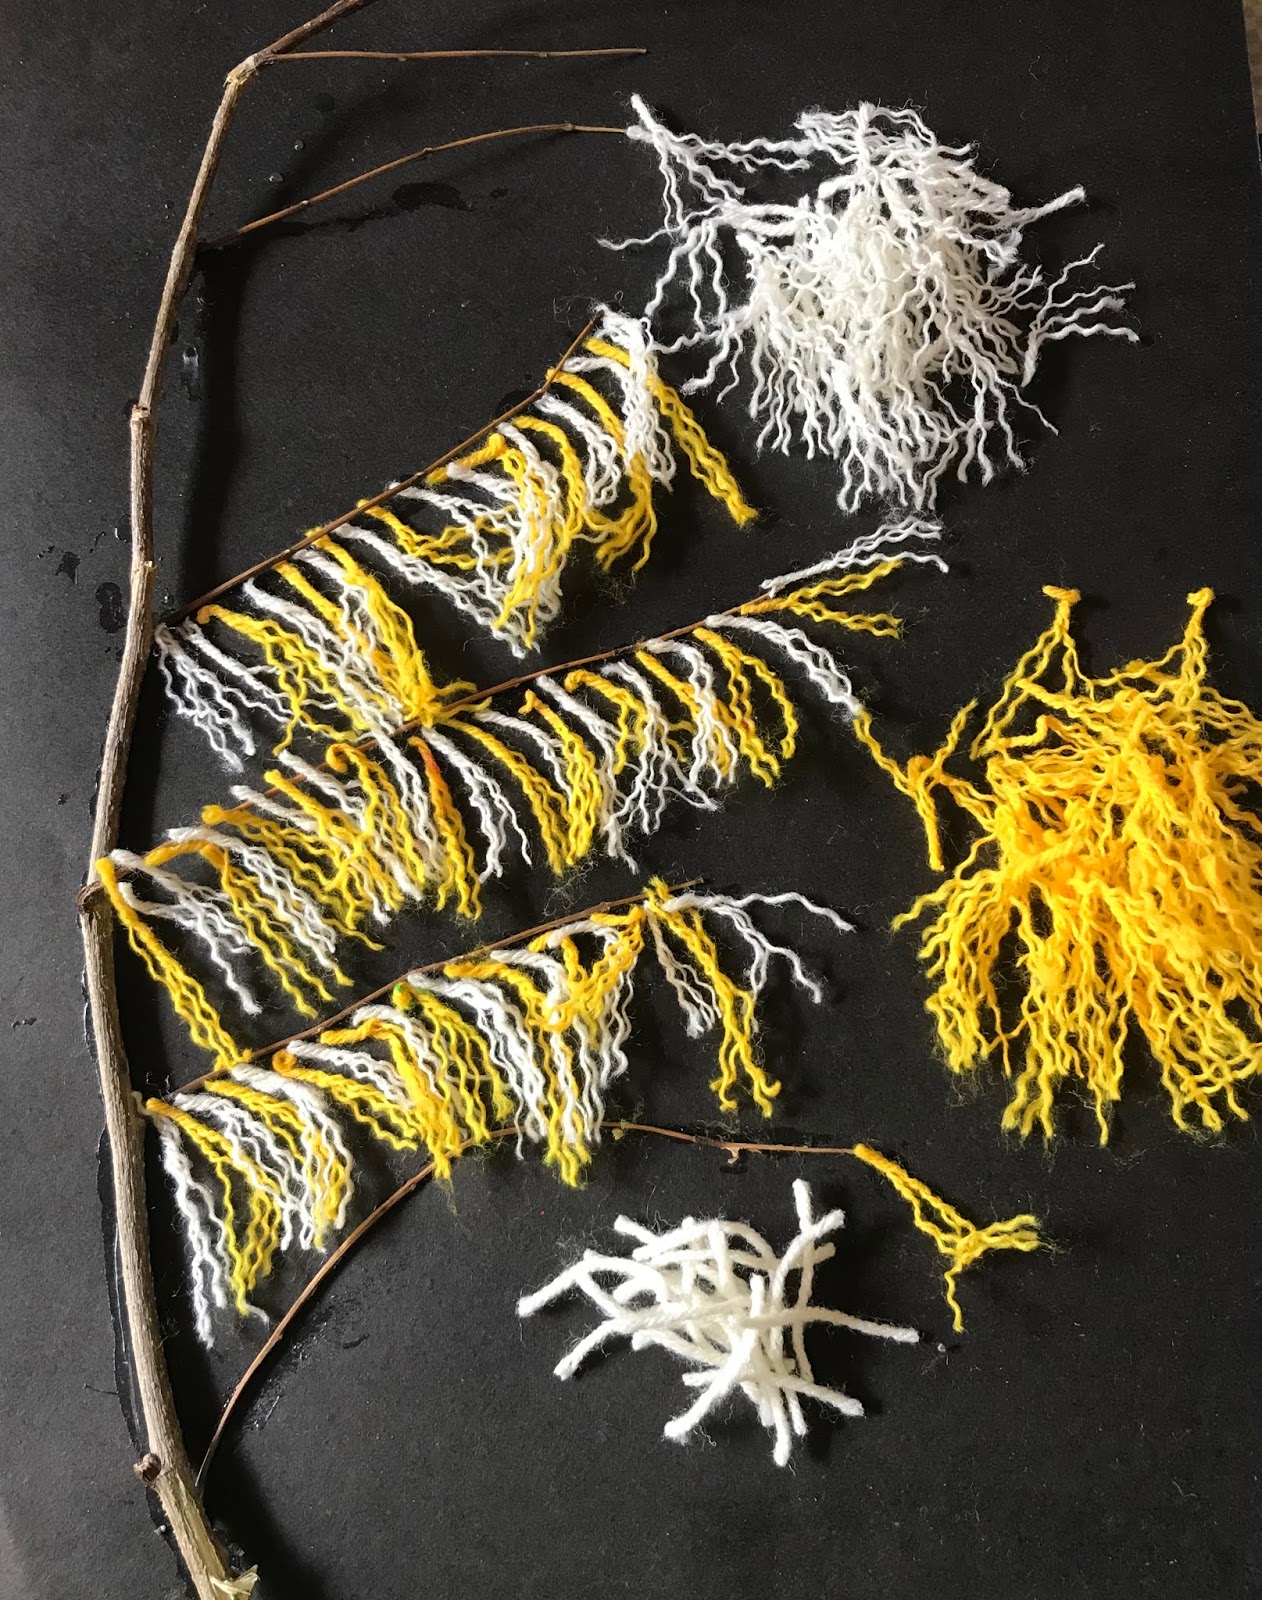
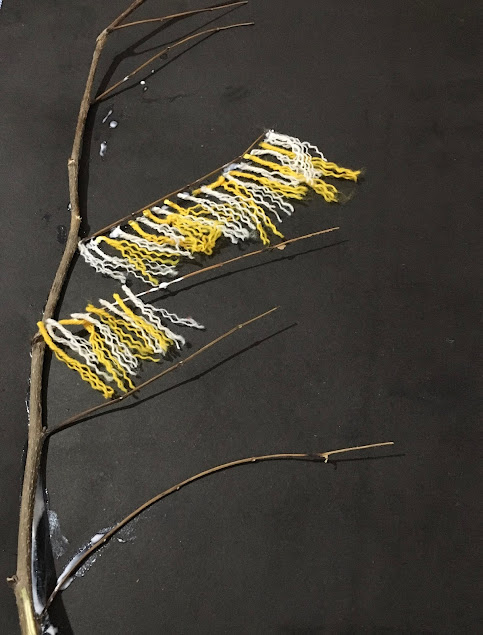
| woolen tree decor |
 |
 |
| Attach woolen threads |
 |
  |


|
| woolen tree decor |


Red glitter paper – for the peacock’s body
Green colored threads – for the feathers
Colored silk cloth – for the petals
Pearl – for the peacock’s eye
Yellow chart paper – for the background
Glue

Take a yellow chart paper as the base.
Smooth out any folds or wrinkles so the background looks neat.
Cut out the peacock’s body shape from red glitter paper.
Ensure the shape includes the head, neck, and body in one piece.
Stick a small pearl on the head to represent the eye.
Cut small leaf-shaped pieces from the colorful silk cloth.
These will form the decorative parts of the feathers.
Arrange the green thread pieces in curved lines to form each feather shaft.
Glue the cloth leaf shapes at the ends and sides of the thread pieces.
Start from the center and arrange feathers in layers:
First row: place a few feathers close together behind the body.
Second row: add more feathers spreading outward.
Outer layer: arrange the longest feathers to form a full fan shape.
Adjust the spacing so the feathers look even and symmetrical.
Glue them firmly in place.
Once the feathers are fixed and dry:
Place the red glitter body at the center bottom of the feather arrangement.
Glue it neatly so the feathers appear to fan out from behind the body.
Press everything gently to make sure all pieces stick properly.
Let the craft dry completely.
Add your signature or any decorative borders if you like.

 | ||


